Project Offgrid - Garage Build Begins
With the outside trenching mostly wrapped up, it was time to start the part of this build I was actually looking forward to — mounting gear on the garage wall. Strut channel, the EG4 GridBoss and FlexBoss21, a properly-sized feeder to the shop, and a side-quest to fix the water line I cut up last weekend.
Garage Planning
Over the last few weeks, I have been planning out how to build out the setup in my garage, using Autodesk Fusion.
After quite a few revisions, I settled on this design:
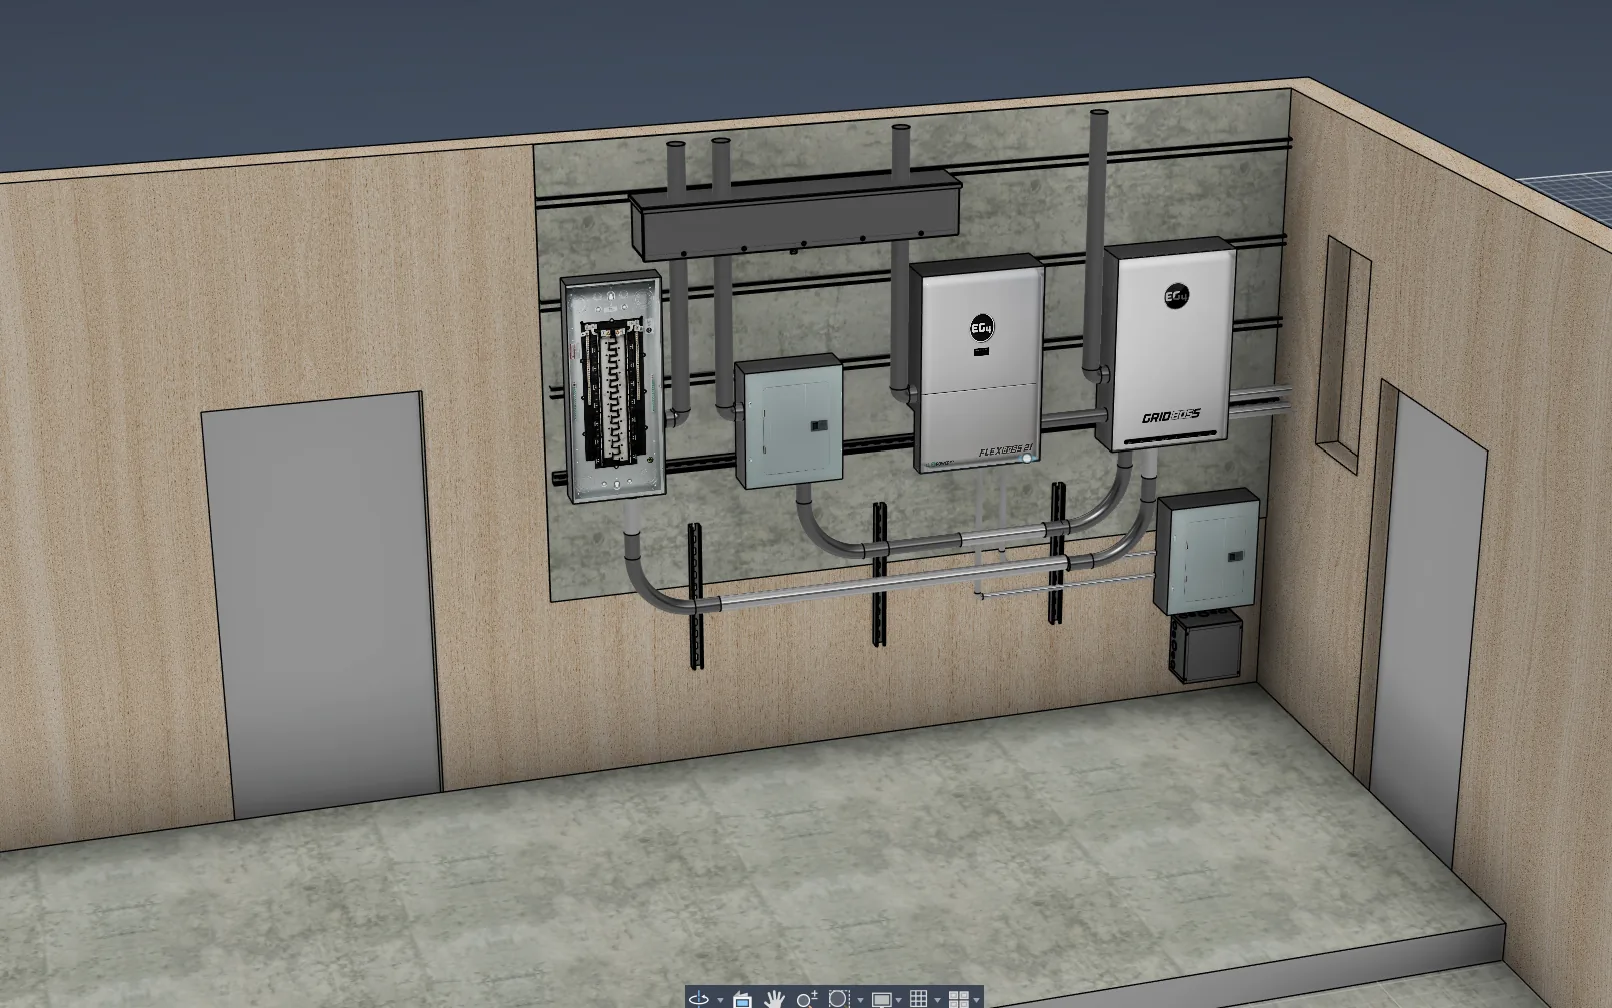
A big driver was mounting components in a way to avoid needing to cross conduit paths. I originally planned on using a trough for connecting components, but I really don't feel like spending $800 for enough trough. So — 2" conduit it is.
Why 2"? Because there is plenty of room if I need to change things up later, or pull a bit of new cable.
Lets make it happen.
Garage Renovations
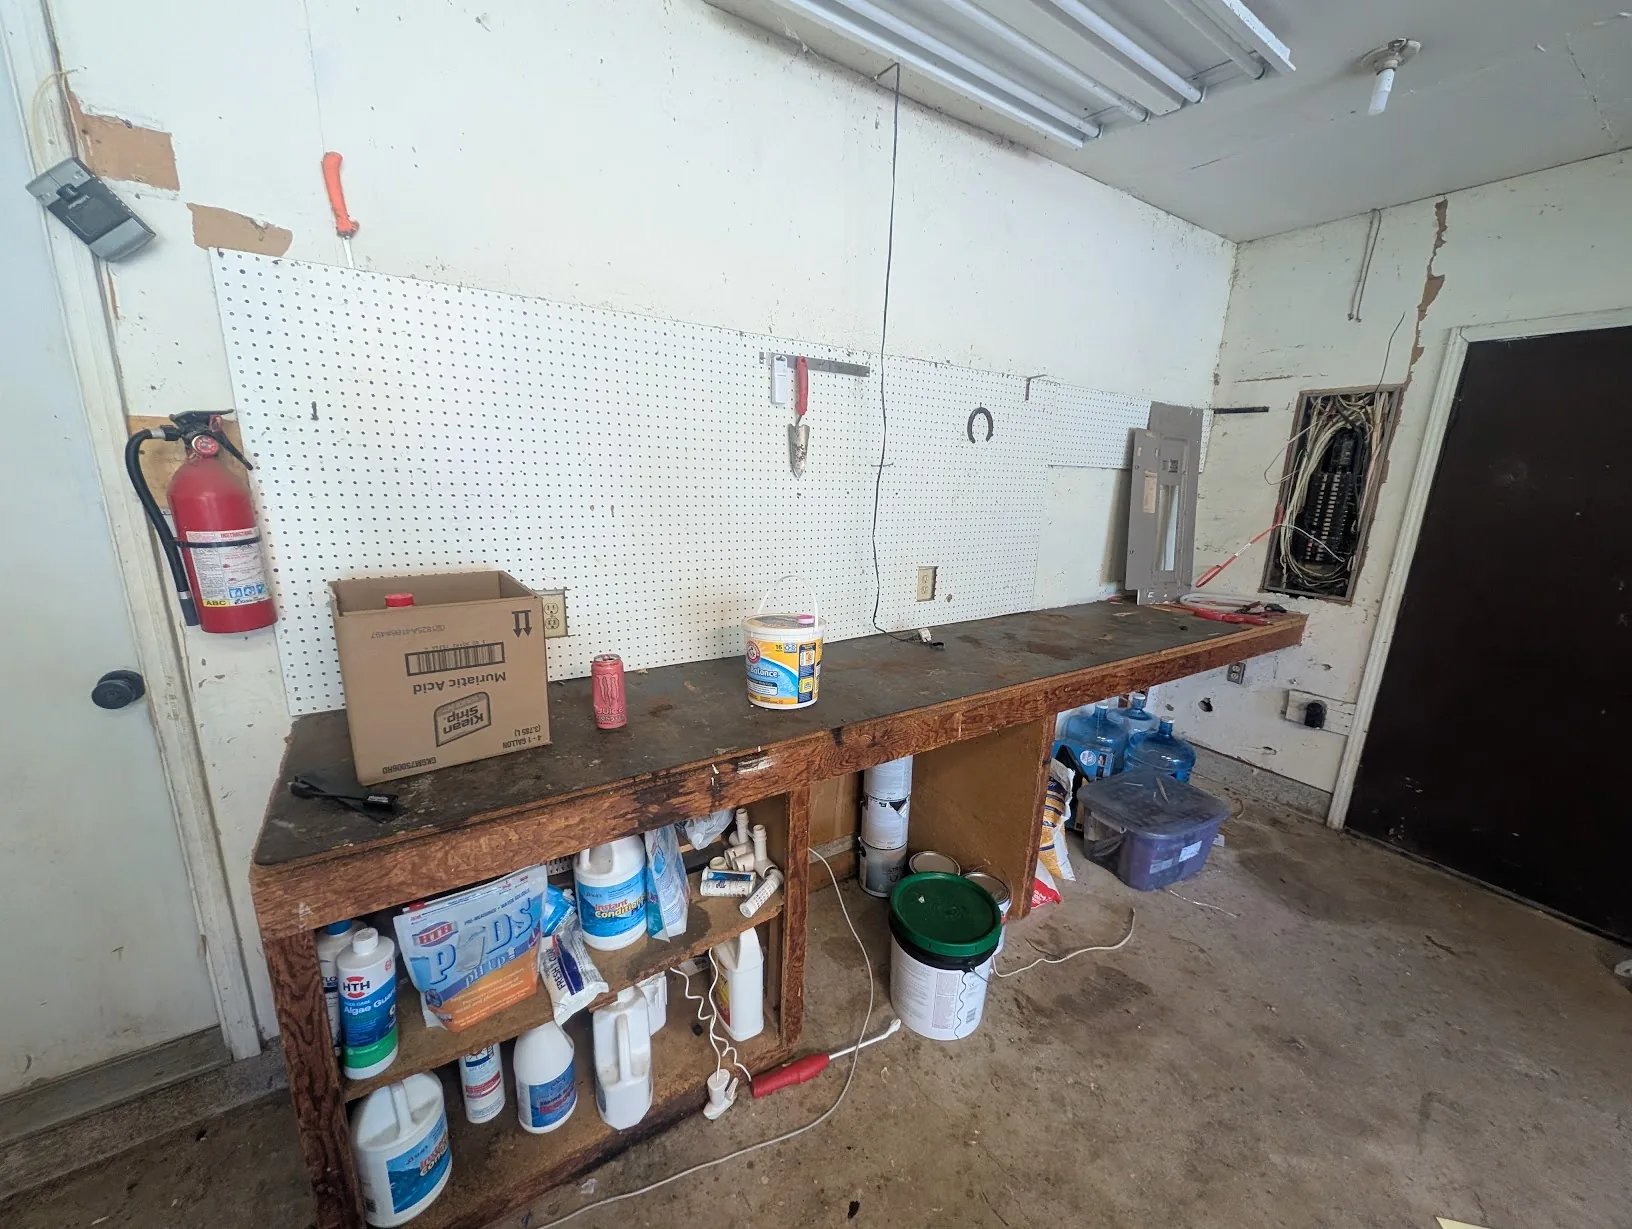
Cleaning up the work area
Moving the server rack
The first step was to clean out the area of the garage where I planned on hanging the components. As my server rack lives here, I needed to relocate it.
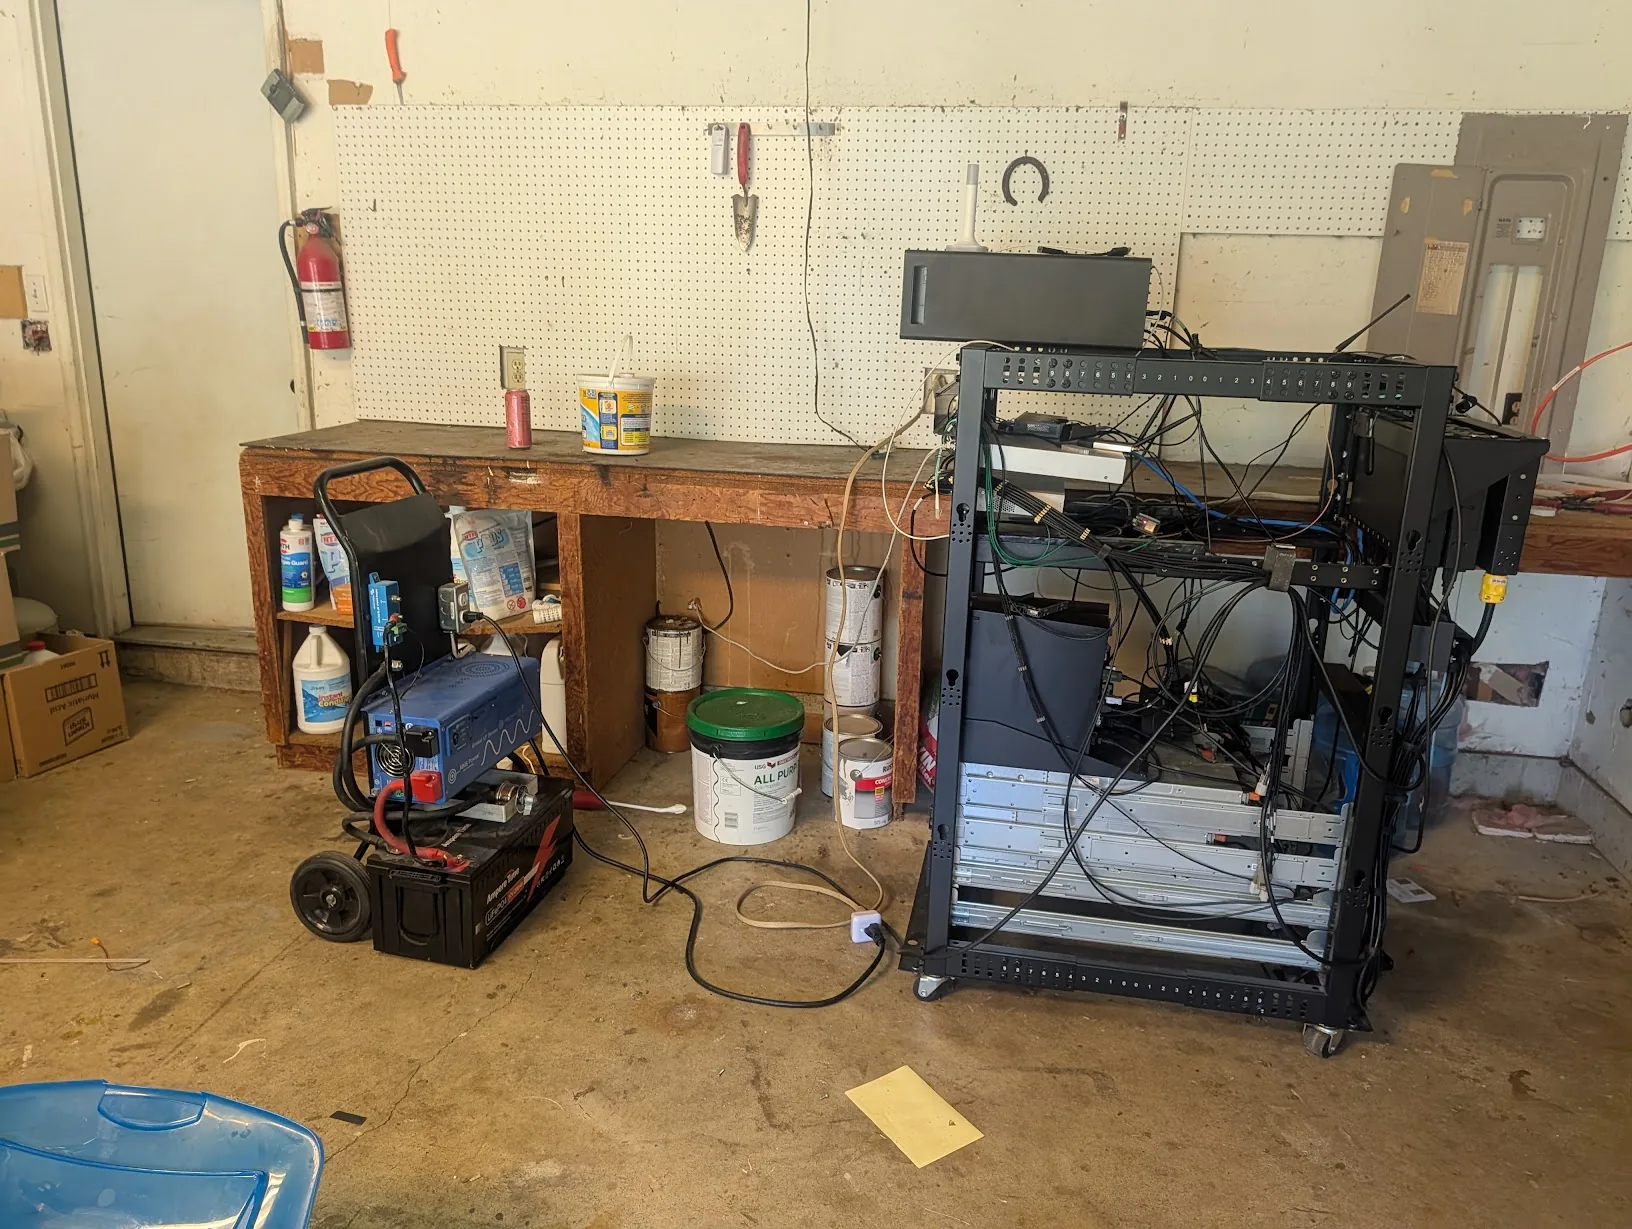
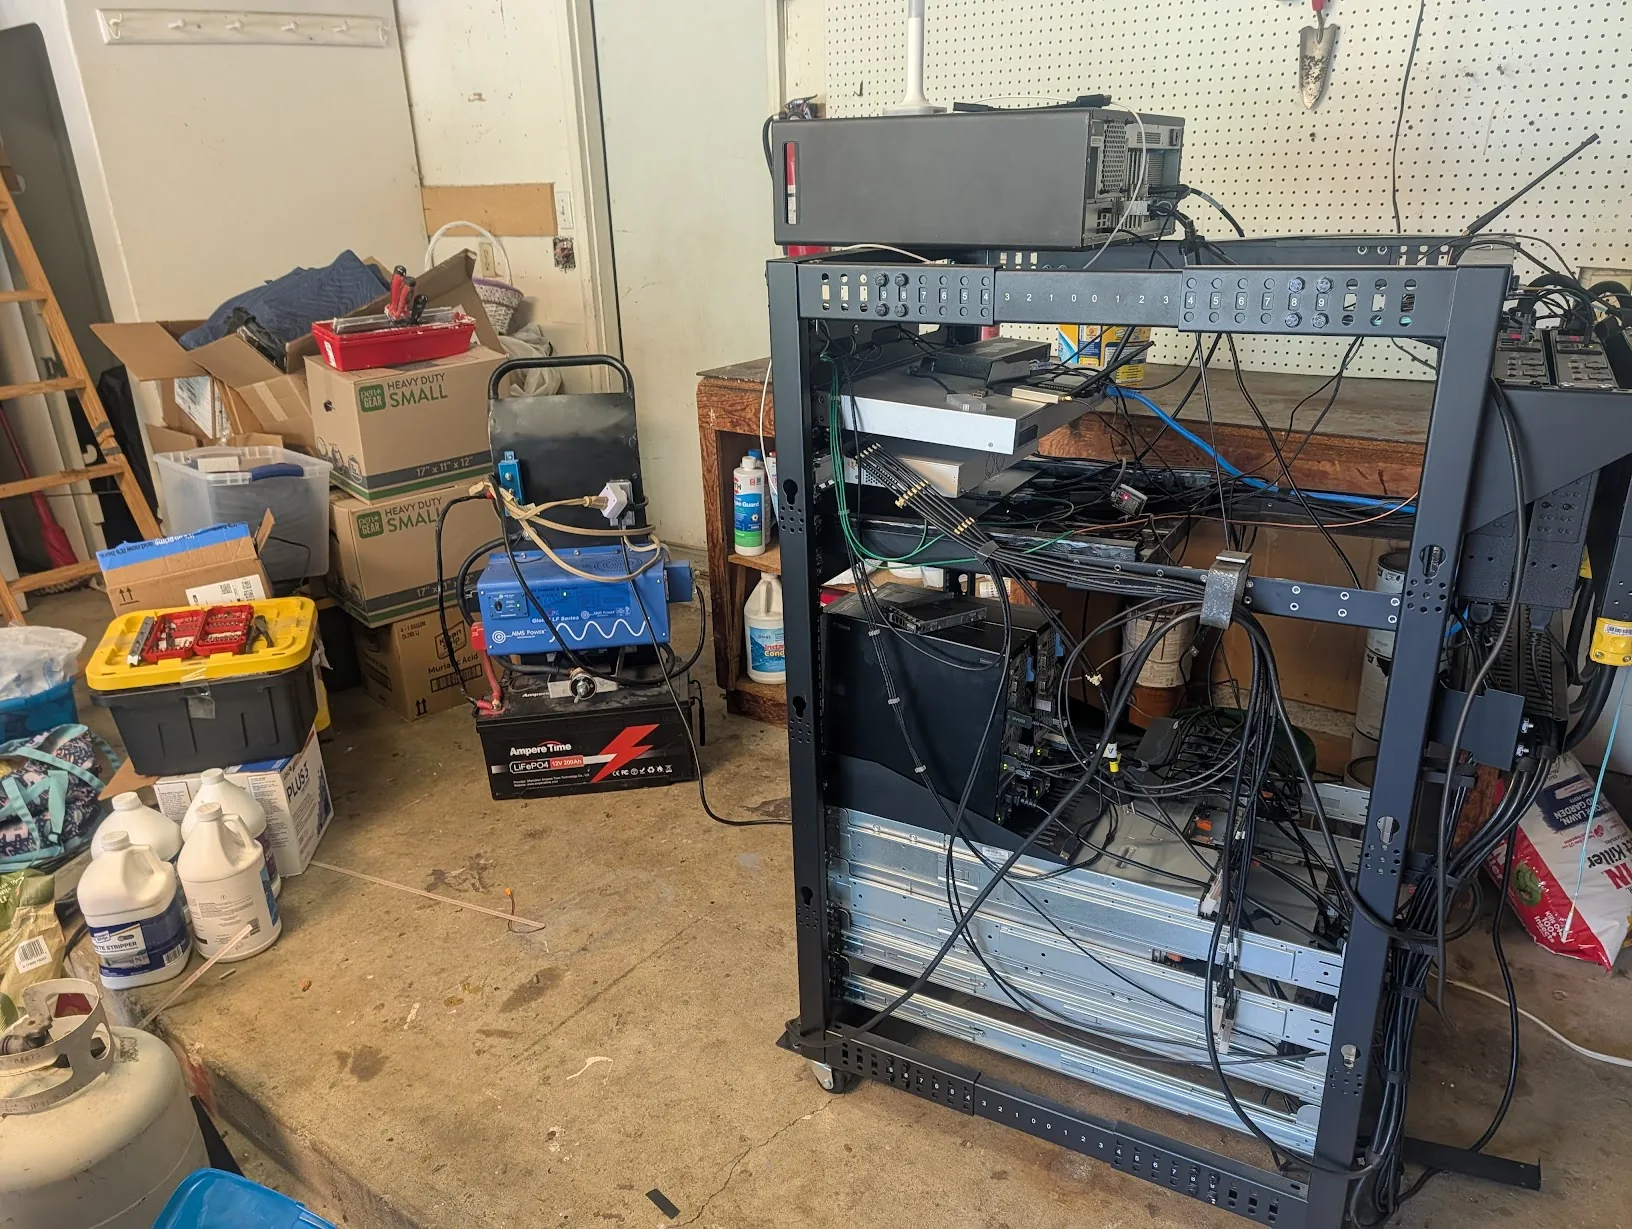
Thankfully, its attached to my Portable UPS. Yup. Its still going, with no signs of slowing down.
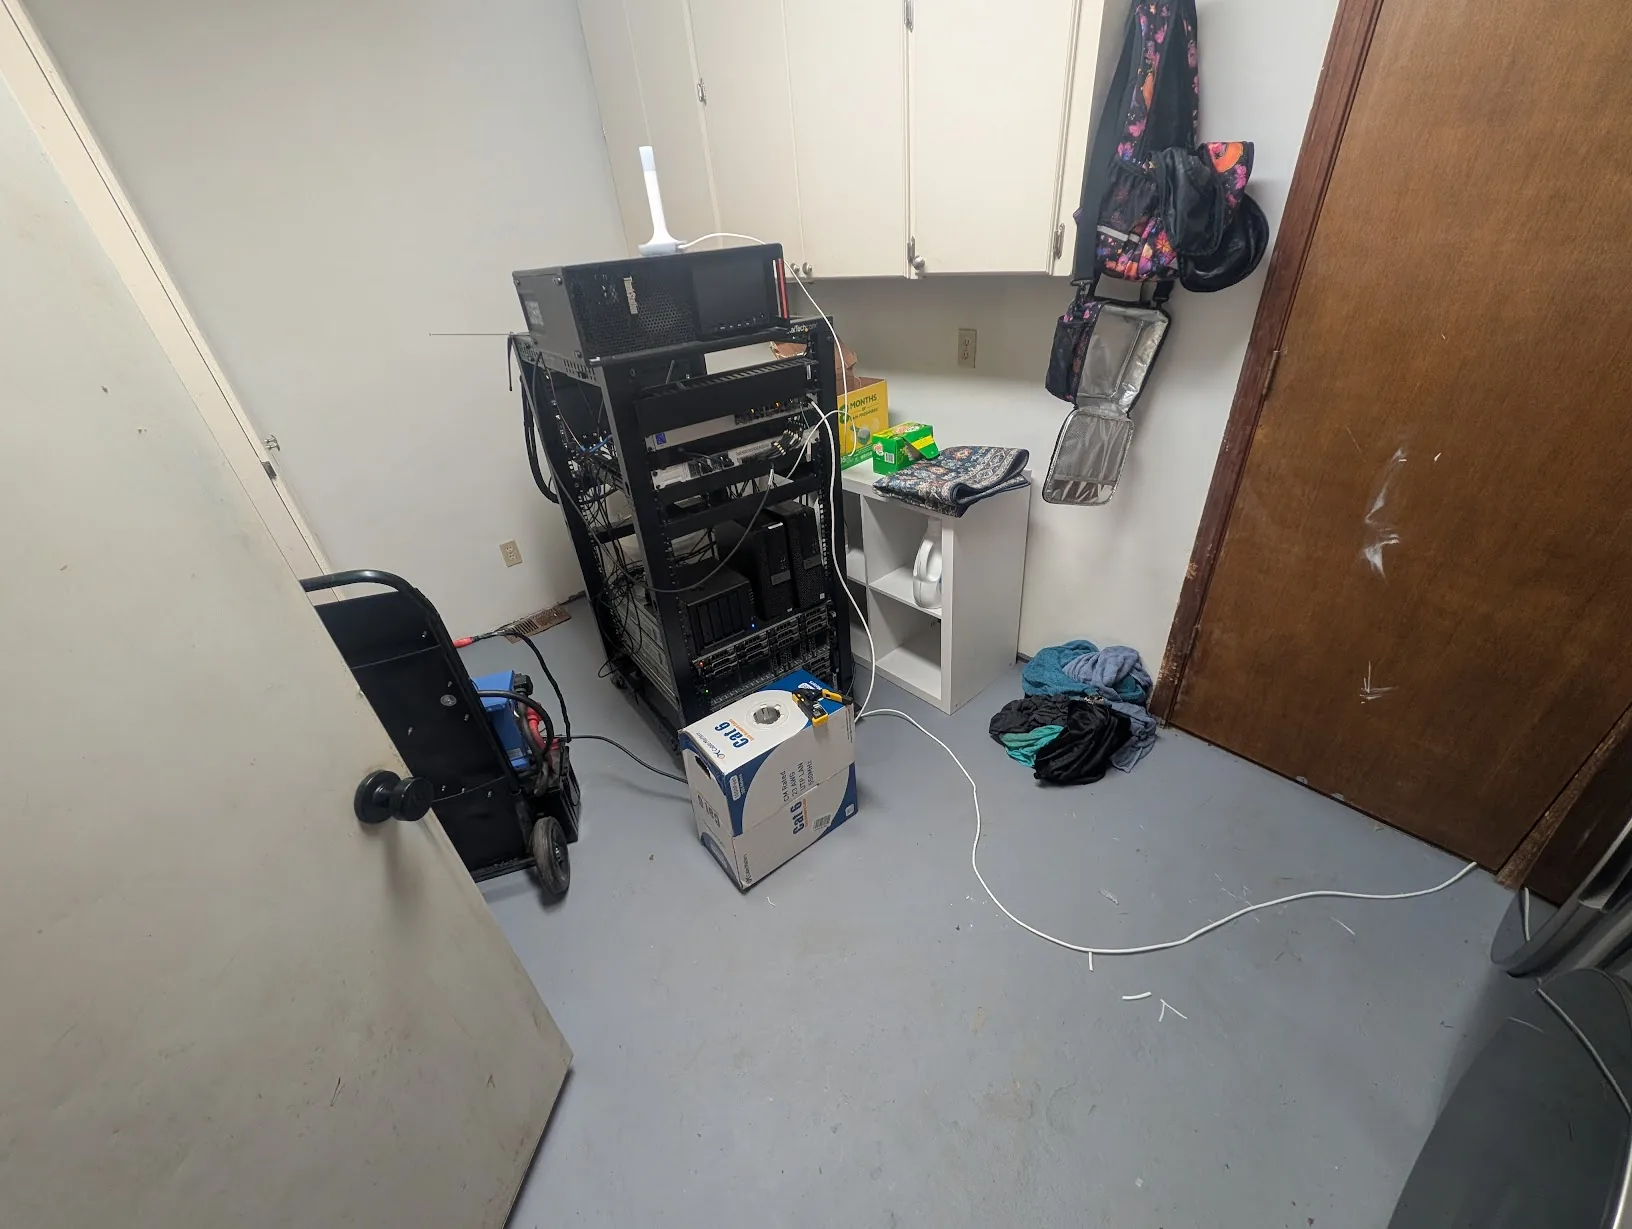
So... Step by step, I rolled it into the laundry room.
Until it found its new temporary home. I fashioned up a run of ethernet for it to maintain wired connectivity while I was working in the garage.
Removing the shelf
Next up, I needed to remove this shelf.
I slid the quarter inch plate onto the floor...
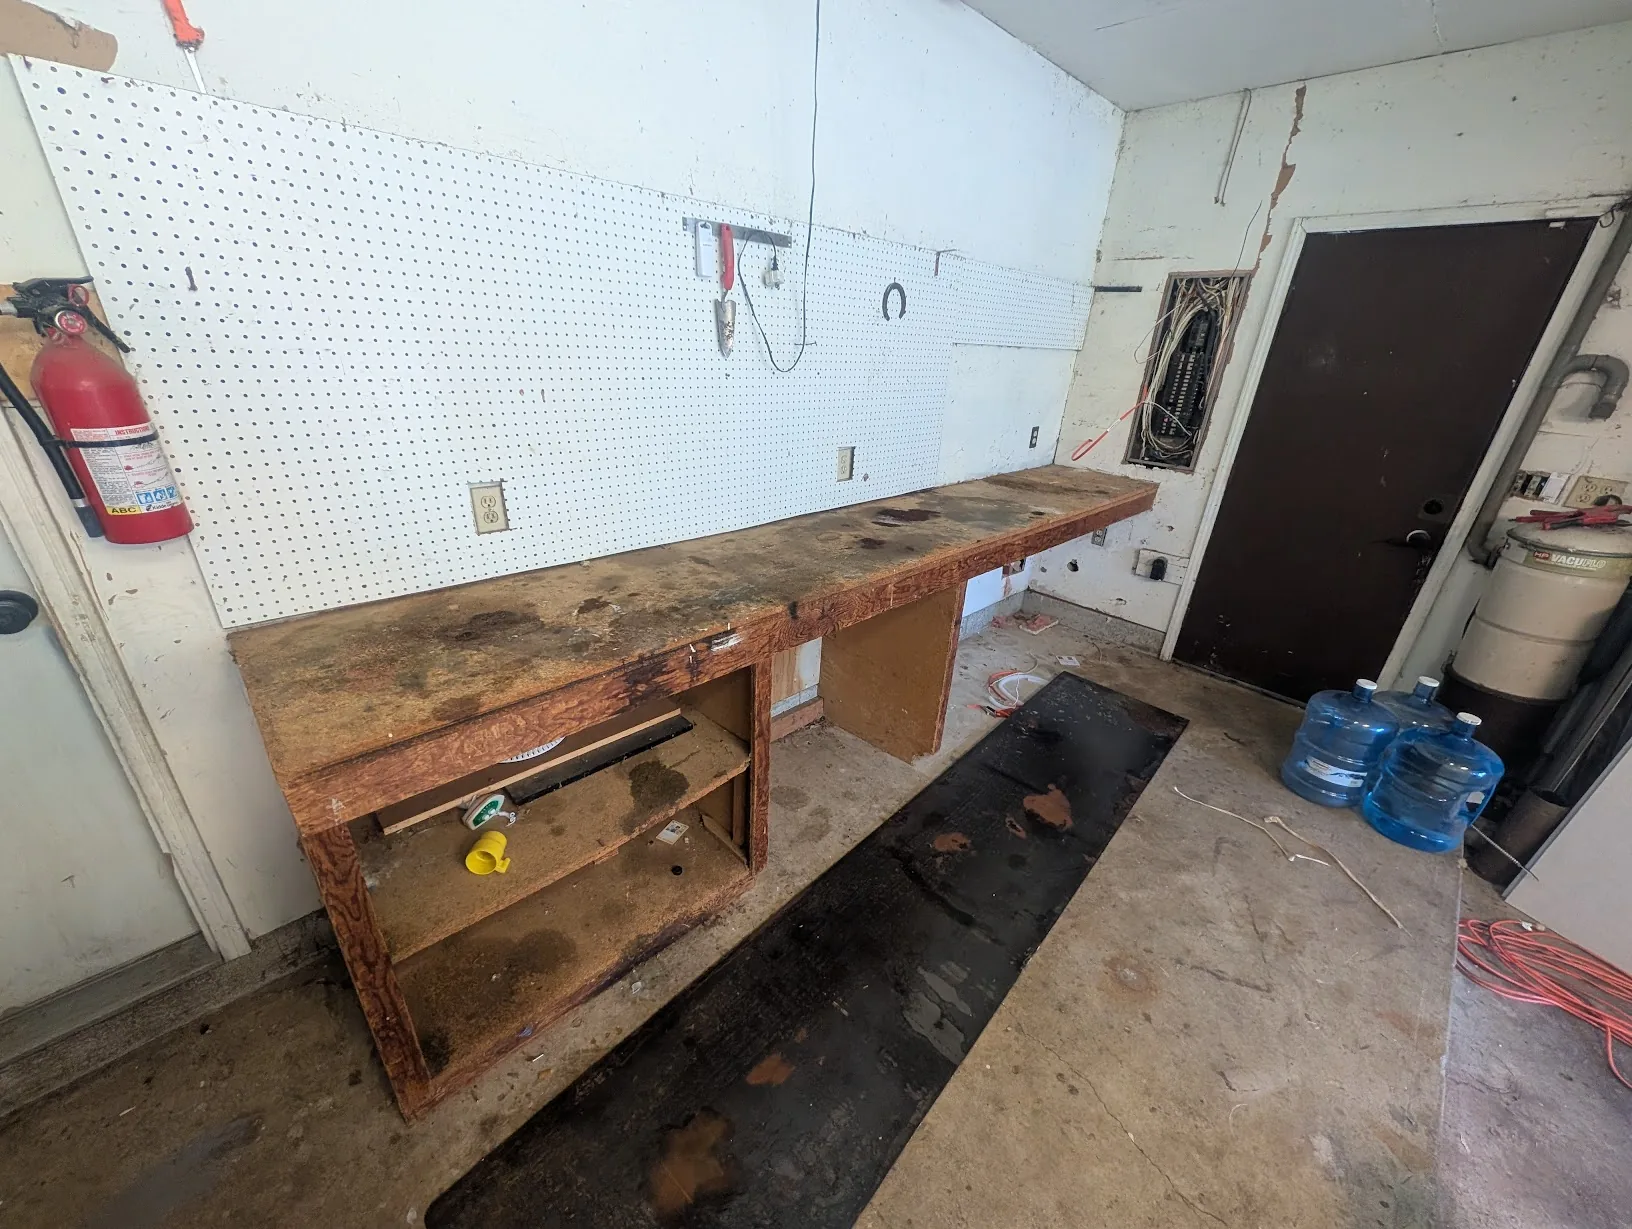
Then used a sawzall to cut the cable into sections, and then used a big hammer to bust it out, piece by piece.
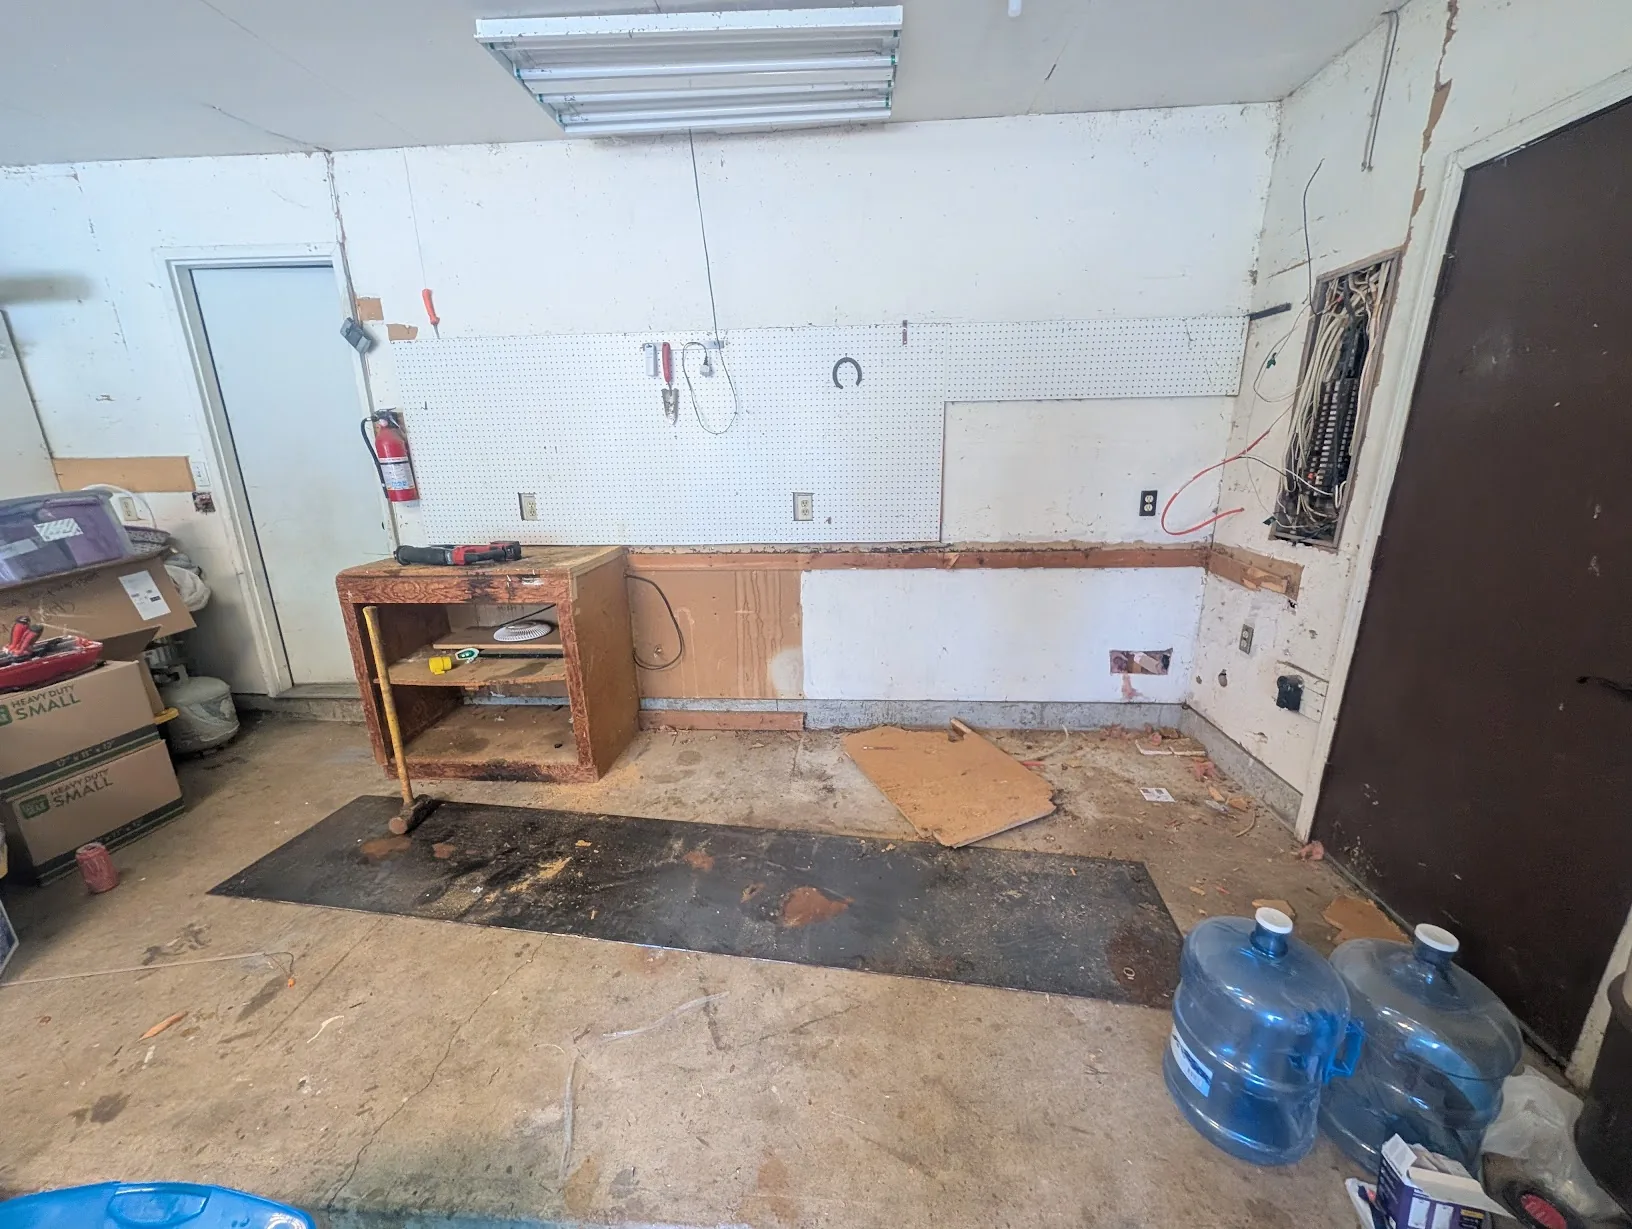
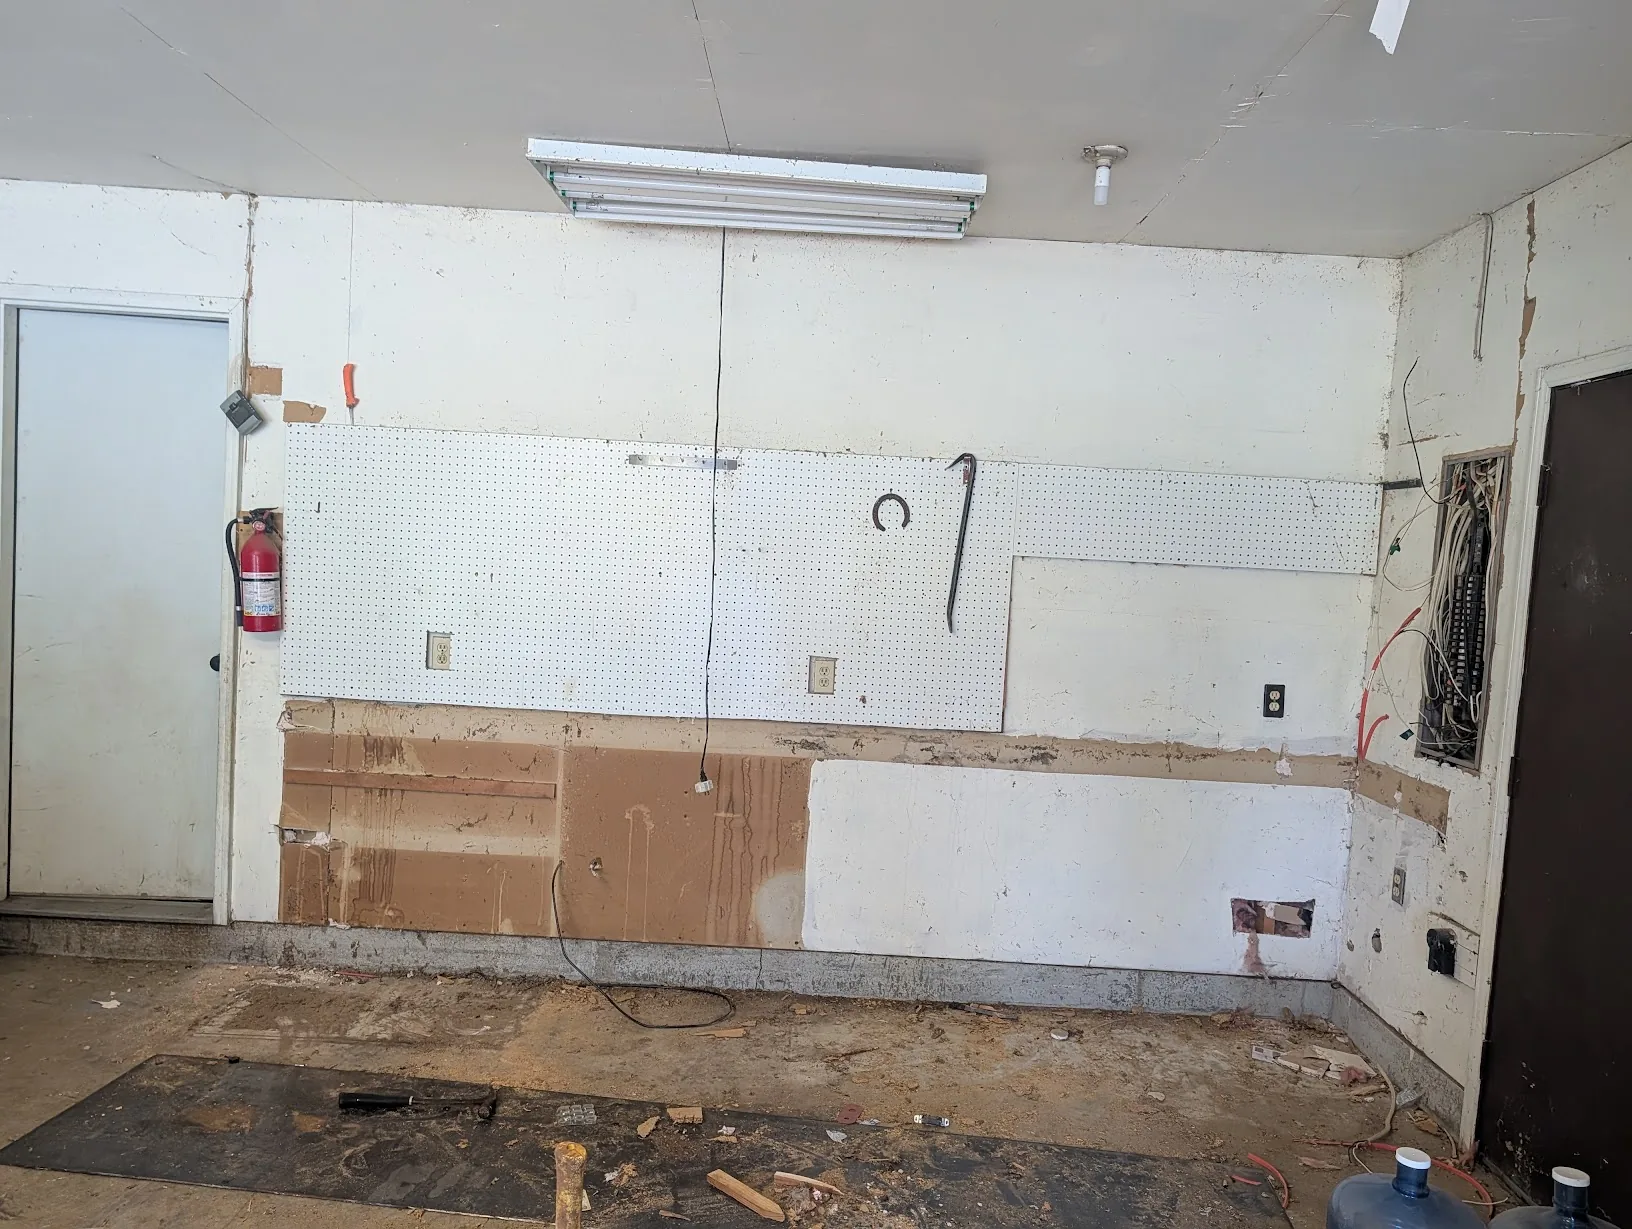
Until it was all gone.
I loaded all of the pieces onto the back of the 4-wheeler.
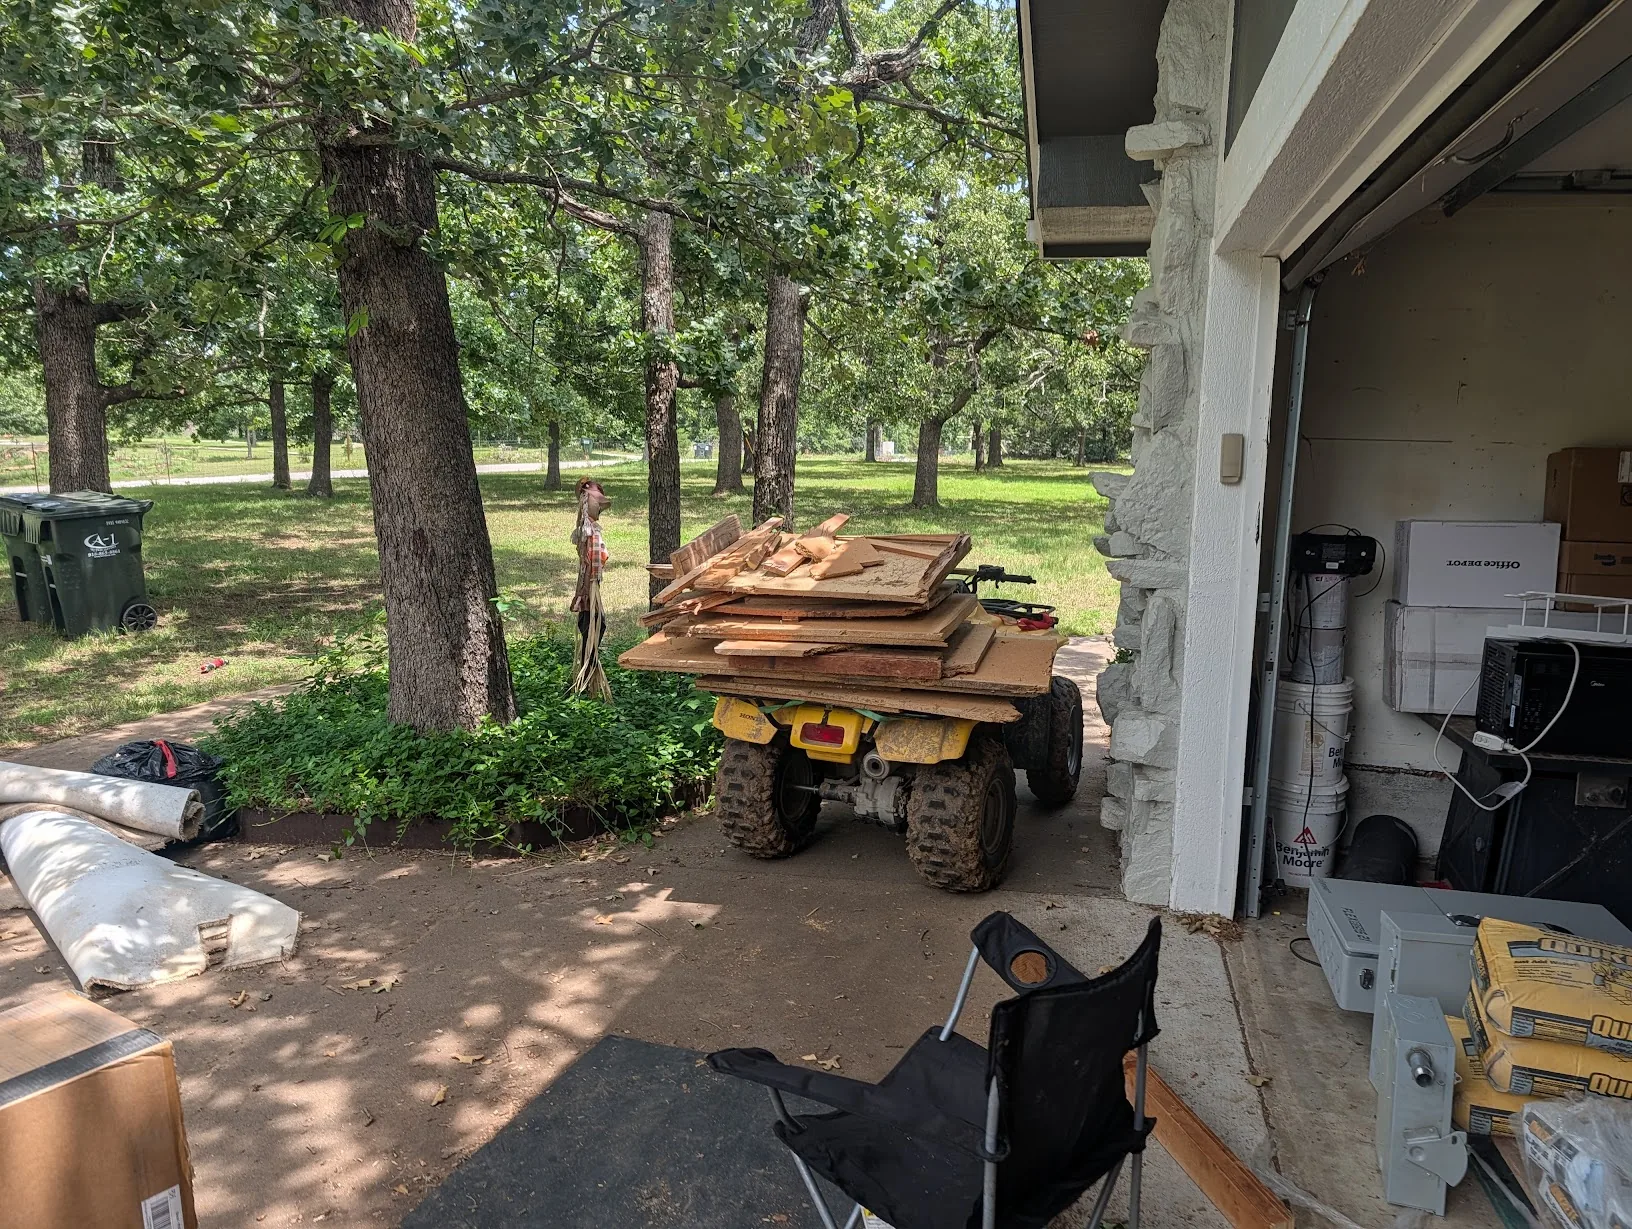
And, put them on top of a burn pile I already had going.
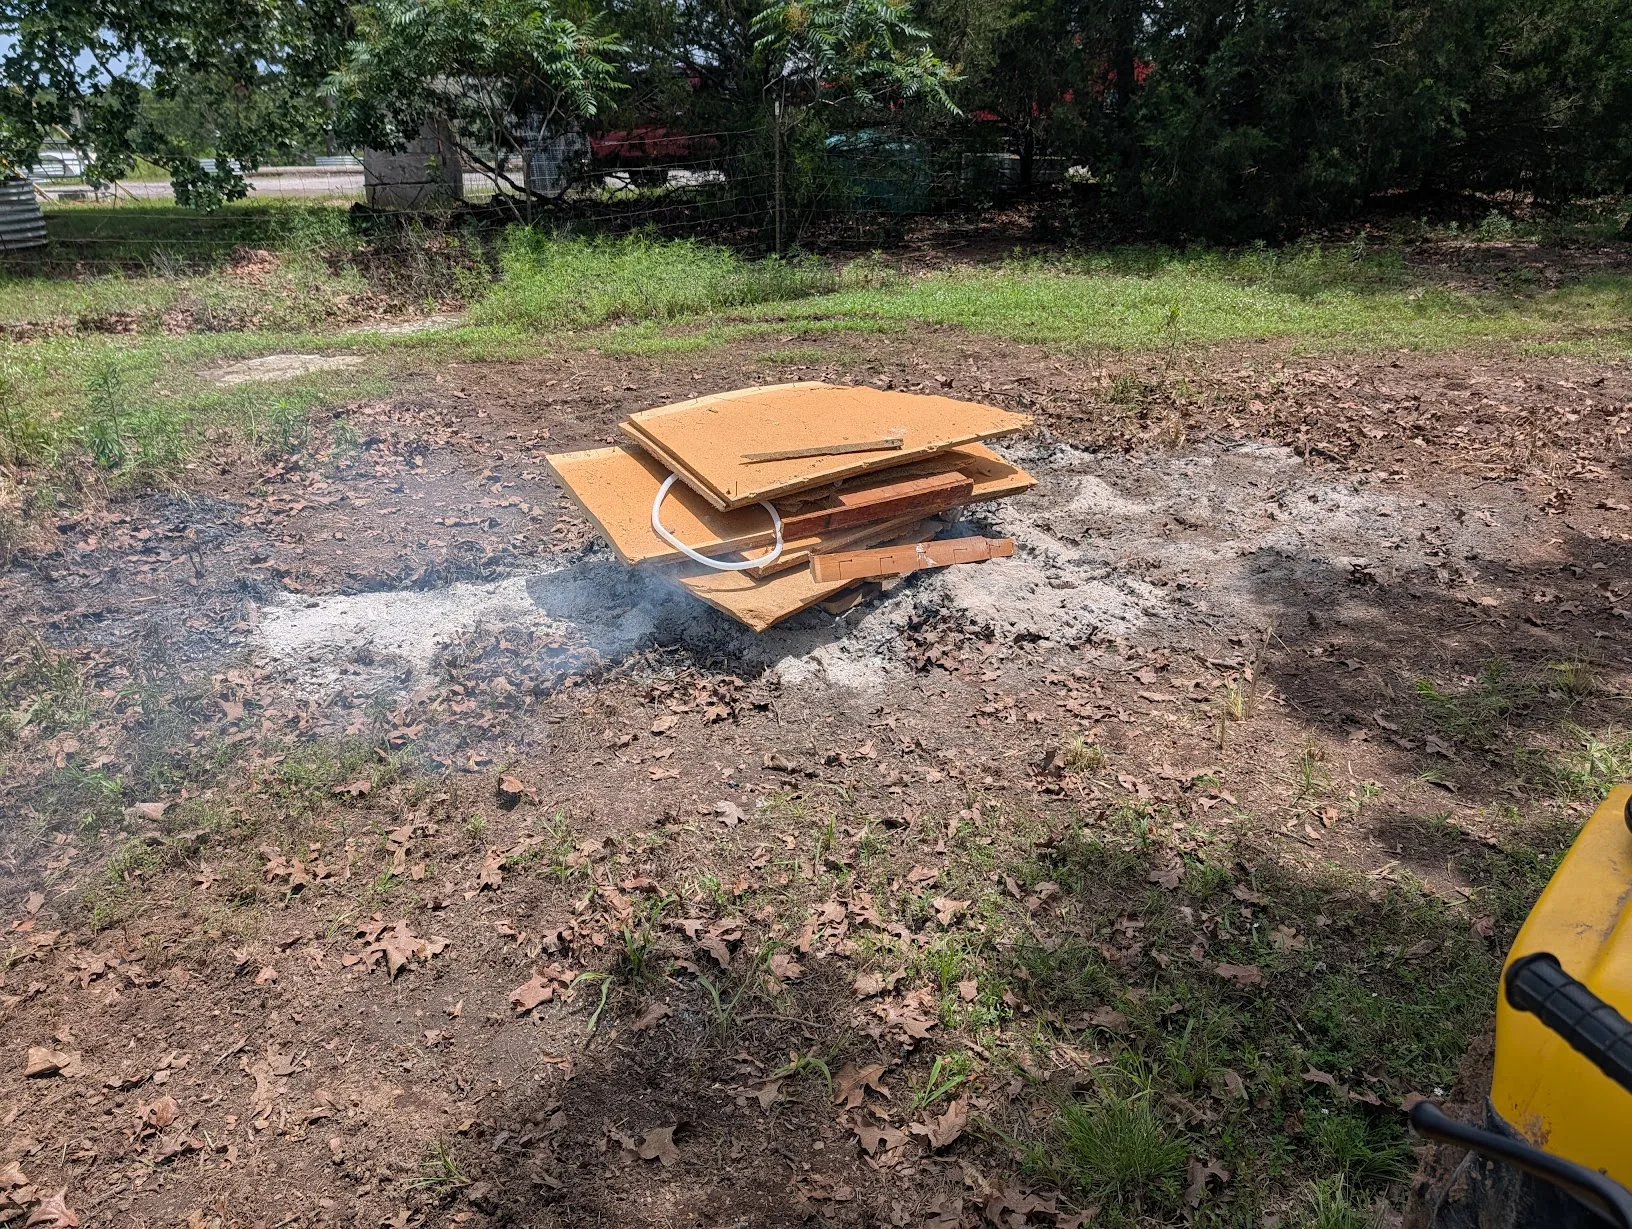
Don't worry — its mostly particle board. I kept all of the good 2x4s.
Installing
Hardiboard
Next up, I installed the hardiboard. This is, basically concrete board. Its extremely heat and fire resistant, water proof.... and.... I felt this would make a good backing.
I am very strongly considering getting a few more sheets, and installing this along the ceiling, and finishing out the rest of this area of the garage with it.
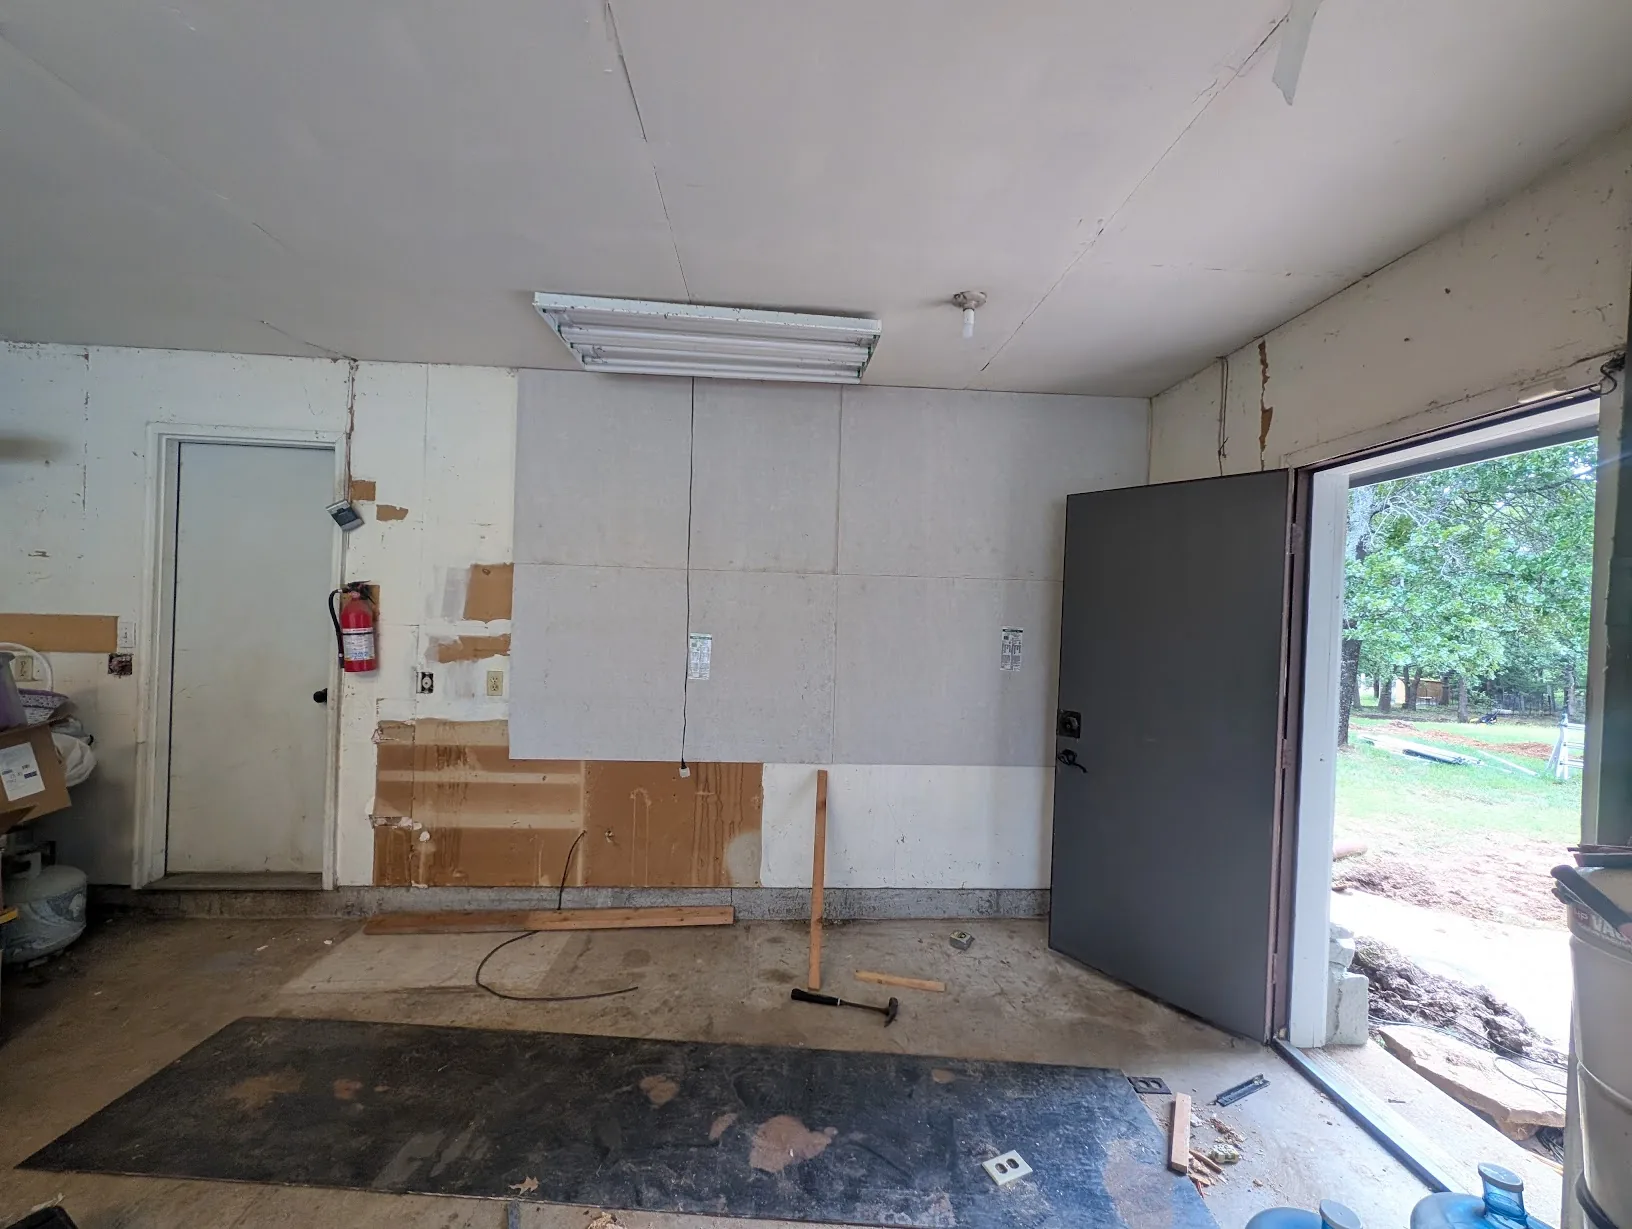
Its pretty cost-effective too, at 89c/sq-ft. Home Depot - HardieBacker
Installing Unistrut
I wanted to use unistrut, on the full length of this wall, for mounting components. Having used it for my original project — I am a big fan.
Home Depot - 10ft 12-Gauge Strut Channel
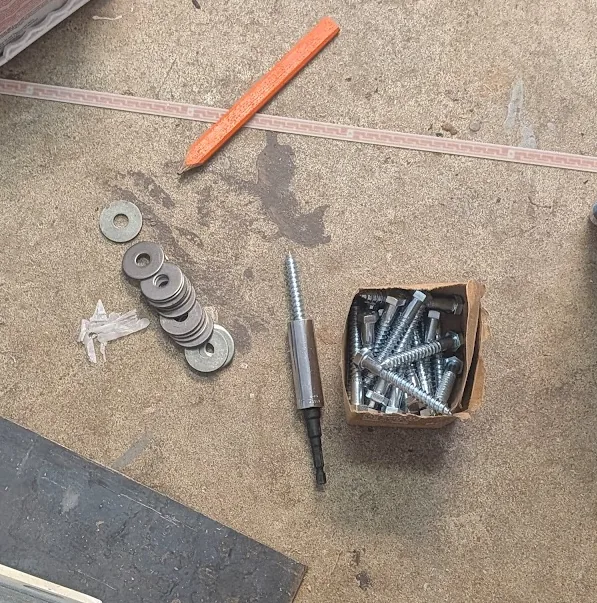
The first step is to have lag bolts to properly secure it into studs. And washers.
The struts are all installed 1 ft apart, from face to face. There is room for a rail on the top, with 1ft above and below as well. I am undecided if I will add this.
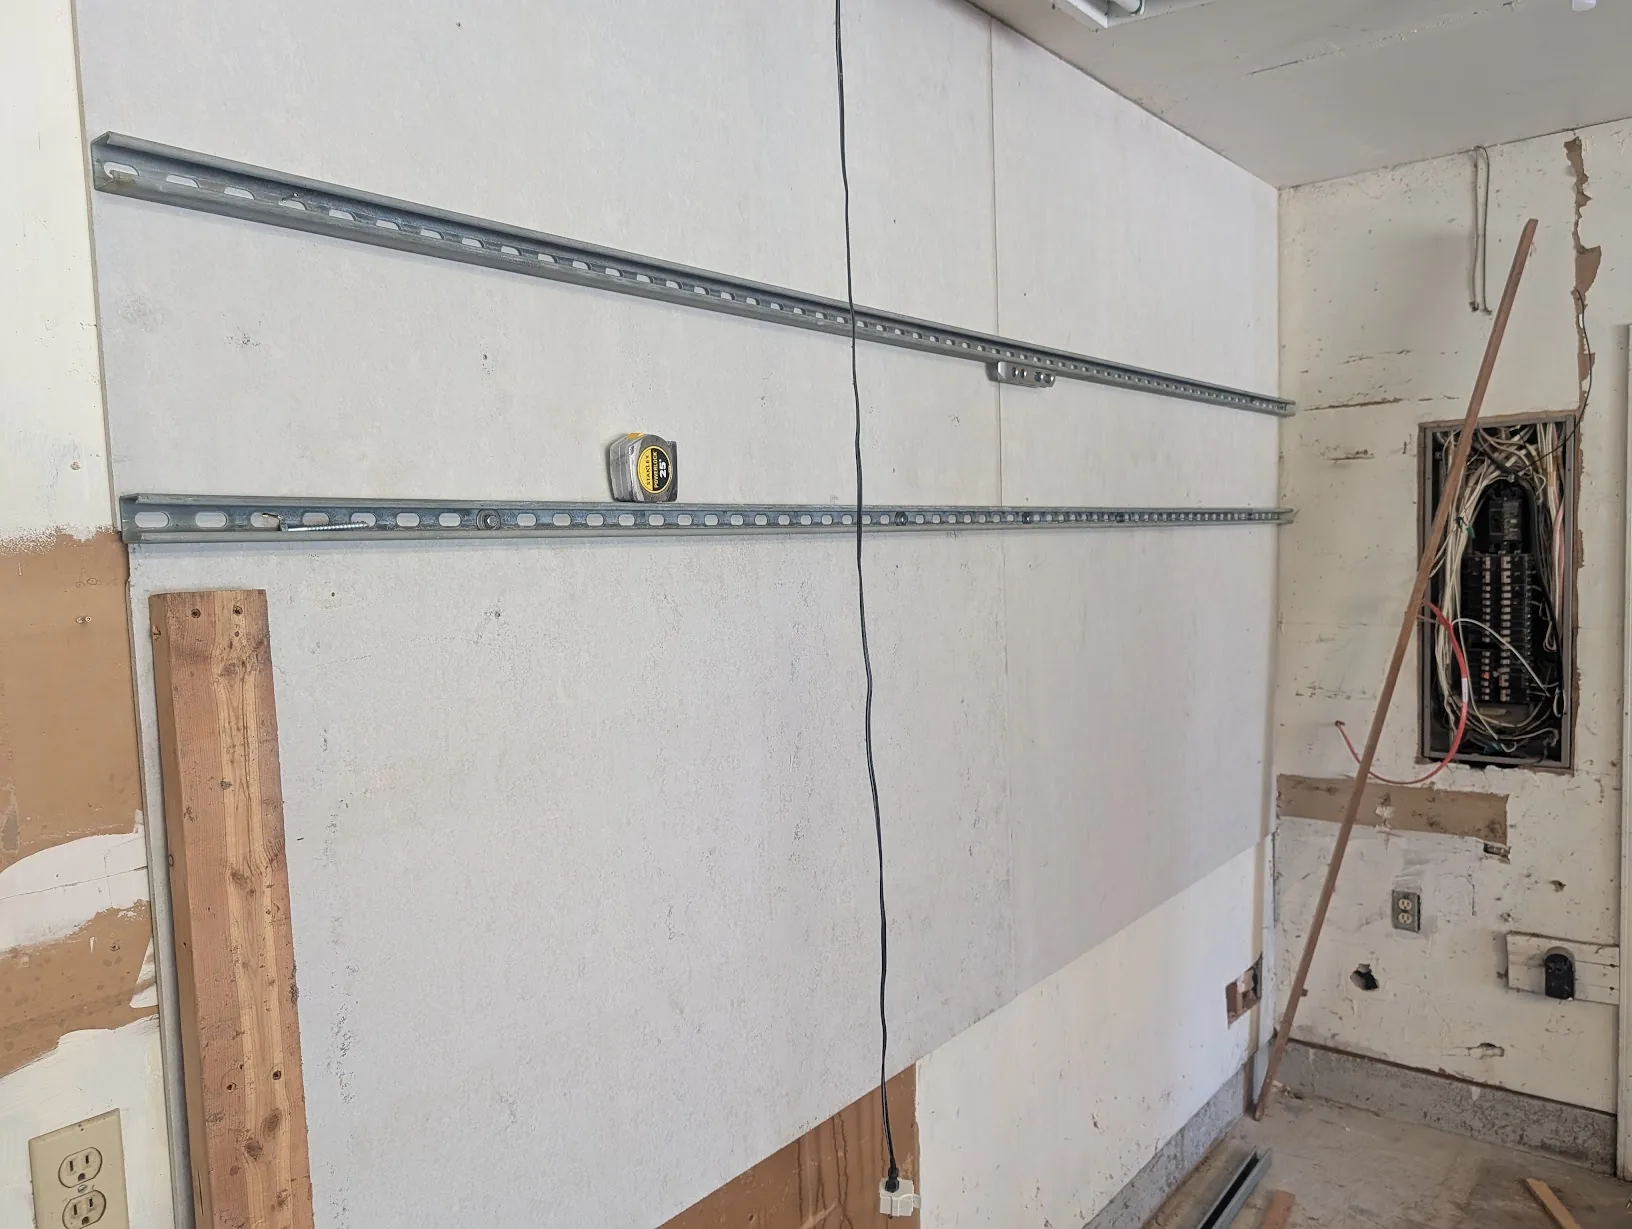
With all three rails mounted, starting to make a little bit of progress.
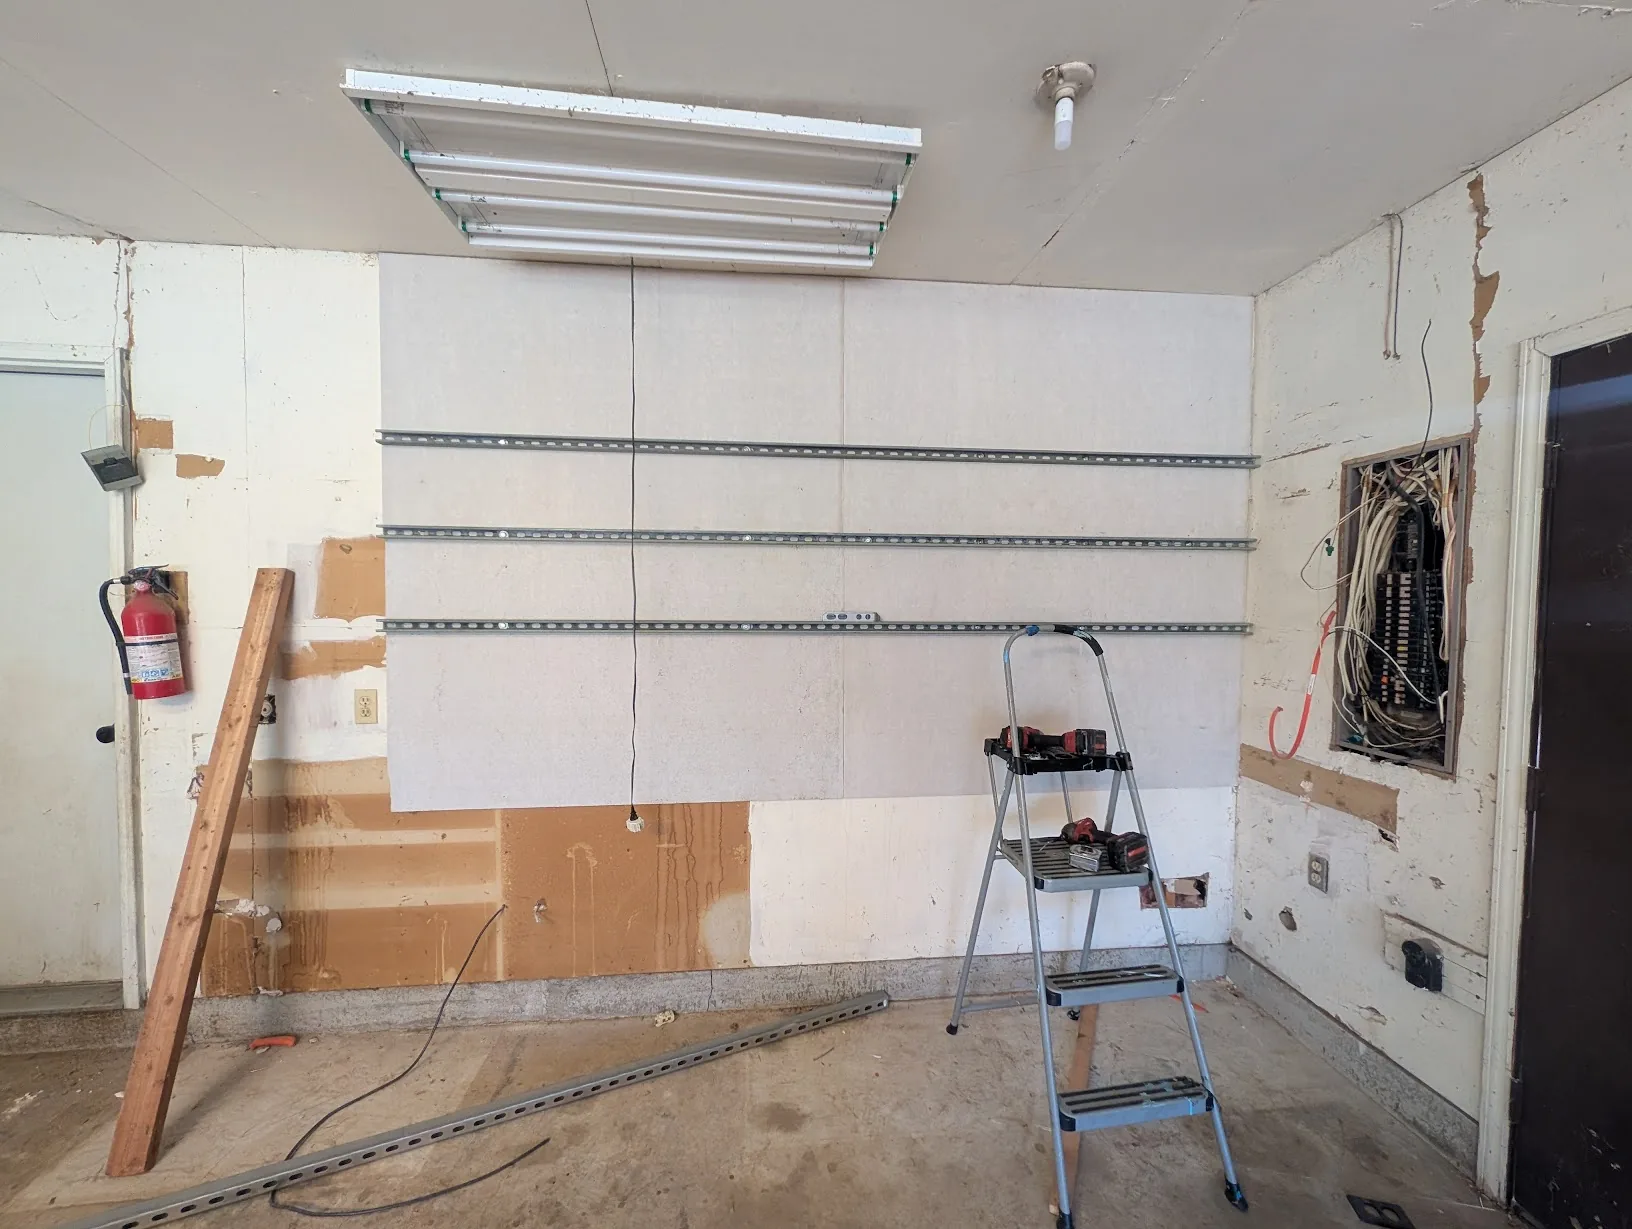
I was able to hit 6 studs for each rail. It will have no problems at all holding quite a bit of weight.
Mounting EG4 GridBoss
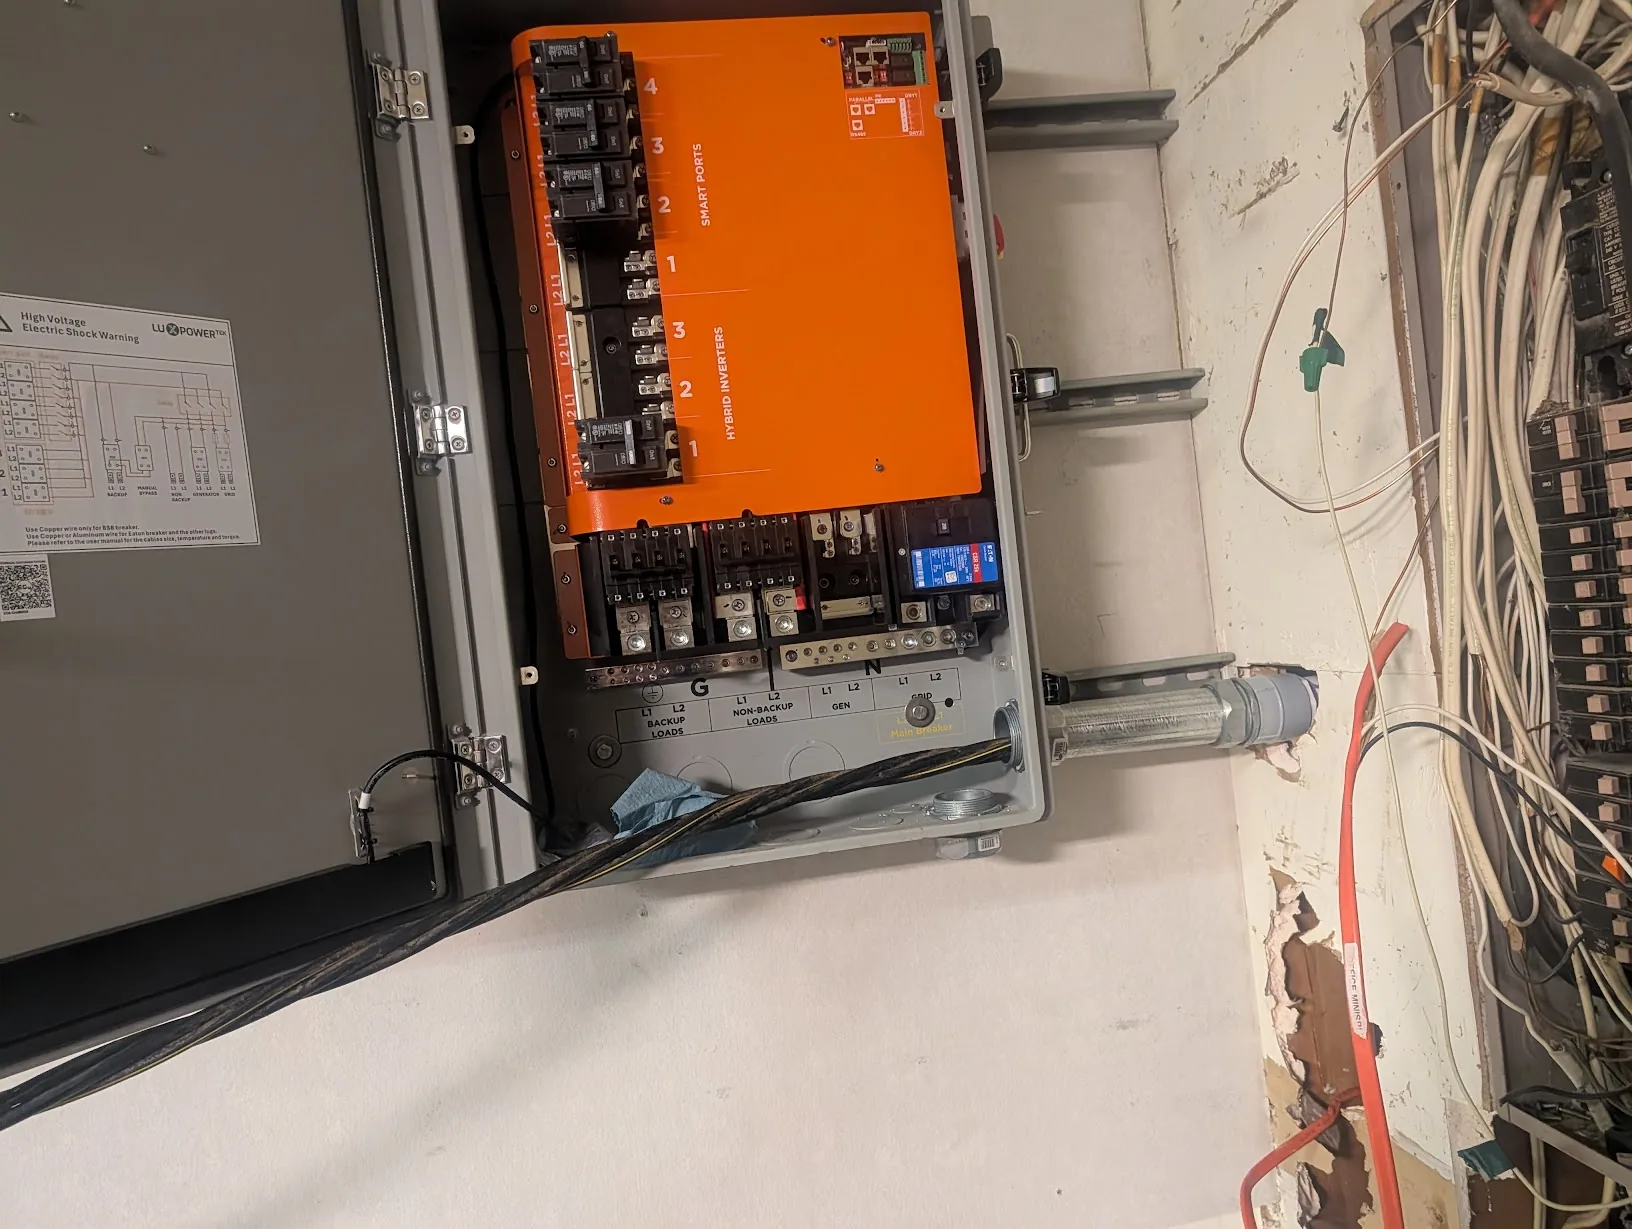
I did decide to use the EG4 GridBoss for this install, to simplify slightly.
If its worth the price, remains to be determined — especially as I already had a 200A Eaton transfer switch from my previous install.
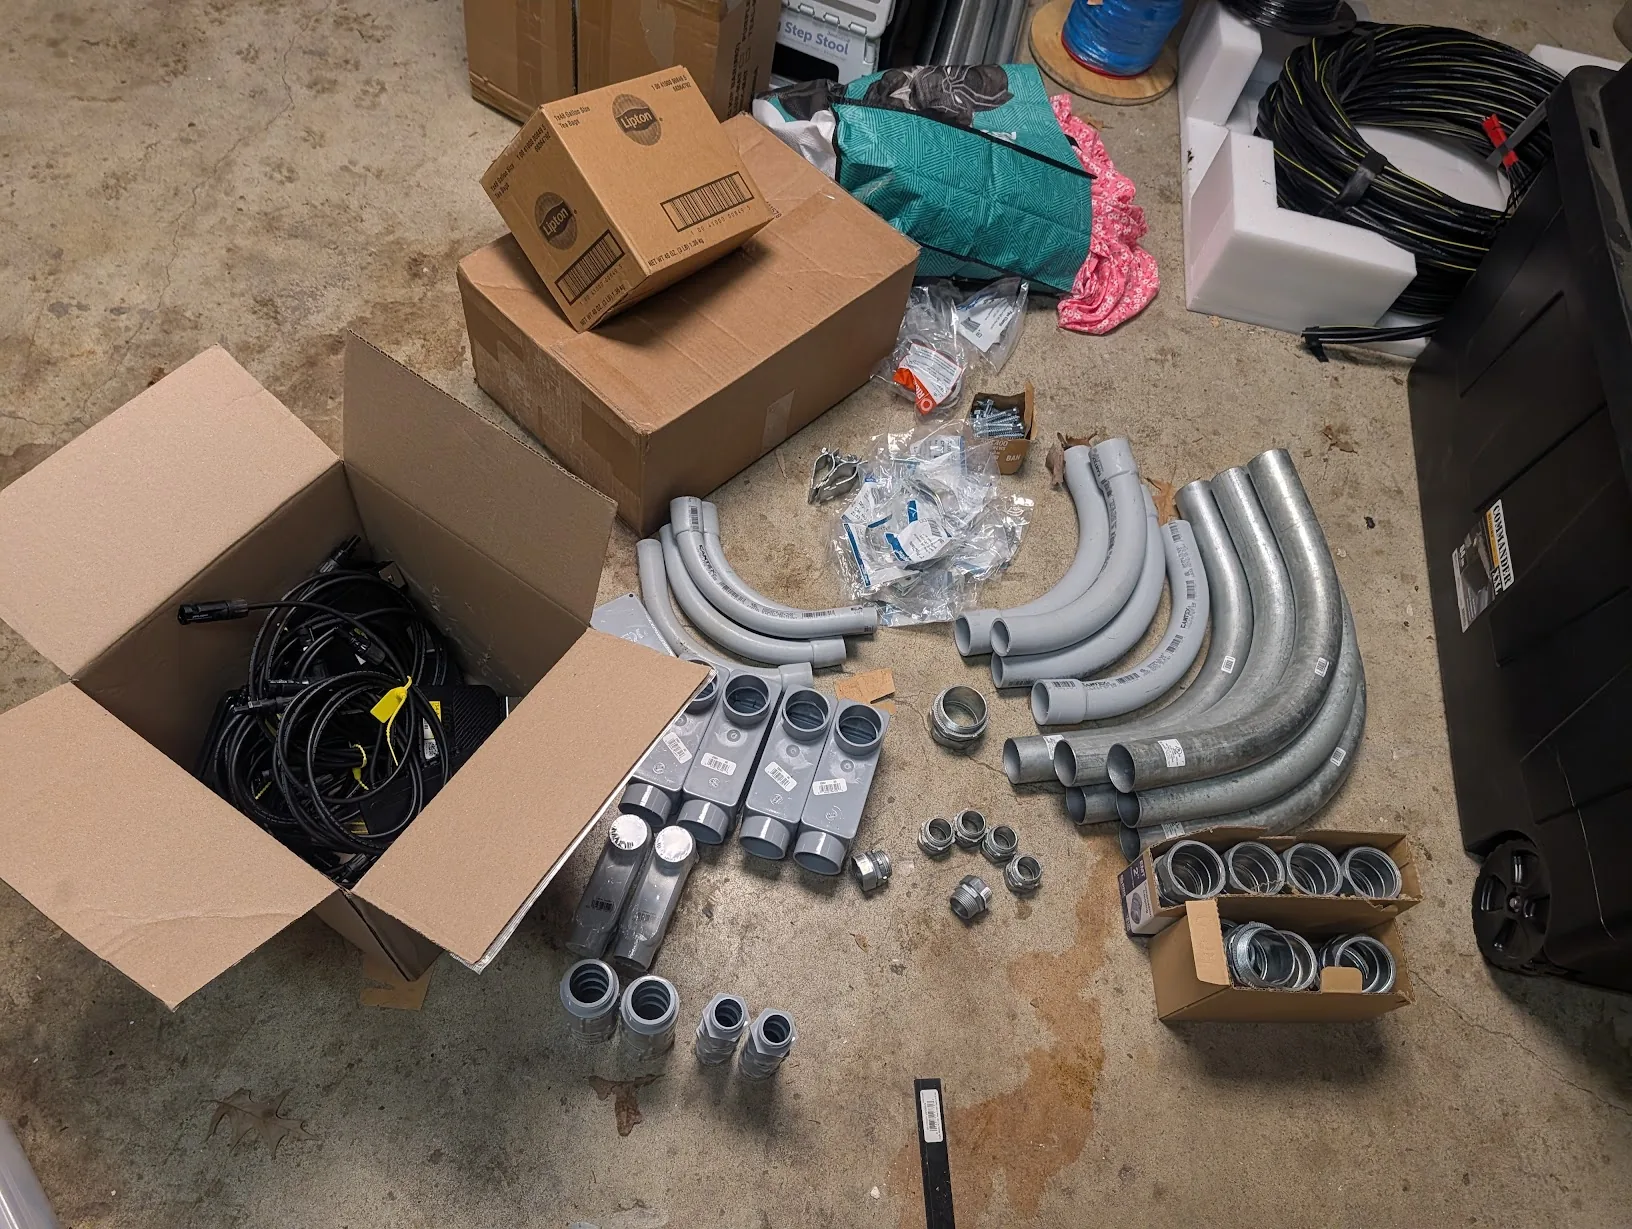
To start though, you will need some hardware.
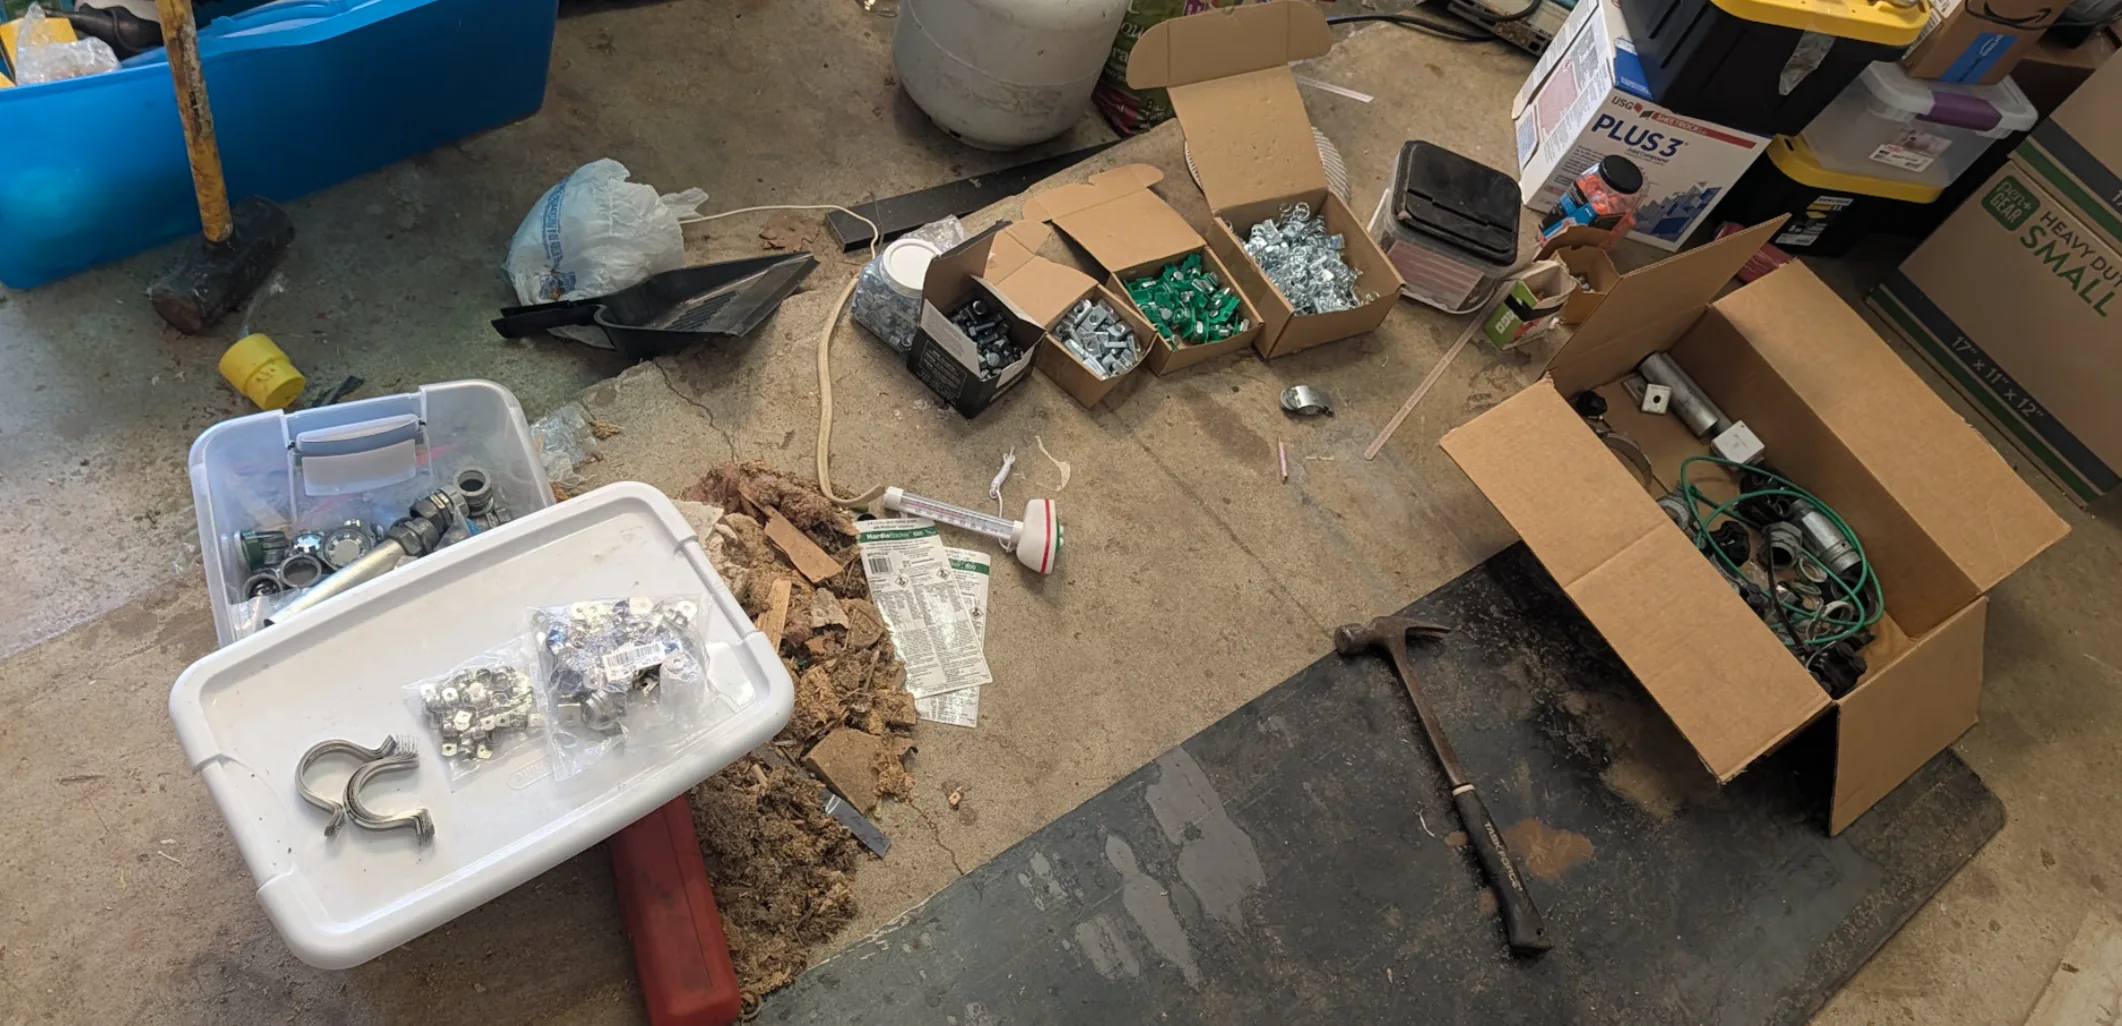
I am using 3/8" - 16 Strut Channel Nut/Bolts1. The price for these was pretty good, I felt. I did also have 1/2" hardware, however, it was too big to fit in the brackets for the EG4 hardware.
To mount the GridBoss, just attach the bracket using two of the strut channel fasteners linked above.

And then hoist it on the wall. The same steps apply for the EG4 FlexBoss21.
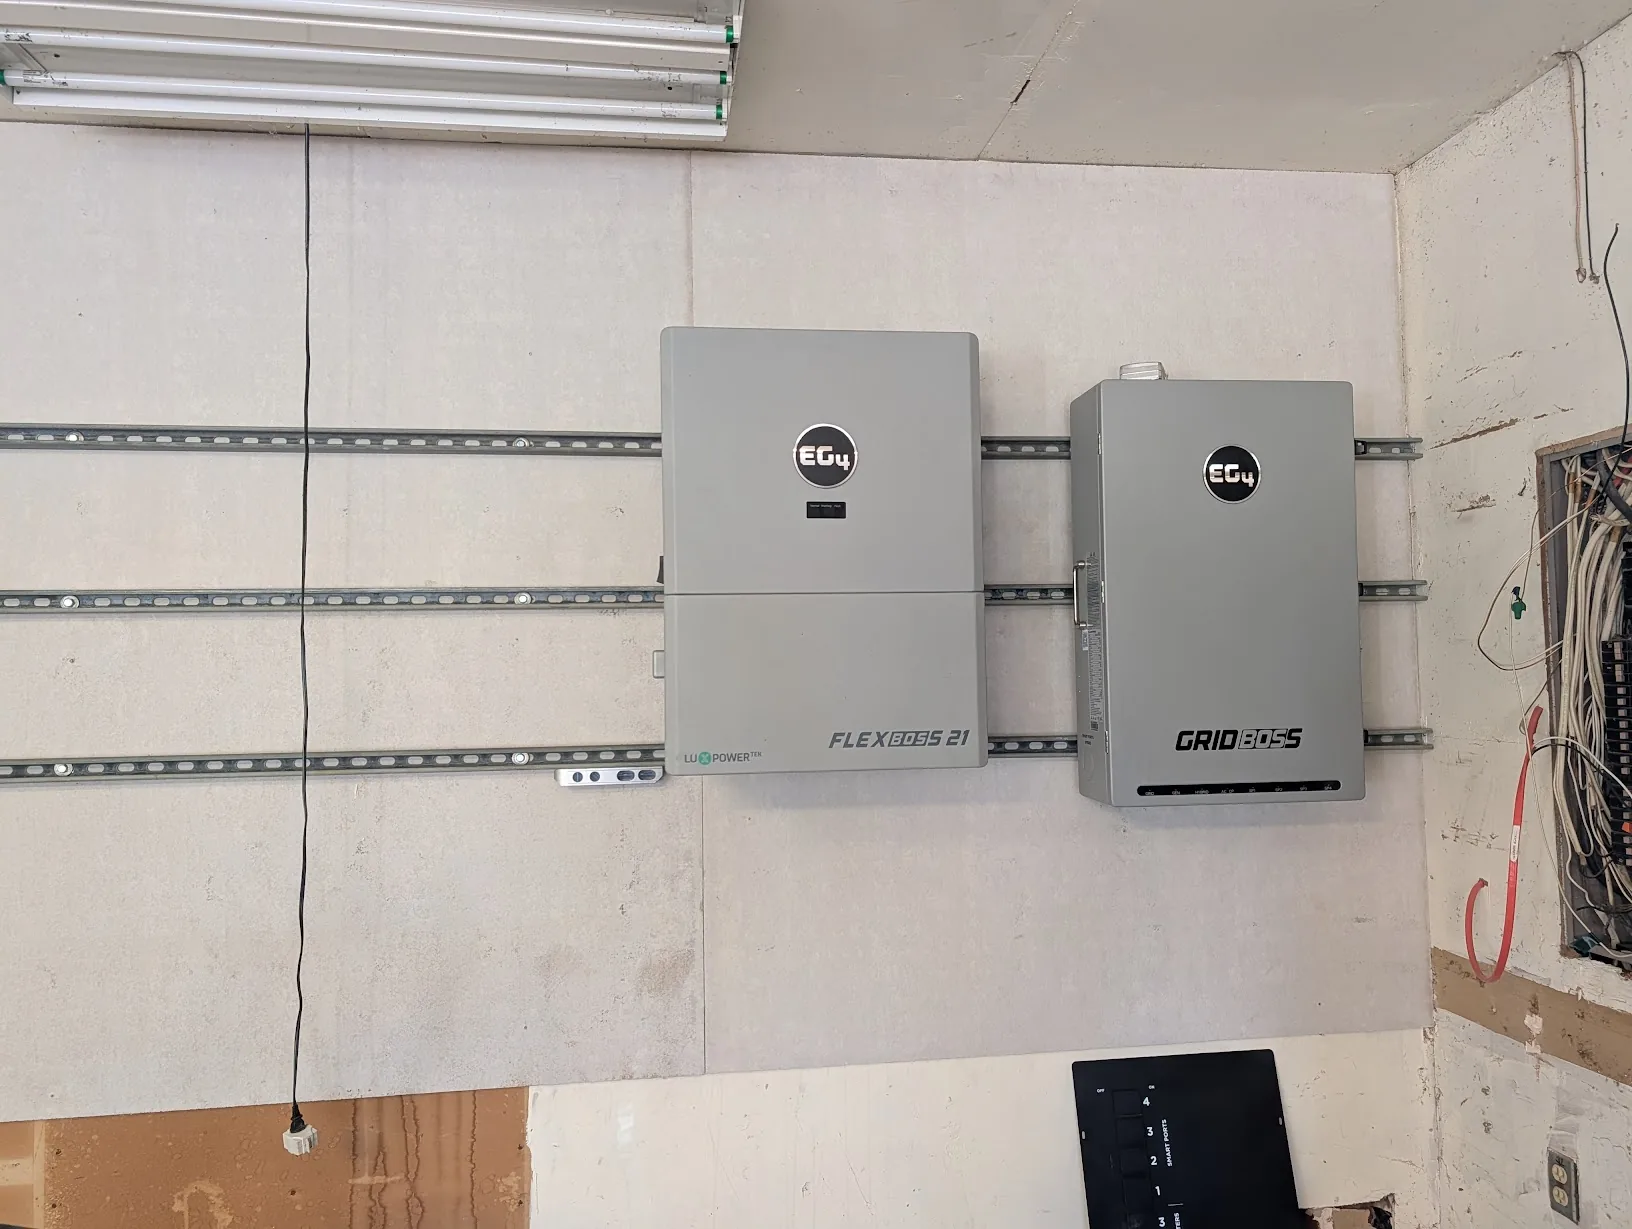
For the GridBoss, I did drill two holes in the lower part of the case, to add an additional pair of fasteners to the strut channel.
You know, in the event I want to do pull-ups using its case.
GridBoss Breakers
The GridBoss did not come with breakers, and the package which did come with breakers used BSB breakers. I have been a big fan of Eaton, and instead, ordered Eaton breakers which are supported by this unit.
Amazon, from what I saw, had the most cost-effective prices.
- Eaton CSR2200N — Type CH, 200 Amp main breaker kit.
- This is the MAIN breaker which the grid will connect to.
- Eaton: BR260 - Type BR, Double Pole 60A1
- I ordered three of these, and plan on using for the subpanel feeding the pool, and I have another subpanel which contains three AC units. Two mini-splits, and the central AC compressor.
- Eaton: BR290 - Type BR, Double Pole 90A1
- This is the recommended breaker size for the EG4 FlexBoss21.
- Eaton: BR2100 - Type BR, Double Pole 100A1
- I plan on using this breaker for the new cable ran to the shed/shop.
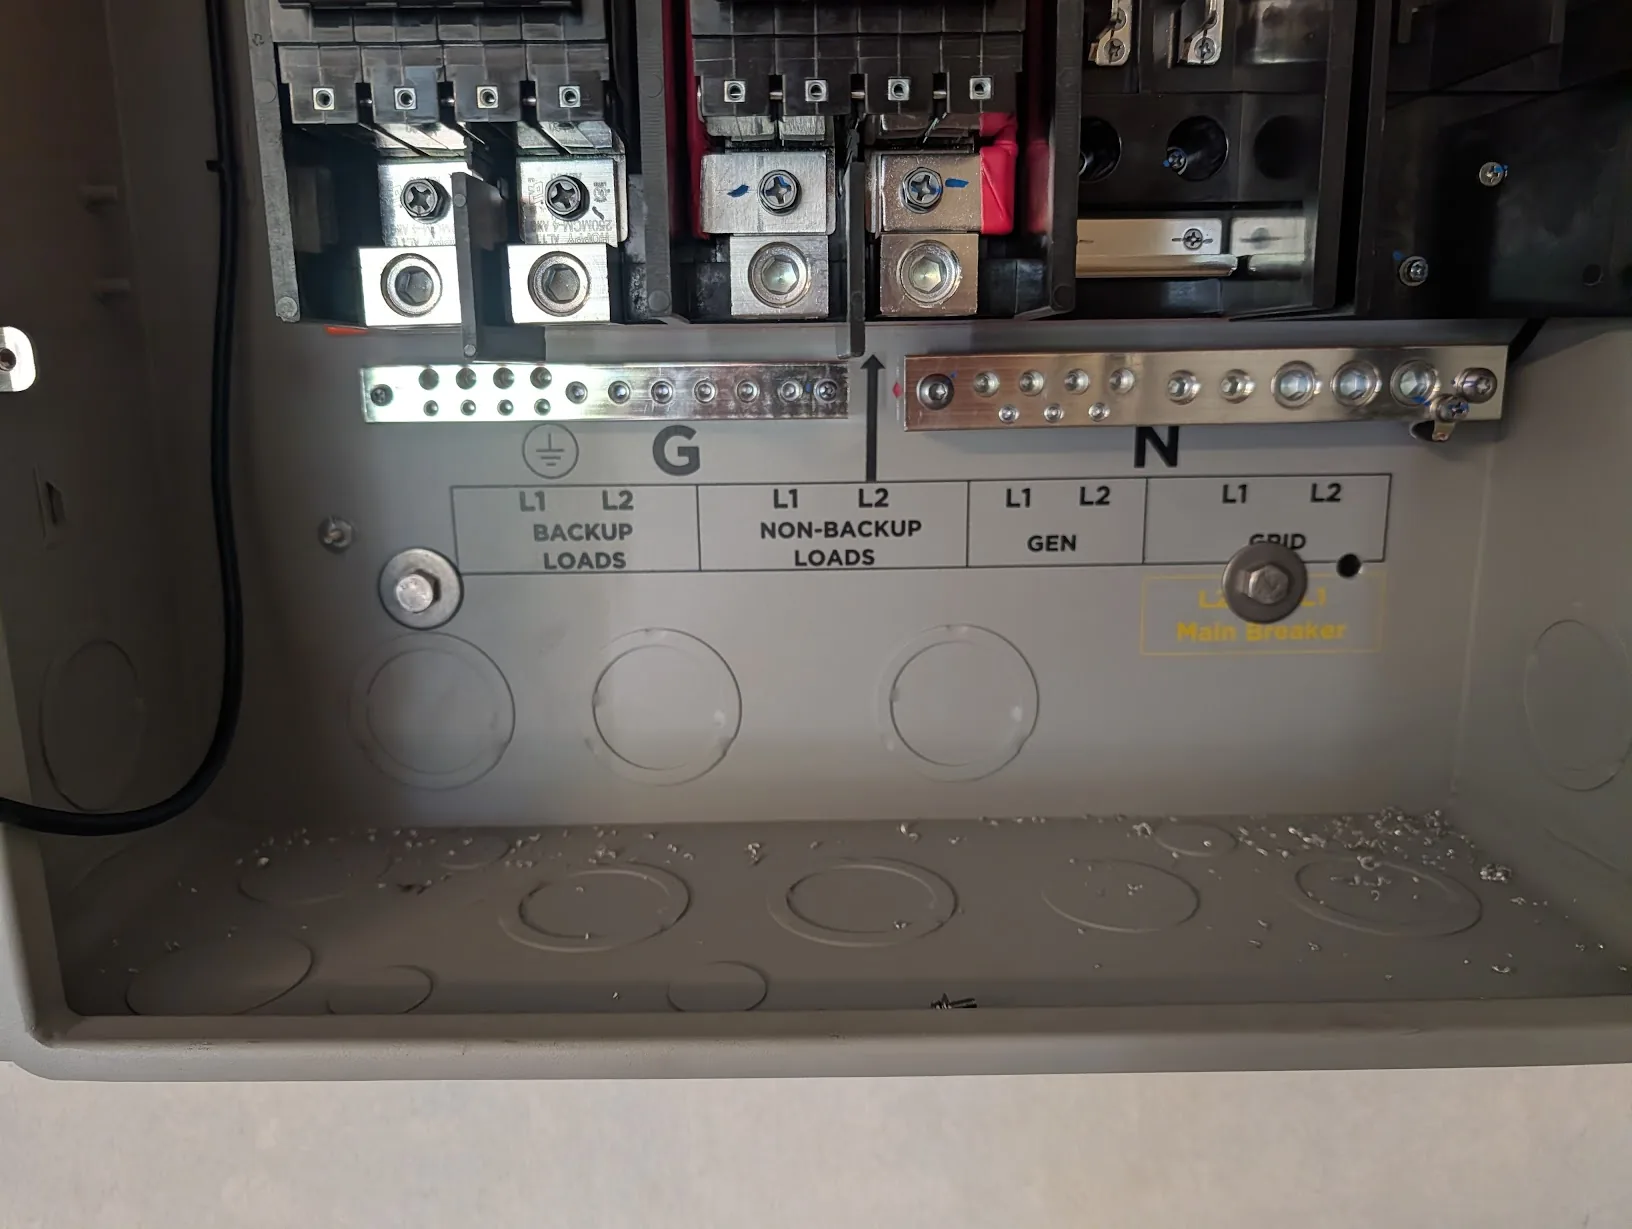
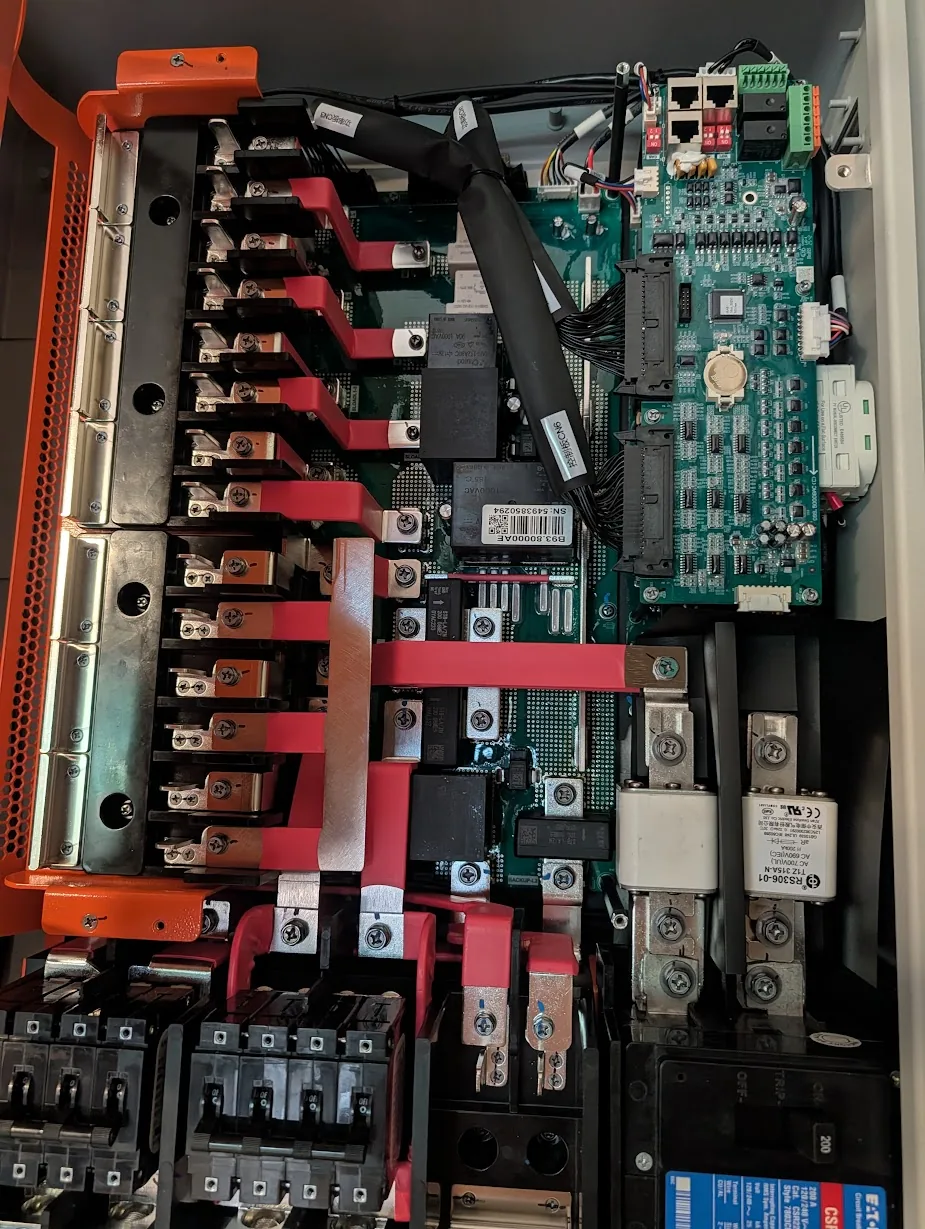
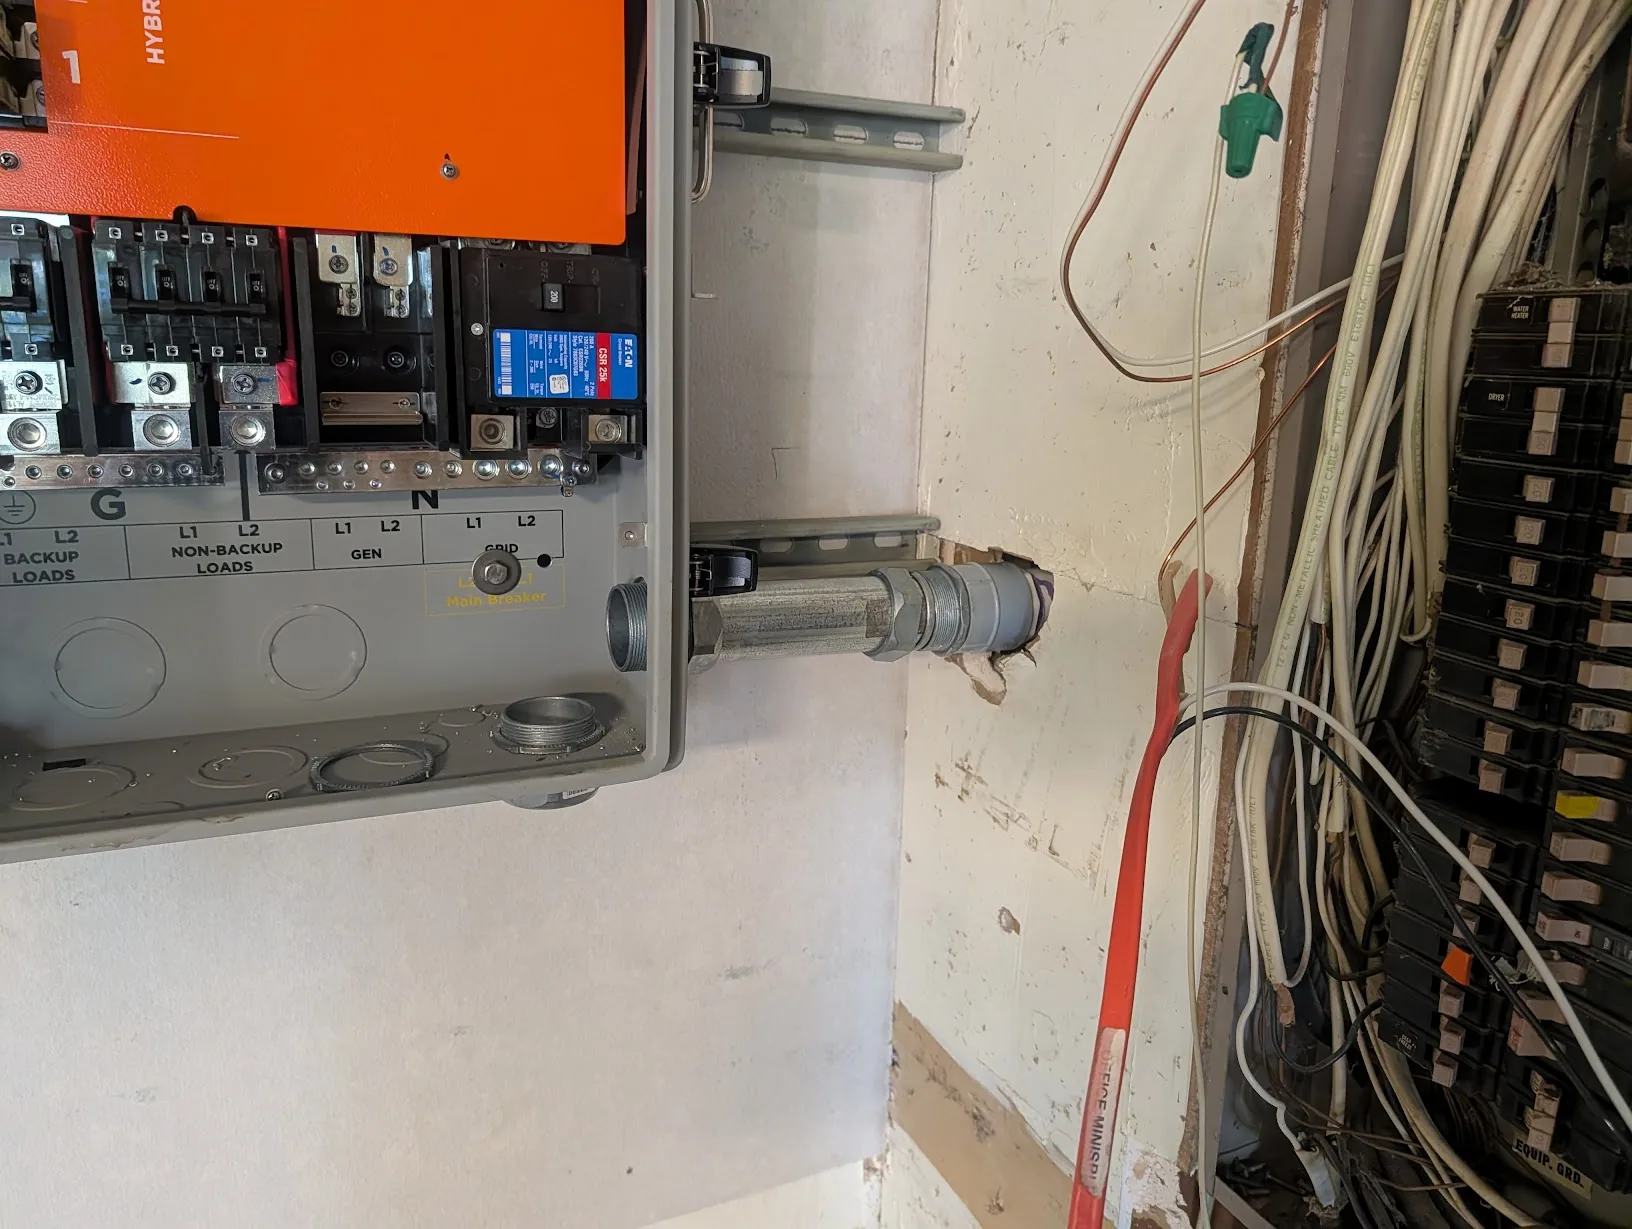
While installing the 200A main breaker, I did take a picture of the internals of the GridBoss. Quite a few more electronics then I expected. Nice beefy copper bus bars as well.
Terminating Garage Power Cable
Originally, the power for my shop was a tiny wire terminated directly at the main panel. That, in itself isn't that bad... BUT...
You will notice there is not a breaker inside of the shop's subpanel.
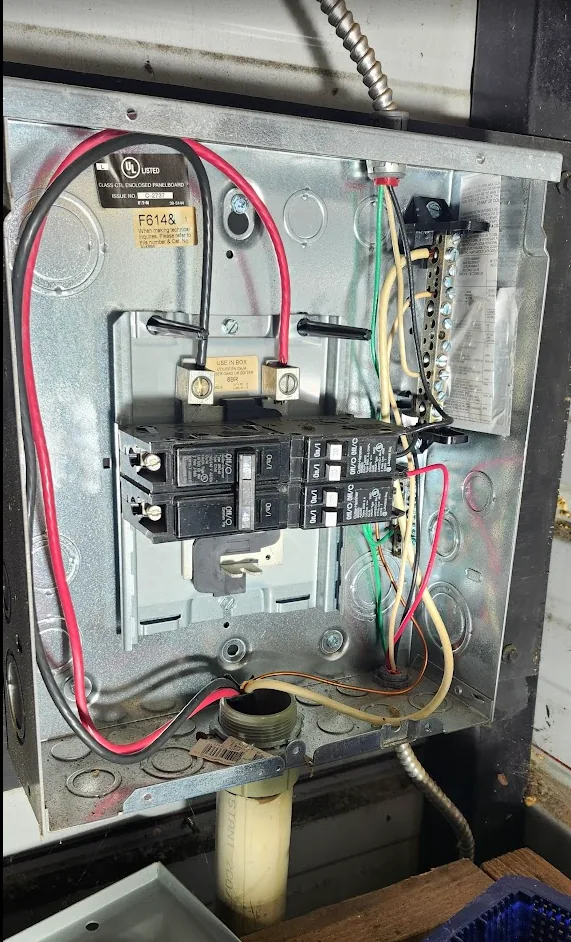
The reason this is a big issue — the other end of this cable was spliced DIRECTLY behind the 200 amp MAIN breaker. There is absolutely nothing in place to protect this wire. At all. And the wire is significantly undersized for a 24x30 shop, where I plan on using welding machines, air compressors, plasma torches, etc...
Sadly, I don't have a picture of the panel. And the original wire has been removed now.
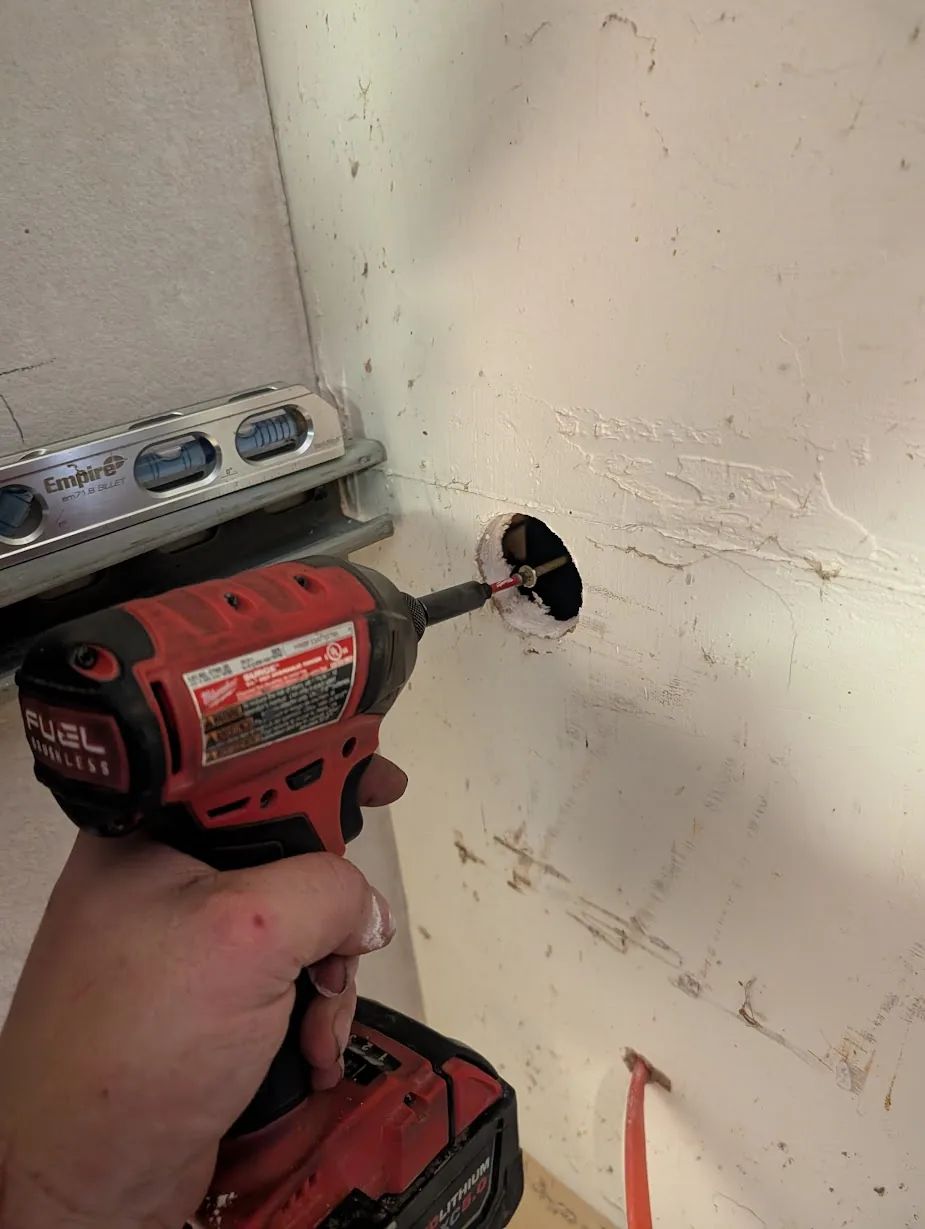
BUT, the first step was to drill a hole in the exterior wall. I used my Milwaukee Hole Saw Kit1 to drill a hole through the sheetrock. Then used a long screw to mark where I needed to drill on the other side, as my hole saw was not long enough to fully reach through the wall.
And.... based what is on the other side, I will need to move a few items....
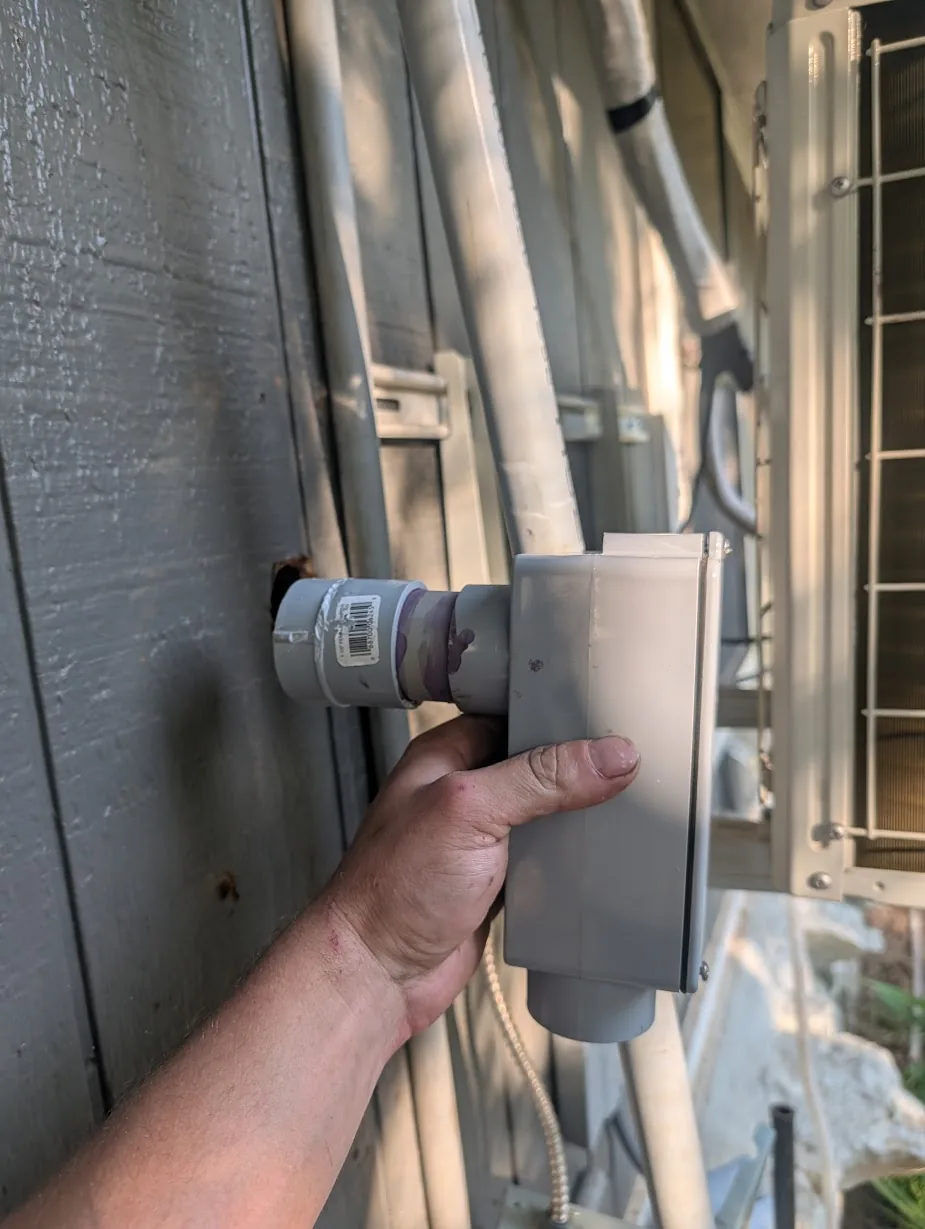
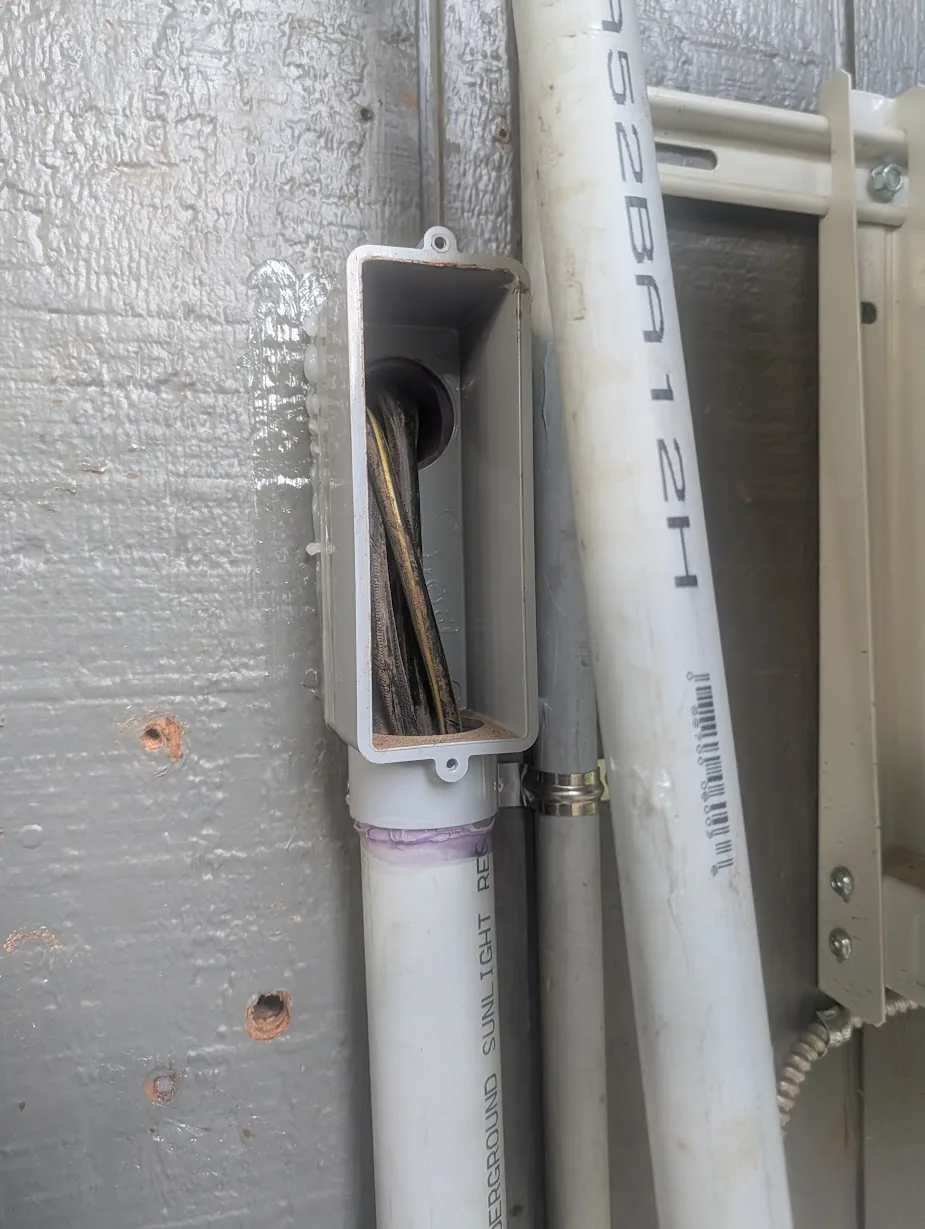
I used a weatherproof FS-style box on the exterior wall. These make pulling cable so much easier. Also, it tucks nicely against the wall, and I can caulk it up later.
I did use a slightly larger hole saw which barely fits the 1.5" female fitting. I used a knife to get it to fit in the hole, without having to make a larger hole.
As I want to use primarily EMT inside of the garage, I threaded the EMT coupler into the female 2" adapter.
This would have been 1.5", however, I did not have any 1.5" EMT, and only had 2" EMT. I did, however, have a 1.5" to 2" bushing and plenty of male/female fittings.
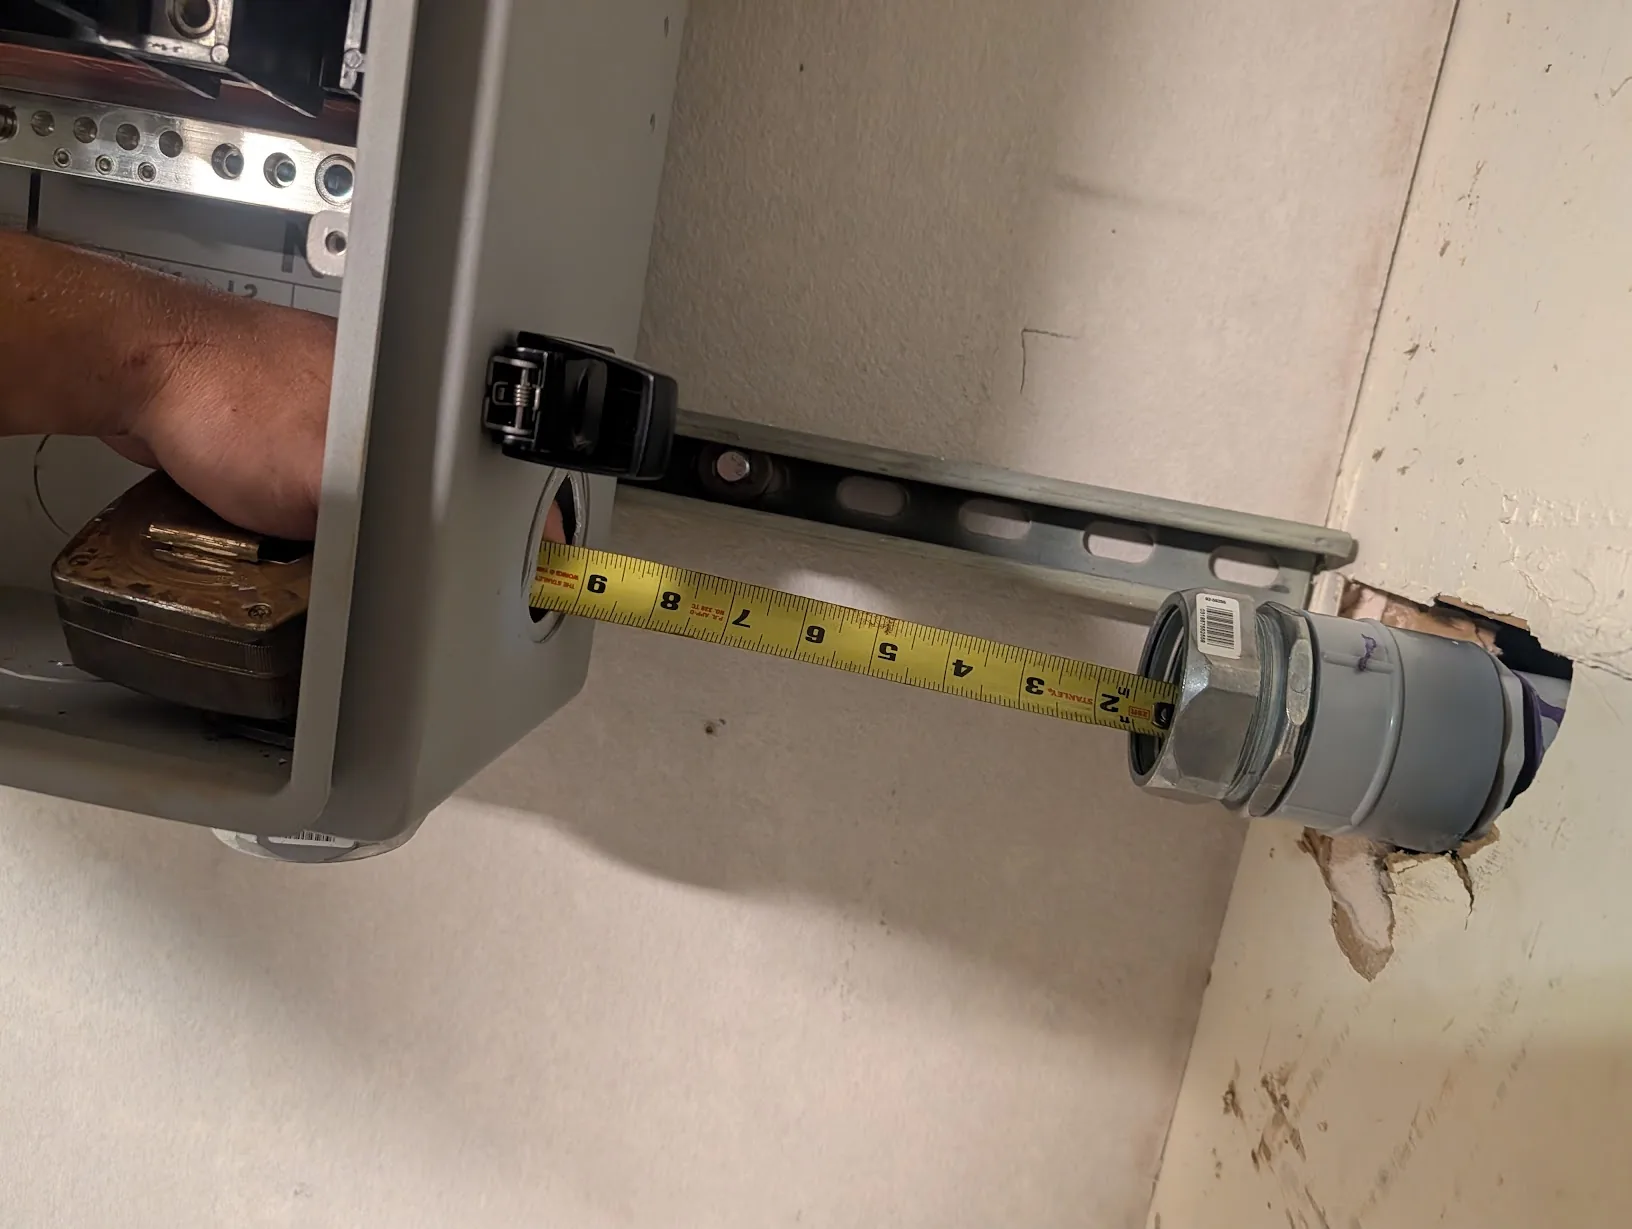
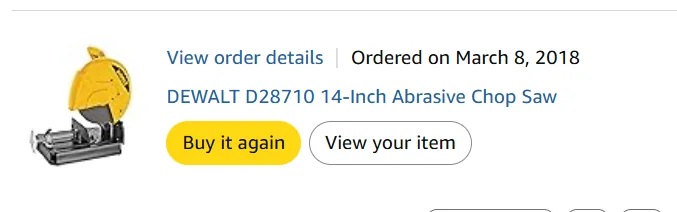
The next step was to cut a 9" piece of 2" EMT. I used my Dewalt Chopsaw1 for this.
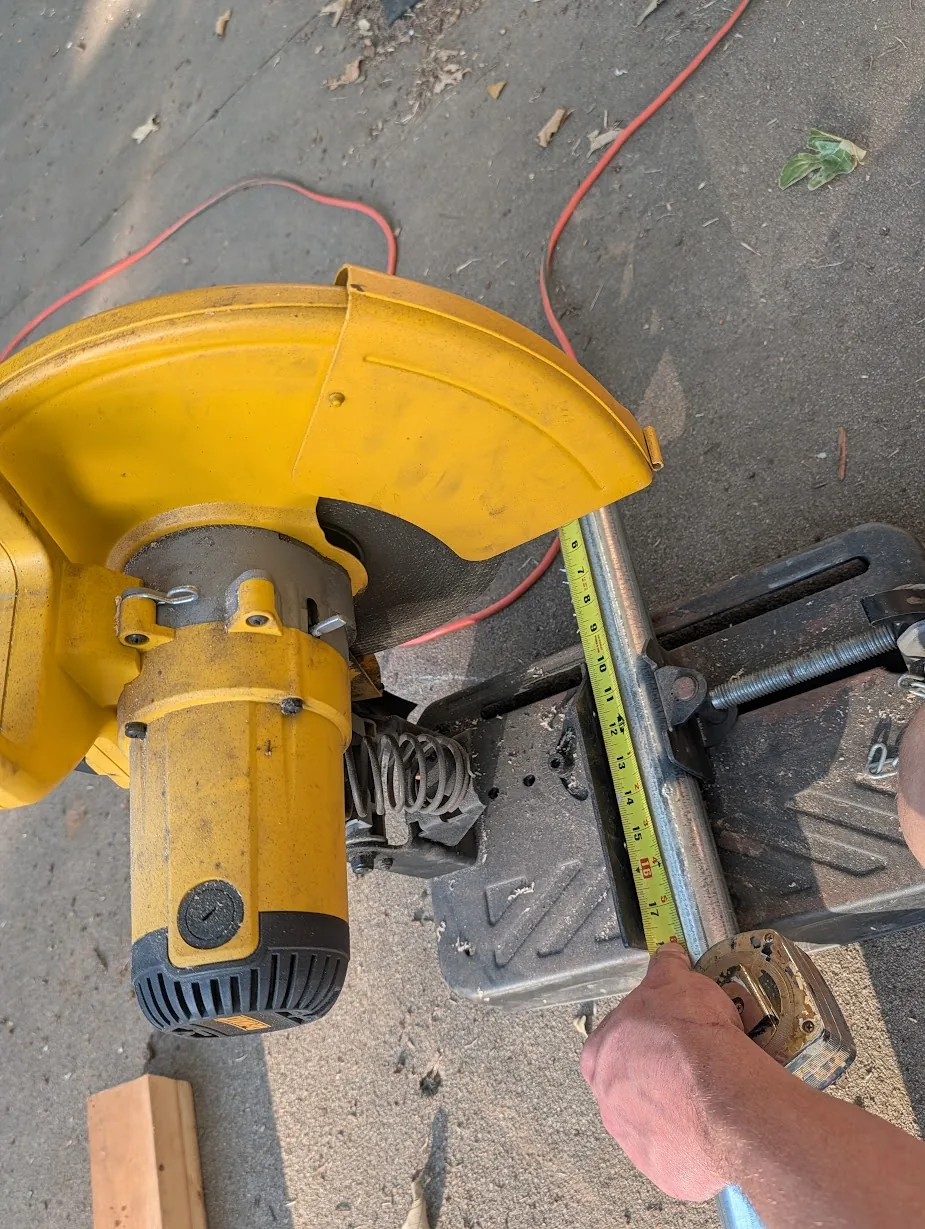
FYI — I'm not tossing around random links! If I am linking it, I am using it!!
After cutting, you will likely be left with lots of burrs.
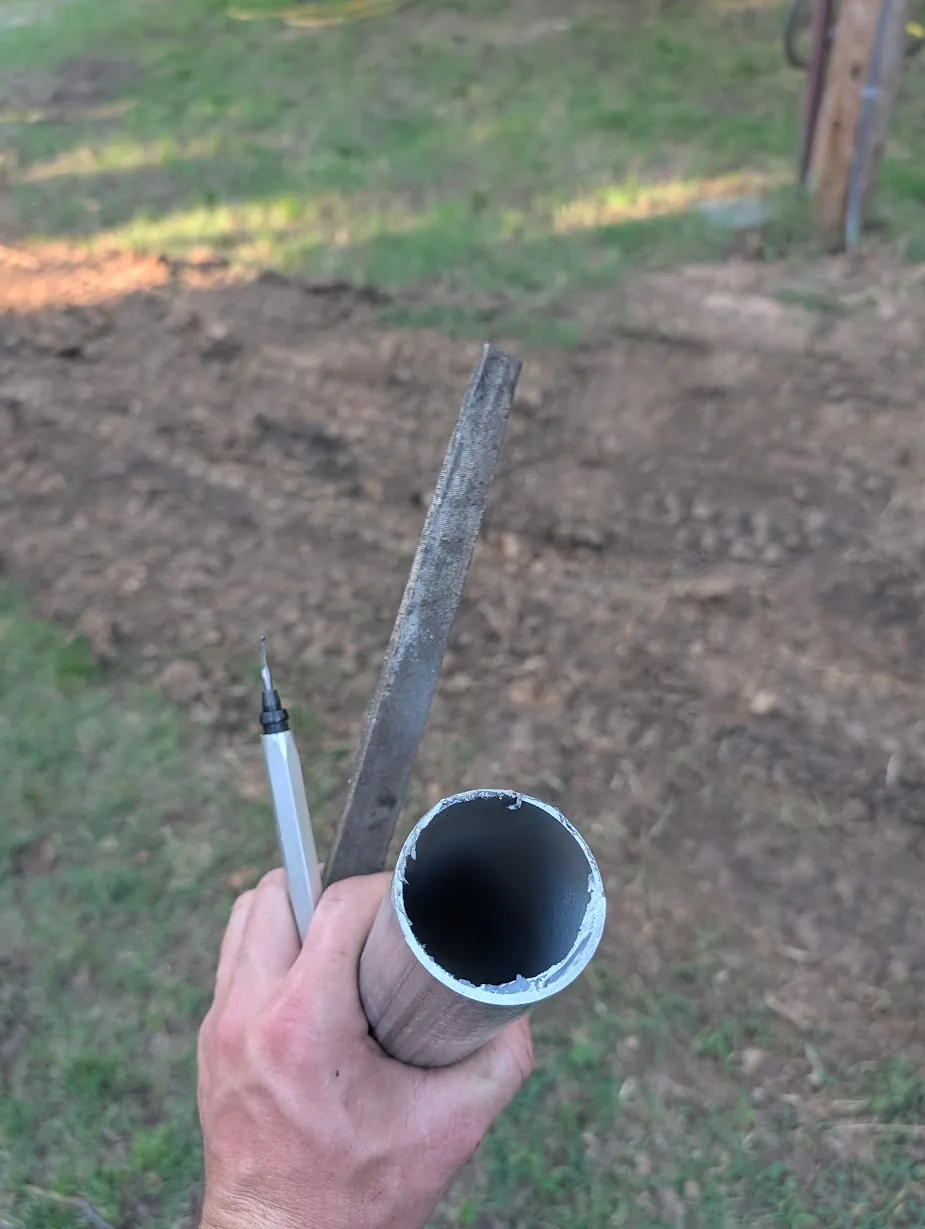
You can use a simple metal file, and deburring tool1 to clean up the ends. If you don't clean up the ends, it may slice your expensive cable and will likely make pulling cable more difficult.
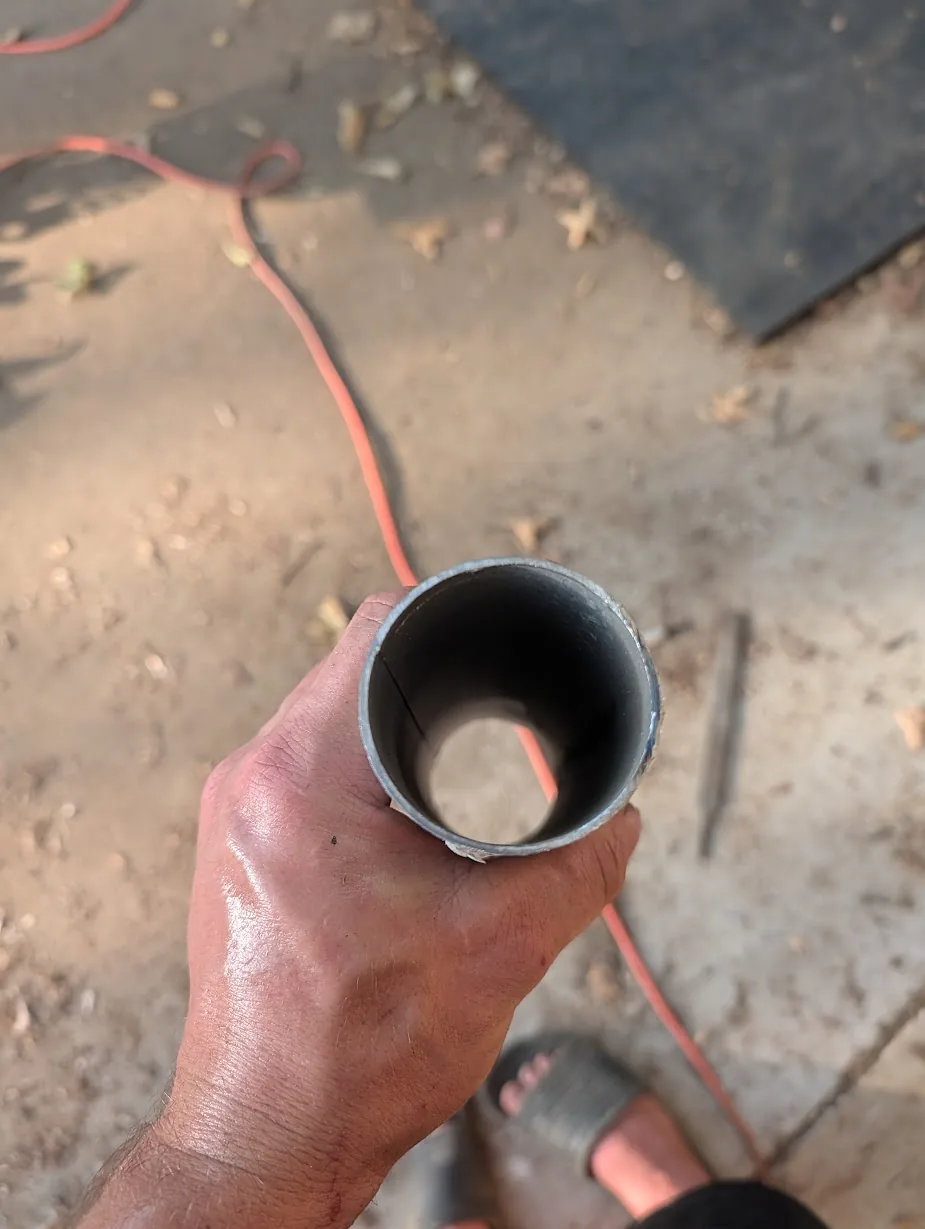
After.
Note — I am sweating a lot. Its only 90F outside.... but, the humidity is insane today.
After cutting and threading, I did a test fit of the pipe.
I am using Sigma ProConnex 2" Compression Connectors here. I personally like how these look.
The EMT is standard 2" EMT from Home Depot.
You will be seeing a lot more EMT soon enough...
After I was happy with the conduit, I applied liberal amounts of silicone caulking behind it, to ensure water could not seep into the walls. Then it was time to start trying to lay out the conduit, in a visually appealing way, to clear the rocks.
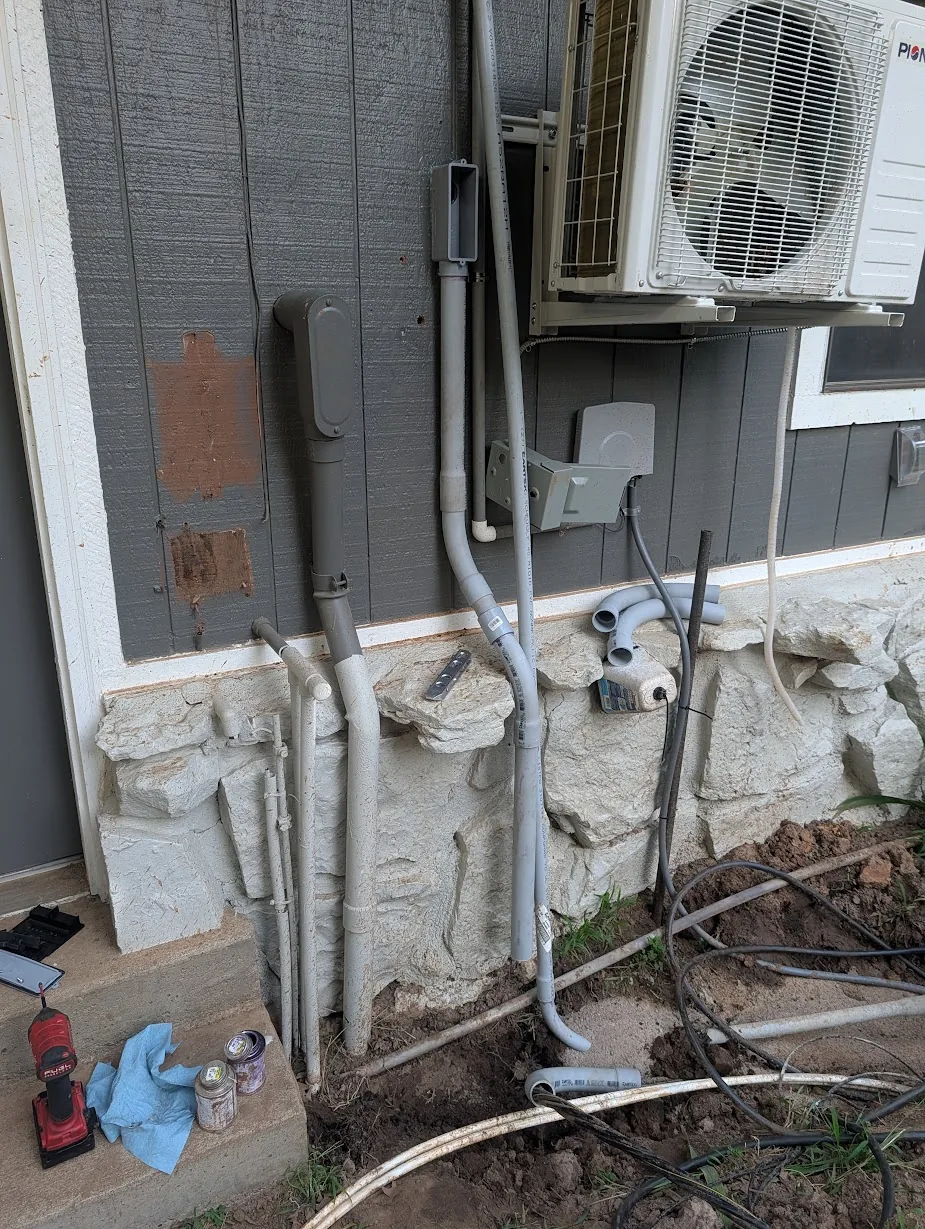
After playing with combinations of 45s and 90s, I settled on using a pair of 45s, with a short section in the middle. This was able to clear the rocks while hugging tight to the wall.
Then came the fun part — pulling big thick cable through conduit. These boxes do make pulling cable MUCH easier.

And.... with a big tug from the inside, the cable was pulled.
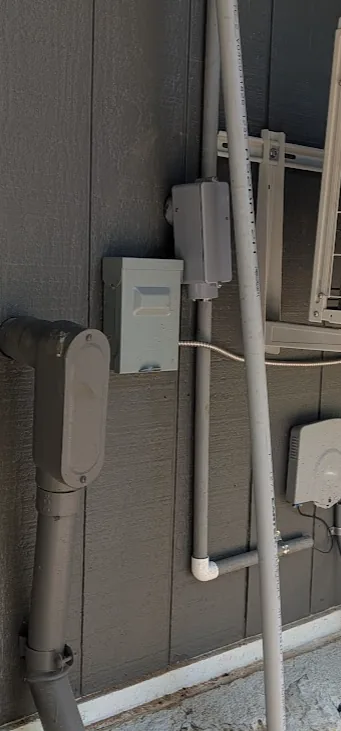
Finally, I glued the last pieces of schedule 80 together, which completed today's work on the outside of the house.
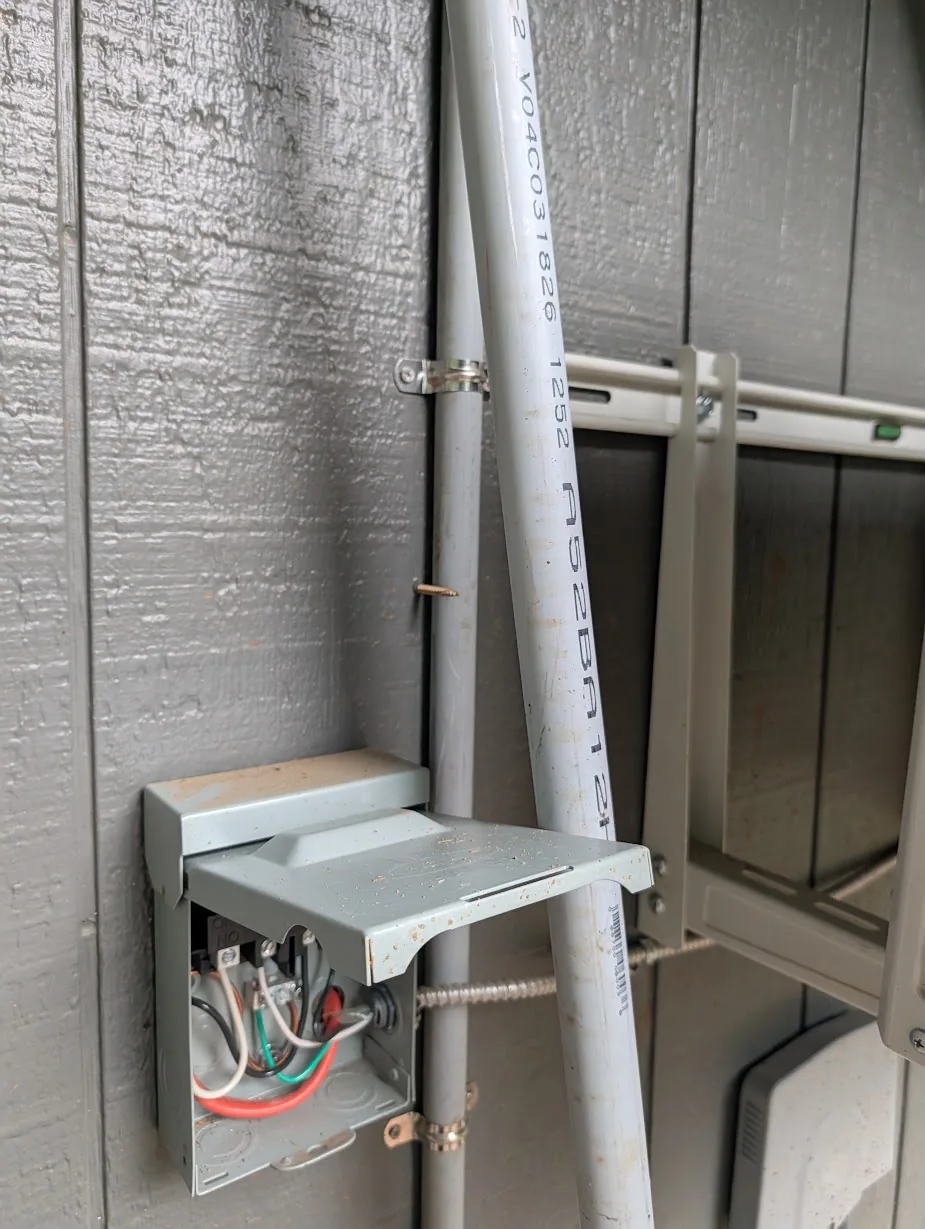
In this picture, you can also see where I relocated the shutoff/disconnect for the mini-split. It was moved about 6 inches to the right.
The random piece of 1" conduit lingering here is temporary until I have it routed inside. For the time being, it is hanging around with a cap on top to keep bugs/water/dirt/etc out.
On the inside of the shop, cable is ready to be terminated.
BUT, that is where I stopped for the day. My clothes were completely drenched in sweat, and this was after working 10 hours.
Finishing the Plumbing Repair
Remember that water pipe I cut in half when digging trenches? I did fix that issue on the same day most of the garage work was completed.
Originally, this is what I saw in the trench. A water pipe which has been cut in half.

So I cut the ends clean, and repaired with a piece of PVC.
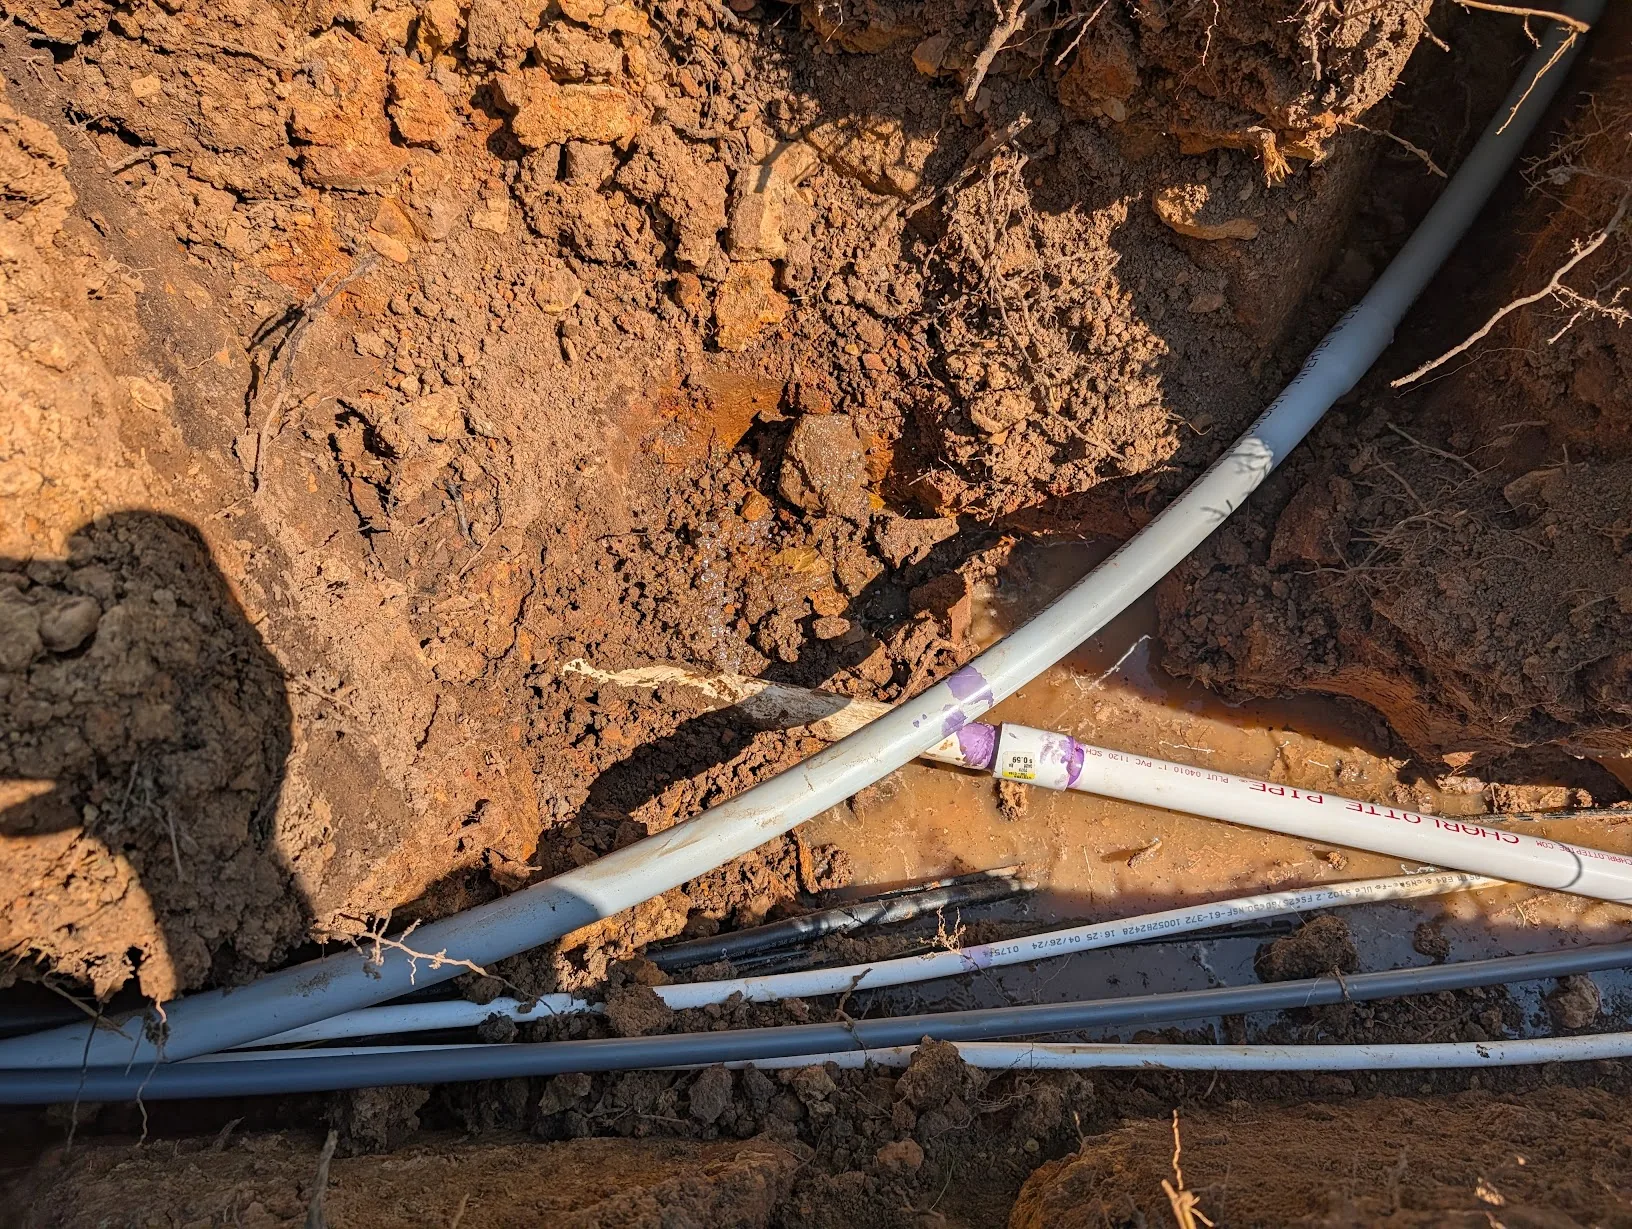
But (hard to see in the picture), if you look closely, you can see water shooting out. There was also water shooting out from the right side under the dirt, from where I had repaired it.
So I capped it for the time being, to allow me to run the outdoor faucets.
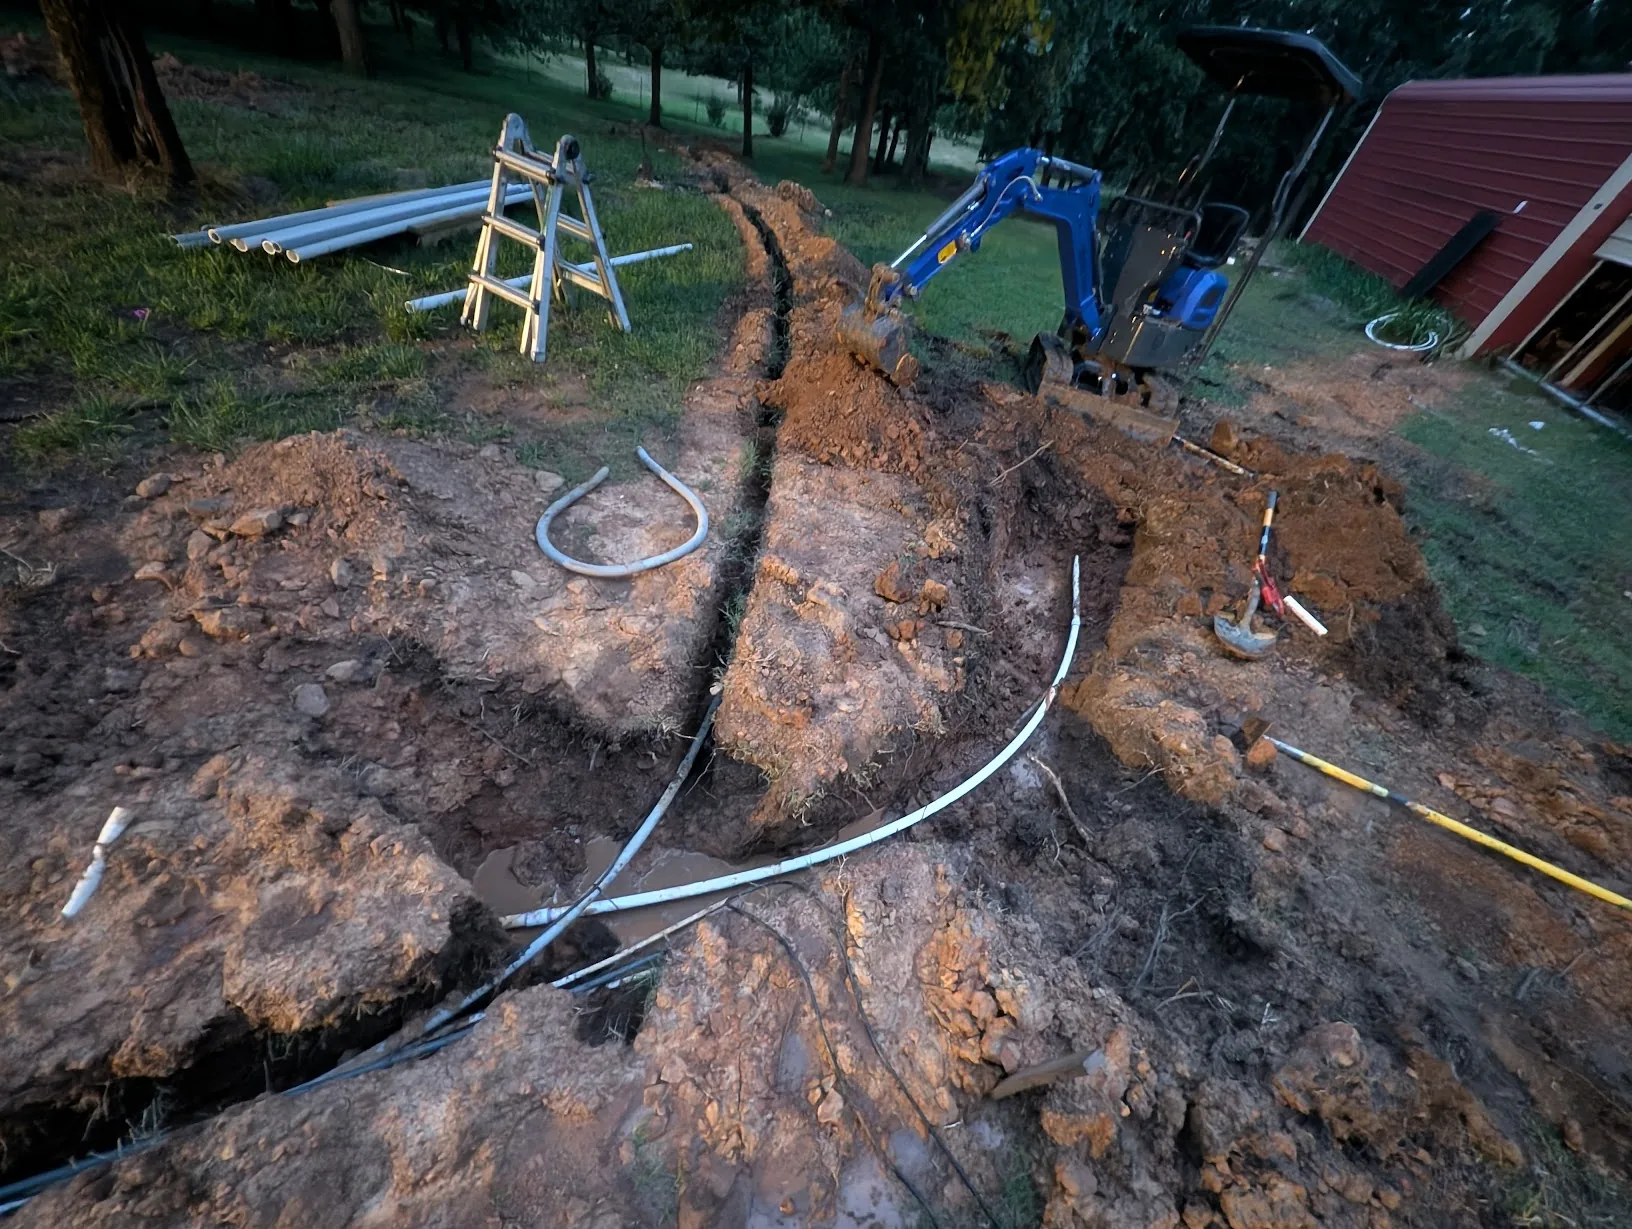
Well, with my Temu excavator, I did dig up where I thought the pipe was leaking. As the pipe pointed directly at the shop, I assumed it went somewhere around the shop.
Turns out, it had a 45 degree turn, and then went down the hill. After digging for a while, I finally found this.

After evaluating the options of using a 45, or a 90.... I decided to just put a piece of PVC in, and bend it to make the turn.
Covering up the trenches!!!
Since all of the conduit was ran.... and all of the issues were fixed, I then started covering up the trenches.
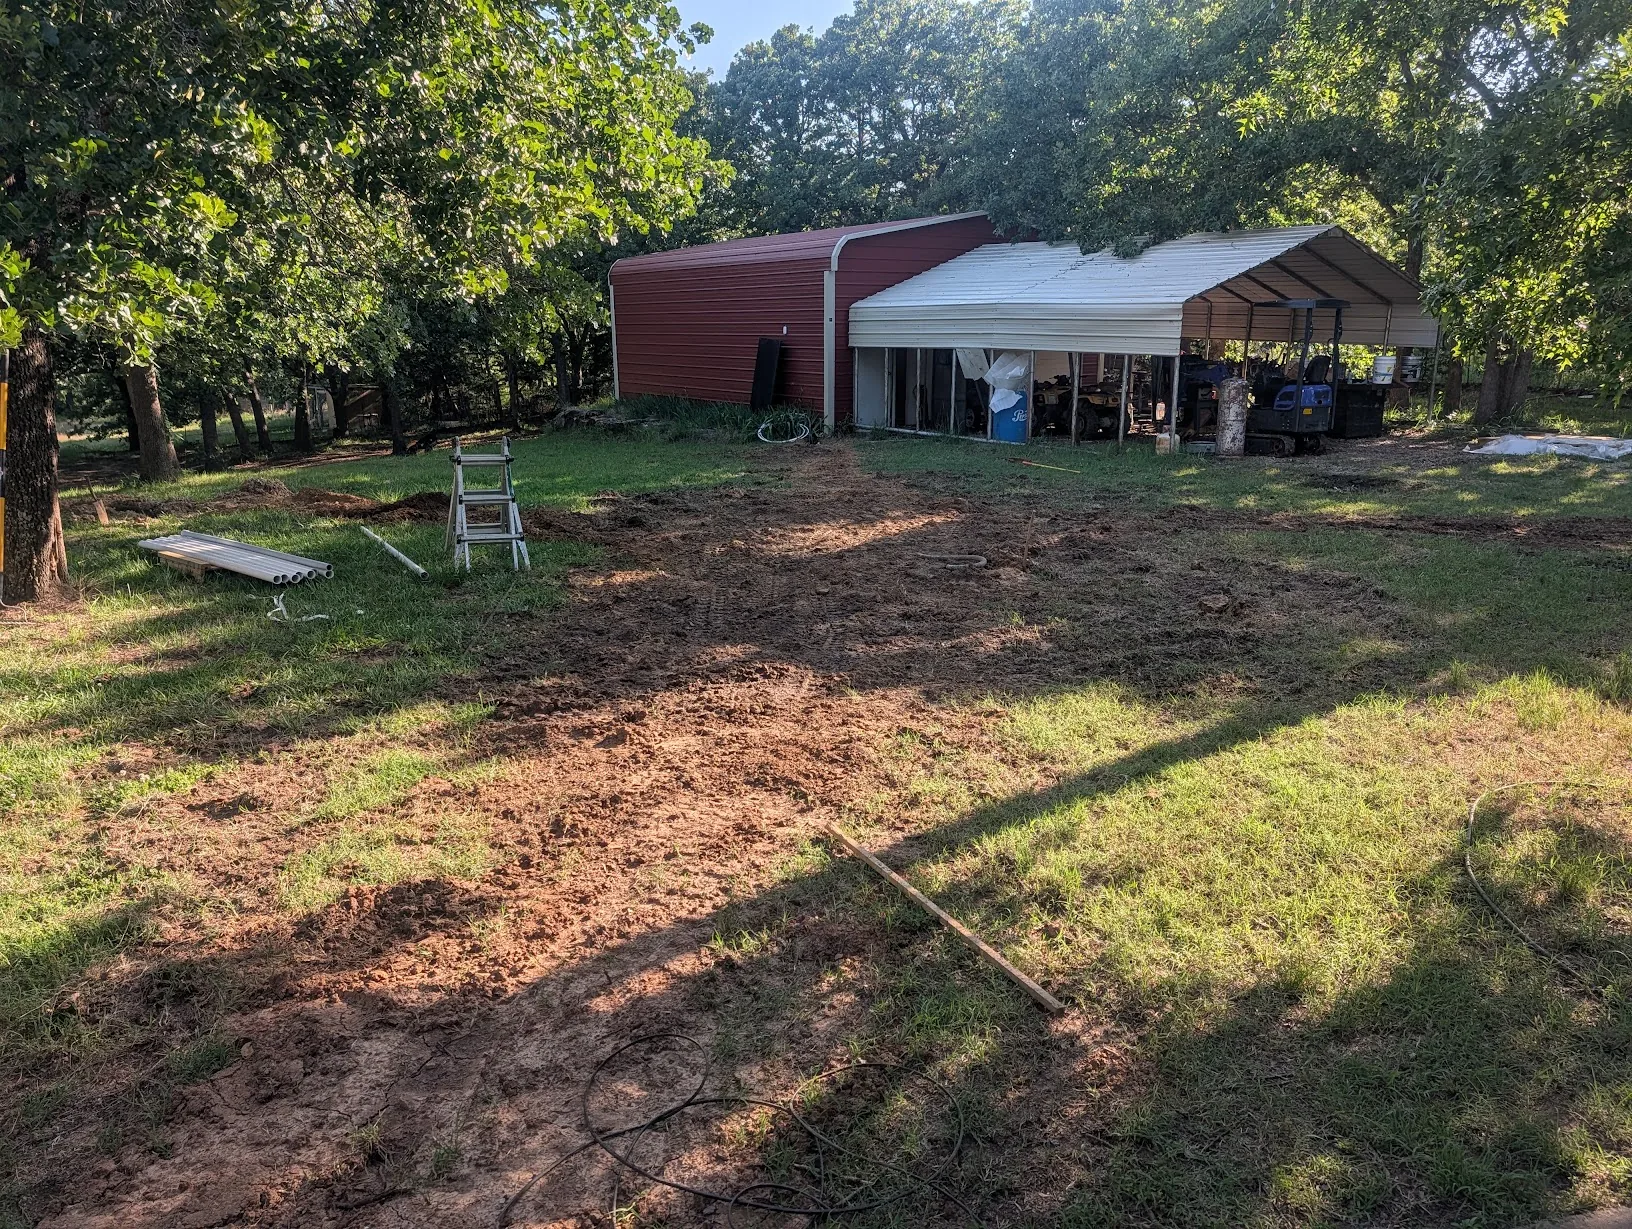
After a good long week, covering up these trenches felt very, very good.
-
Amazon Affiliate Links Used
This post DOES include Amazon affiliate links. If you found this content useful, please consider buying the products displayed using the provided links.
You will pay the same amount as normal, however, it does provide a small benefit to me. This benefit is usually used to purchase other products and hardware for which I can review / blog about.
I do not display advertisements on this site. As such, the only compensation from this service, comes from affiliate links. I do not ask for, or even accept donations.