Dash Fabrication – Part 2
It is time to make the dash functional, and attractive!
note- Attractive happens in part 3.
Info
This post was originally published in 2019, and has been adopted to this static-site from wordpress. The build has since been retired.
If you missed part one, Please go here: Dash Fabrication – Part 1.
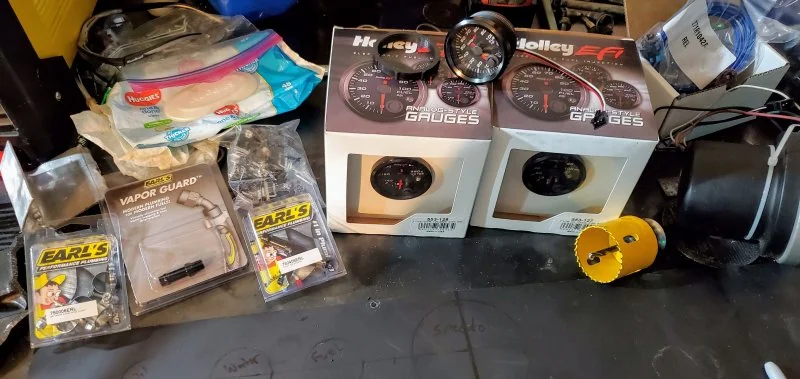 Ordered new parts to support the current project. A few of the new holley EFI gauges, a hole-saw, and random fuel fittings.
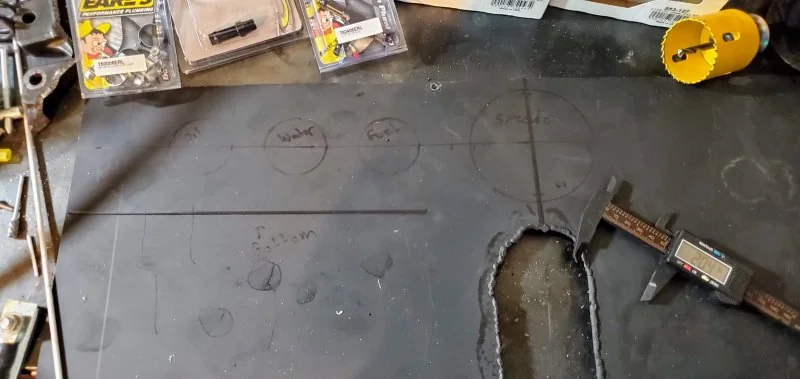 I started measuring and drawing to try and get a good feel for how to design the layout.
 Gauges added for testing the look and feel.
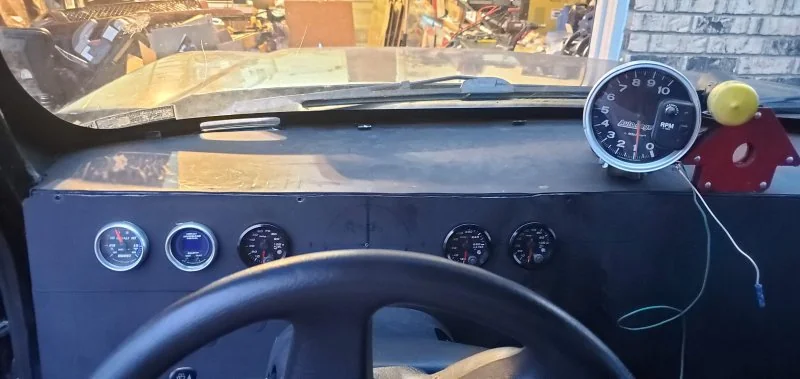 Checking the overall fit, feel, and looking for any clearance issues. I also mounted my old autometer tachometer.
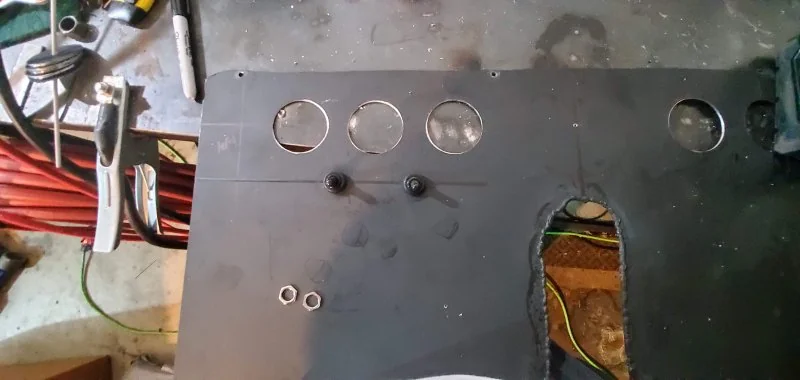 Later, I came back and drill a few holes to allow for some toggle switches.. These will eventually be used for turning on the headlights, and dash lights.
Fast forward to Mar 18th….
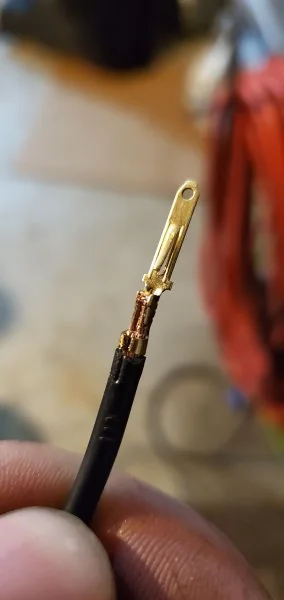 I did acquire a new crimping tool to allow me to make higher quality crimps. However- I still also solder all of the connections as well.
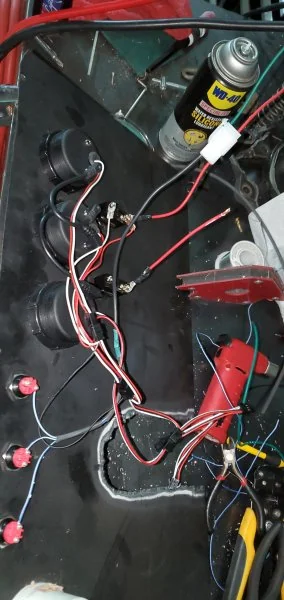 Here is the initial mess of wiring for the dash lighting and function. Since all of the gauges share a single connection to the Holley EFI system, this simplified wiring. Note- The dash connects to the truck via molex connector. This allows it to be quickly removed.
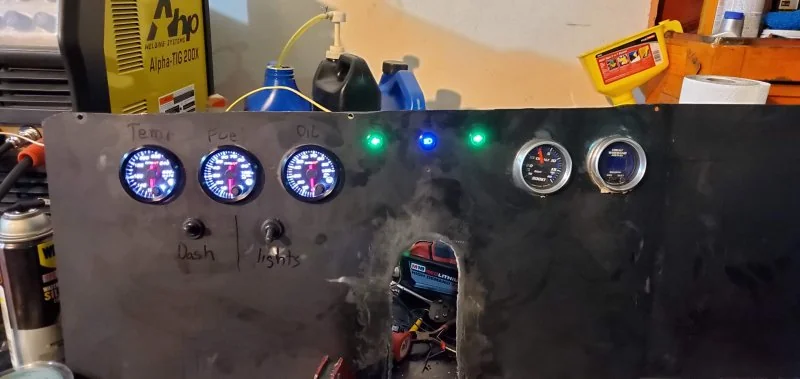 Testing dash power, and lighting on the workbench.
Continue to Part 3.