Convert Silverado DBW Pedal to DBC
As a continuation from building a throttle cable bracket.. It was time to install a compatible throttle pedal assembly.
Info
This post was originally published in 2018, and has been adopted to this static-site from wordpress. The build has since been retired.
The factory throttle pedal was designed for DBW (Drive by wire), and had no provisions for mounting or attaching a throttle cable. It was strictly intended to be used electronically.
I had planned on using the Holley EFI to utilize DBW.. but- I did not want to spend 1,000$ extra on the dominator vs hp efi just for this feature. I did also visit a junkyard to acquire a factory DBC pedal assembly- but, discovered the assembly would require disassembling most of the dash to remove from the Junkyard vehicle. So- I decided to modify my factory pedal to suit my needs!
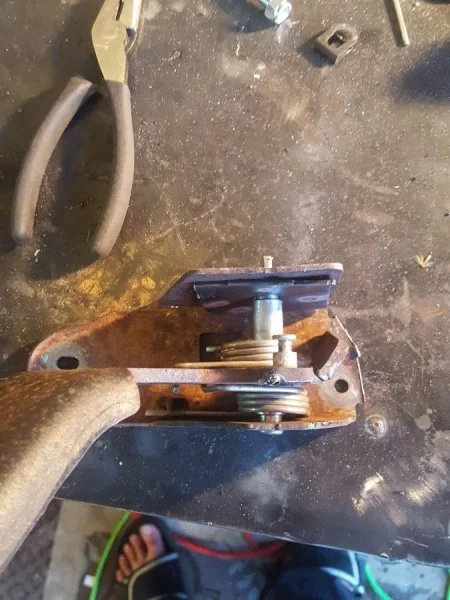
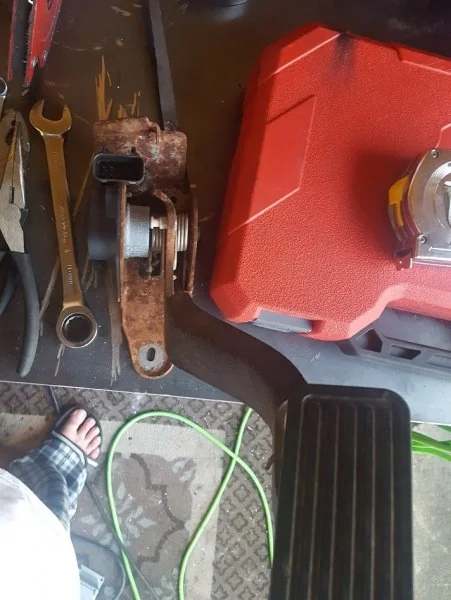 Here is my factory drive by wire pedal assembly.
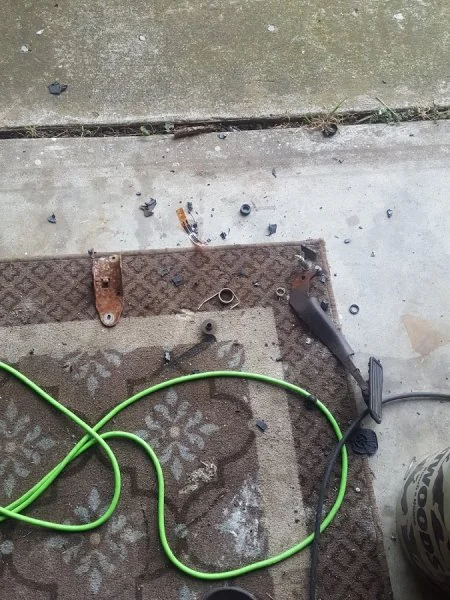
 I started by removing a lot of the "Extra" material which was not required for my purposes.
 To remove the DBW sensor- I used a hammer. My other efforts of removing the sensor were not successful. The hammer was extremely successful.
 While I was at the Junkyard- I did acquire a DBC pedal from a random car. Ignore the piece of metal hanging off my pedal.
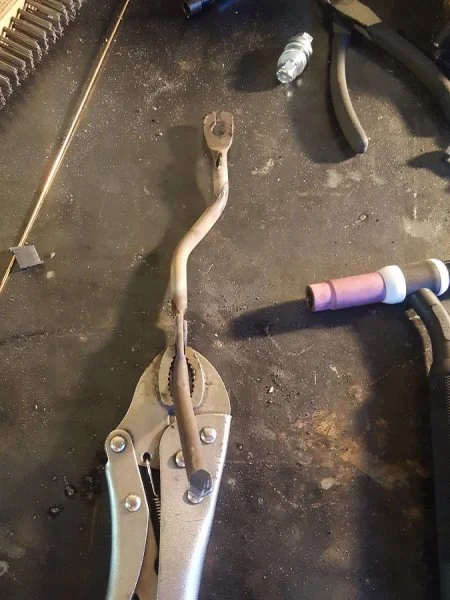
 After removal of the DBW sensor, a large hold was left. I used a piece of 16ga steel to fill in the empty space. Also note- I cut the "stop" off, and adjusted its position and angle to allow more pedal travel.
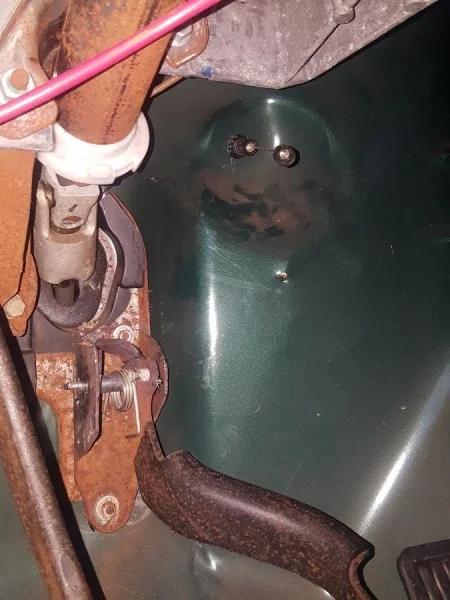 From the factory, there was a flat location on the firewall, which I assume was intended for DBC. I drilled a hole, and installed my new lokar throttle cable.
 Another view.
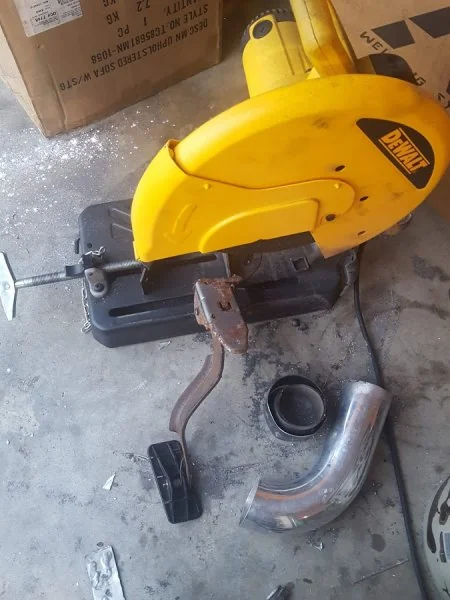
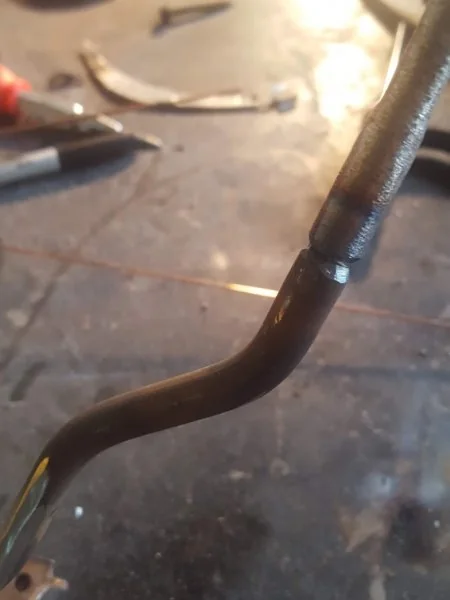
 Preparing to cut and weld.
The next day…. (Ran out of daylight)
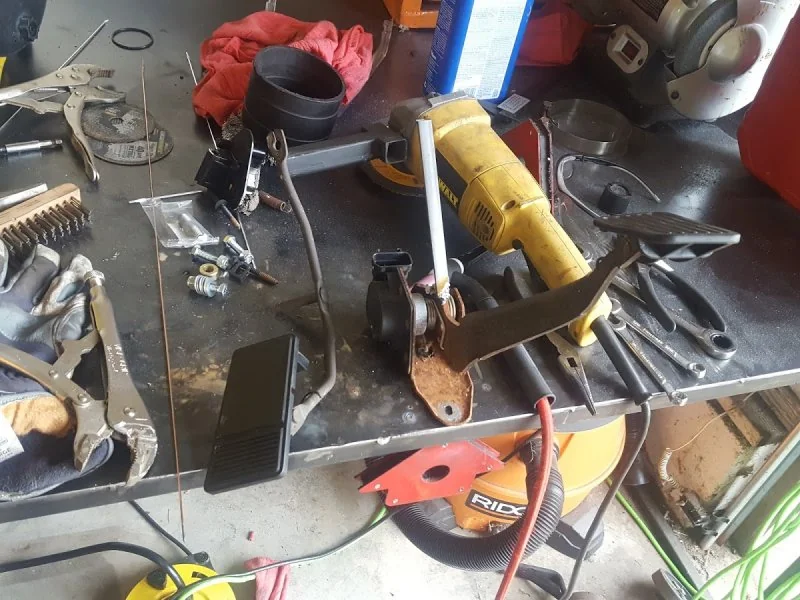
 I cut apart the junkyard pedal into the components required. I beveled the edges before welding to ensure good penetration.
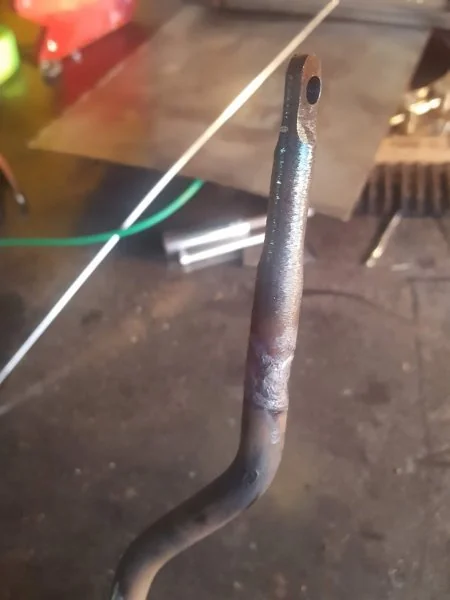 After welding.
 I had to mount the gas pedal many times and make adjustments before I was able to get the angles perfected.
 After many attempts- I was able to get everything lined up properly, with the correct amount of travel.
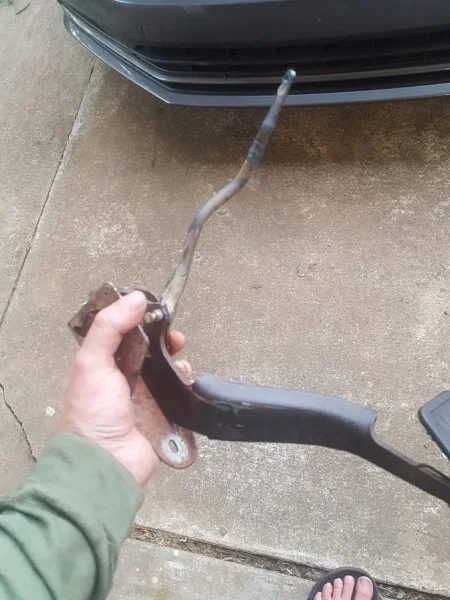
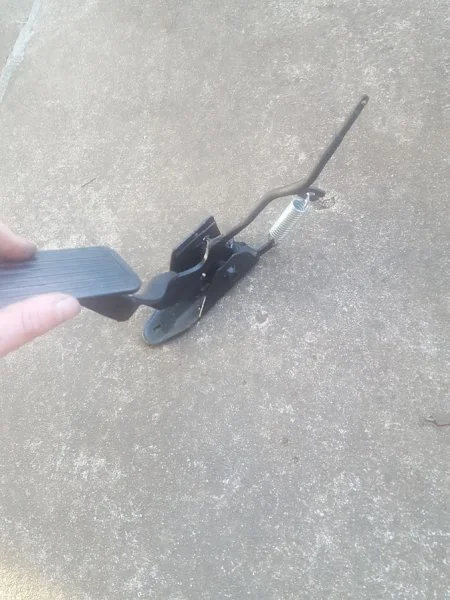 Here is my finished assembly after welding, grinding, and painting. Notice a spring was also added to return the pedal to an upright position.
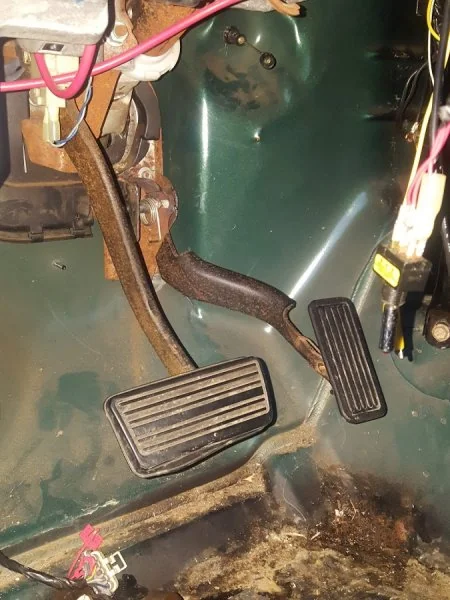
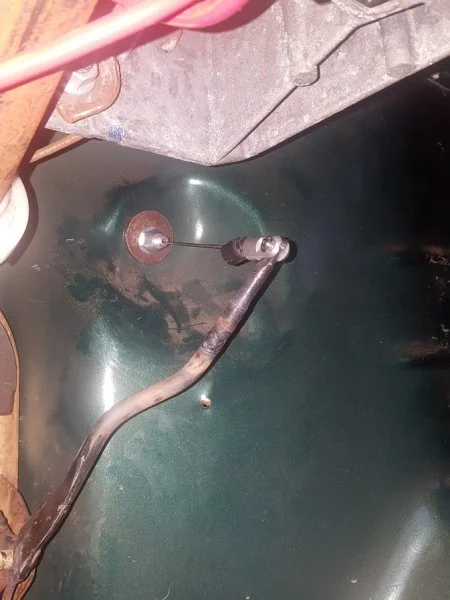
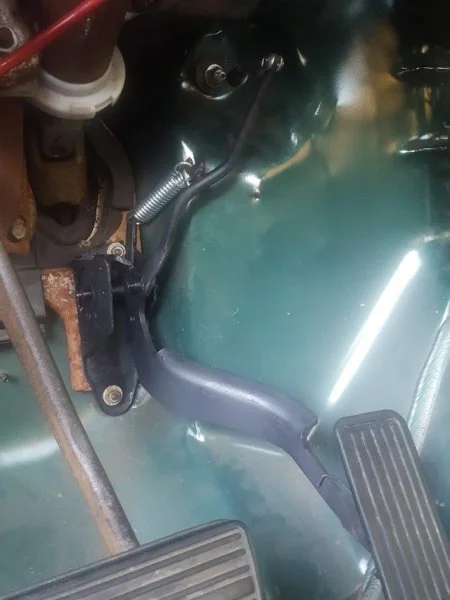 Mounted and completed. The truck now has a functional gas pedal.