
With the racking built, its time to get the solar panels mounted, and operational!!!
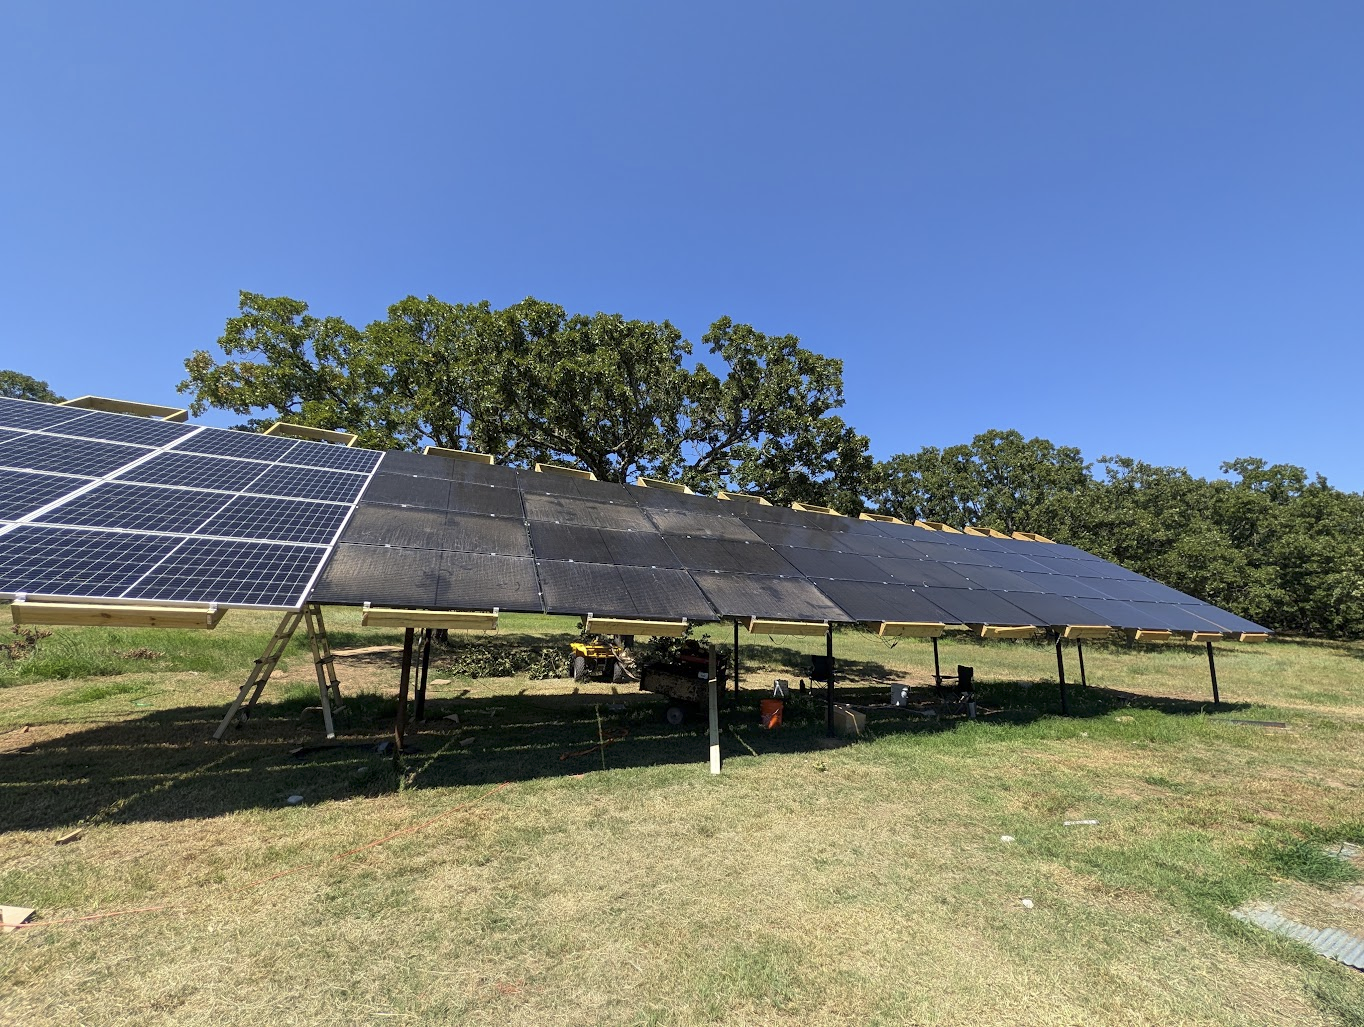
Change in Plans / What I would do different
Firstly- I did run into an issue when I started getting ready to mount panels.
ORIGINALLY, I planned on using 20' sections of angle iron welded between the top and bottom rails. This would have been extremely sturdy, and would have allowed for 60 panels.
BUT, in my infinite wisdom, I ordered the wrong angle iron. I ordered 20' sections of 1x1" angle iron. It was nowhere near sturdy enough for 20', and I honestly wouldn't have trusted it to hold up the weight under 10'.
So- I did need to make a decision on how to move forward. In the end- I decided to use 16' 2x6" boards to support the panels.
In hindsight, I originally looked at using strut channel for holding the panels, and did not go that route due to price and availability. But- I do wish I would have continued to shop around until I could have located a good source….
While- Home Depot and Lowes both sold strut channel, they sold 10ft sections for 40$ a piece.
For the 12 columns I have, this would have required…. 12 columns * 2 rails * 2 pieces = 48 rails * 40$ each = $1,920
Using 2x6x16 pressure-treated lumber cost around 17$ per board.
This required….
12 columns * 2 rails + (12*1) = 36 boards * 17$ = 612$
While- I would have saved a reasonable amount of money on mounting hardware by using strut channel- Using wood still came in at under half the price.
The- full hardware costs are broke down below
Panel Mounting Hardware
For mounting the solar panels- the vast majority of hardware I used is available at pretty much any hardware store.
Solar Panel - Mid Clamps
First- Panel mounting brackets- These are standard, commonly available solar panel mid-clamps.
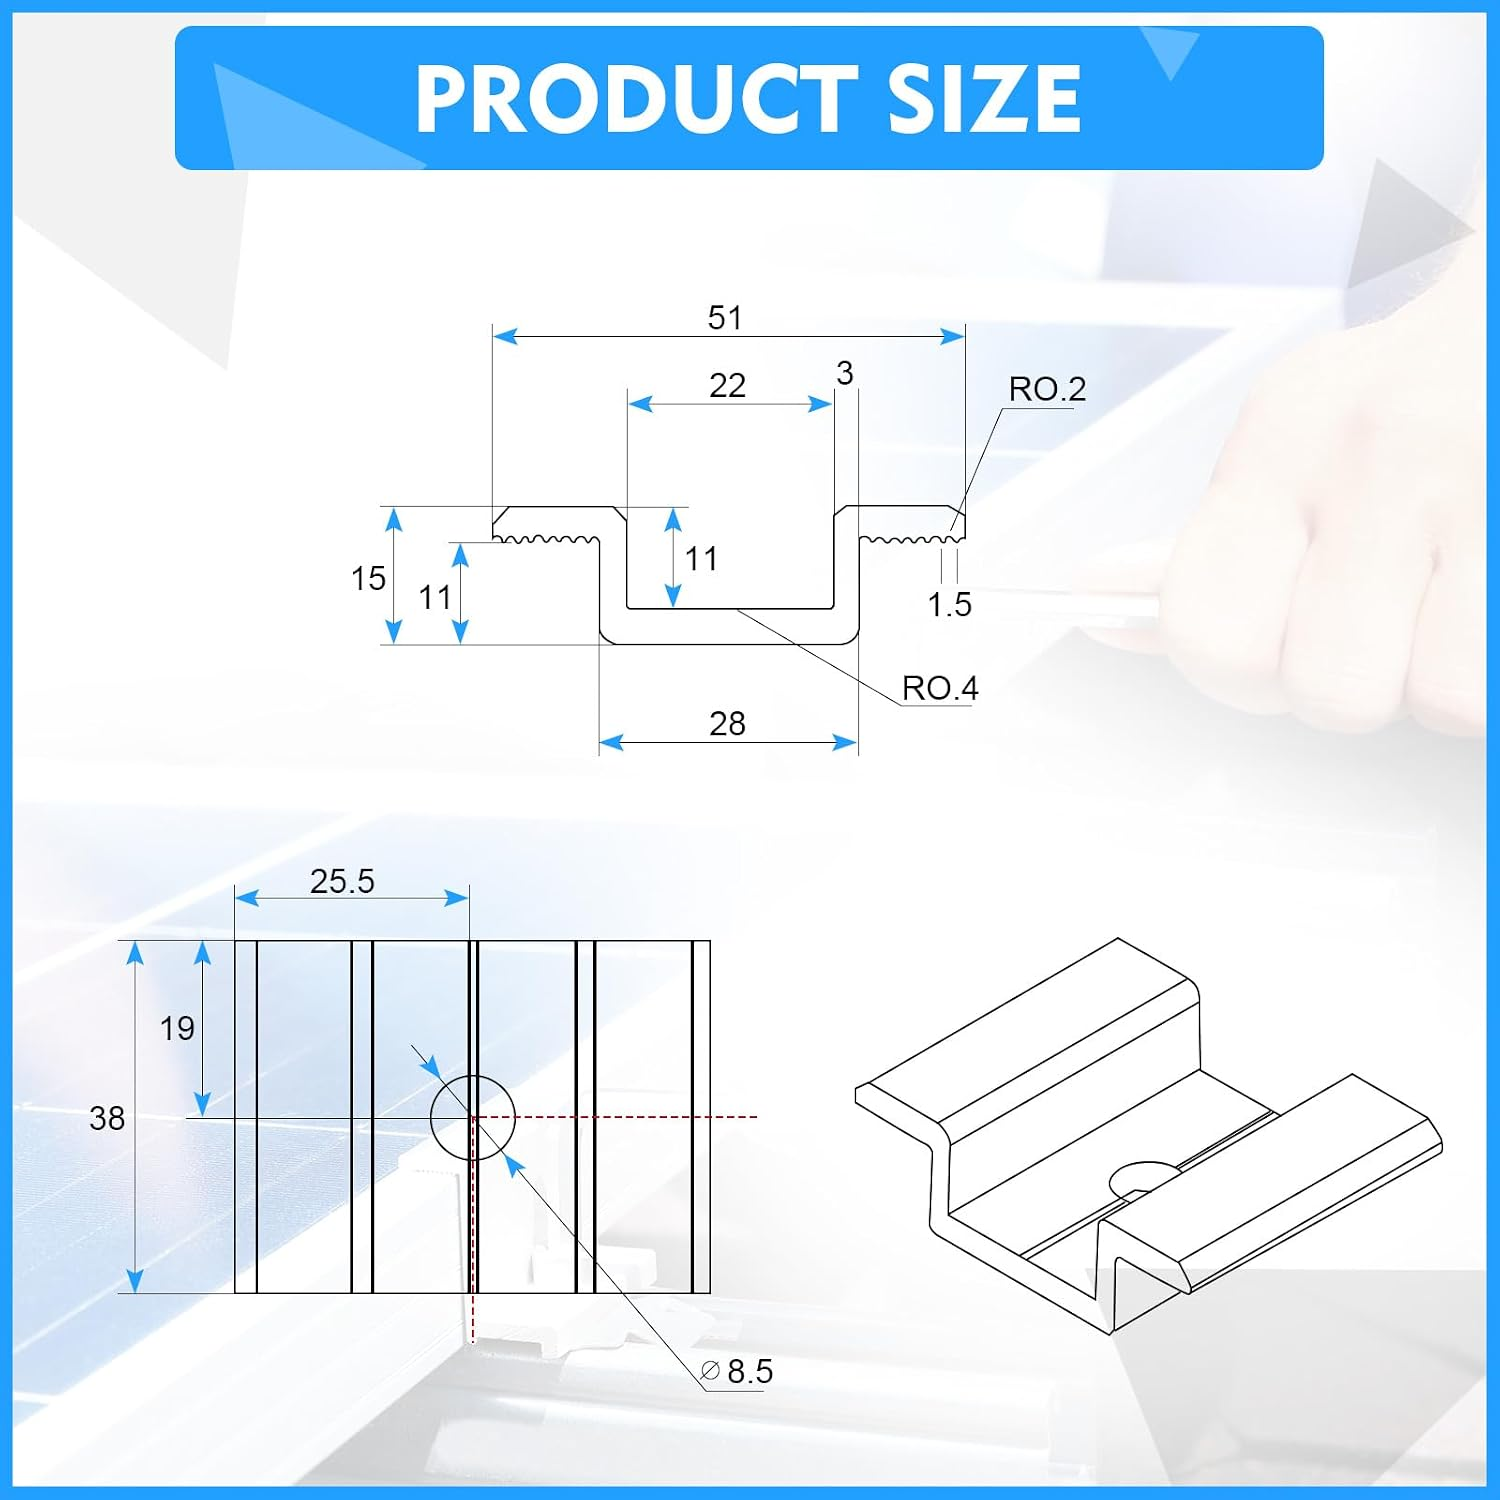
I believe I purchased two total boxes, but, only needed a single box.
- Amazon - 100 Pack Solar Panel Mid ClampsAmazon affiliate linkAs an Amazon Associate I earn from qualifying purchases at no additional cost to you; using this link helps support the site.
- Temu - Solar Panel Mid Clamps
Solar Panel - End Clamps
For the end clamps, I did not start using these until over half way through- but, these did work surprisingly well. I will likely go back and redo the first half using these when it cools down a bit outside.
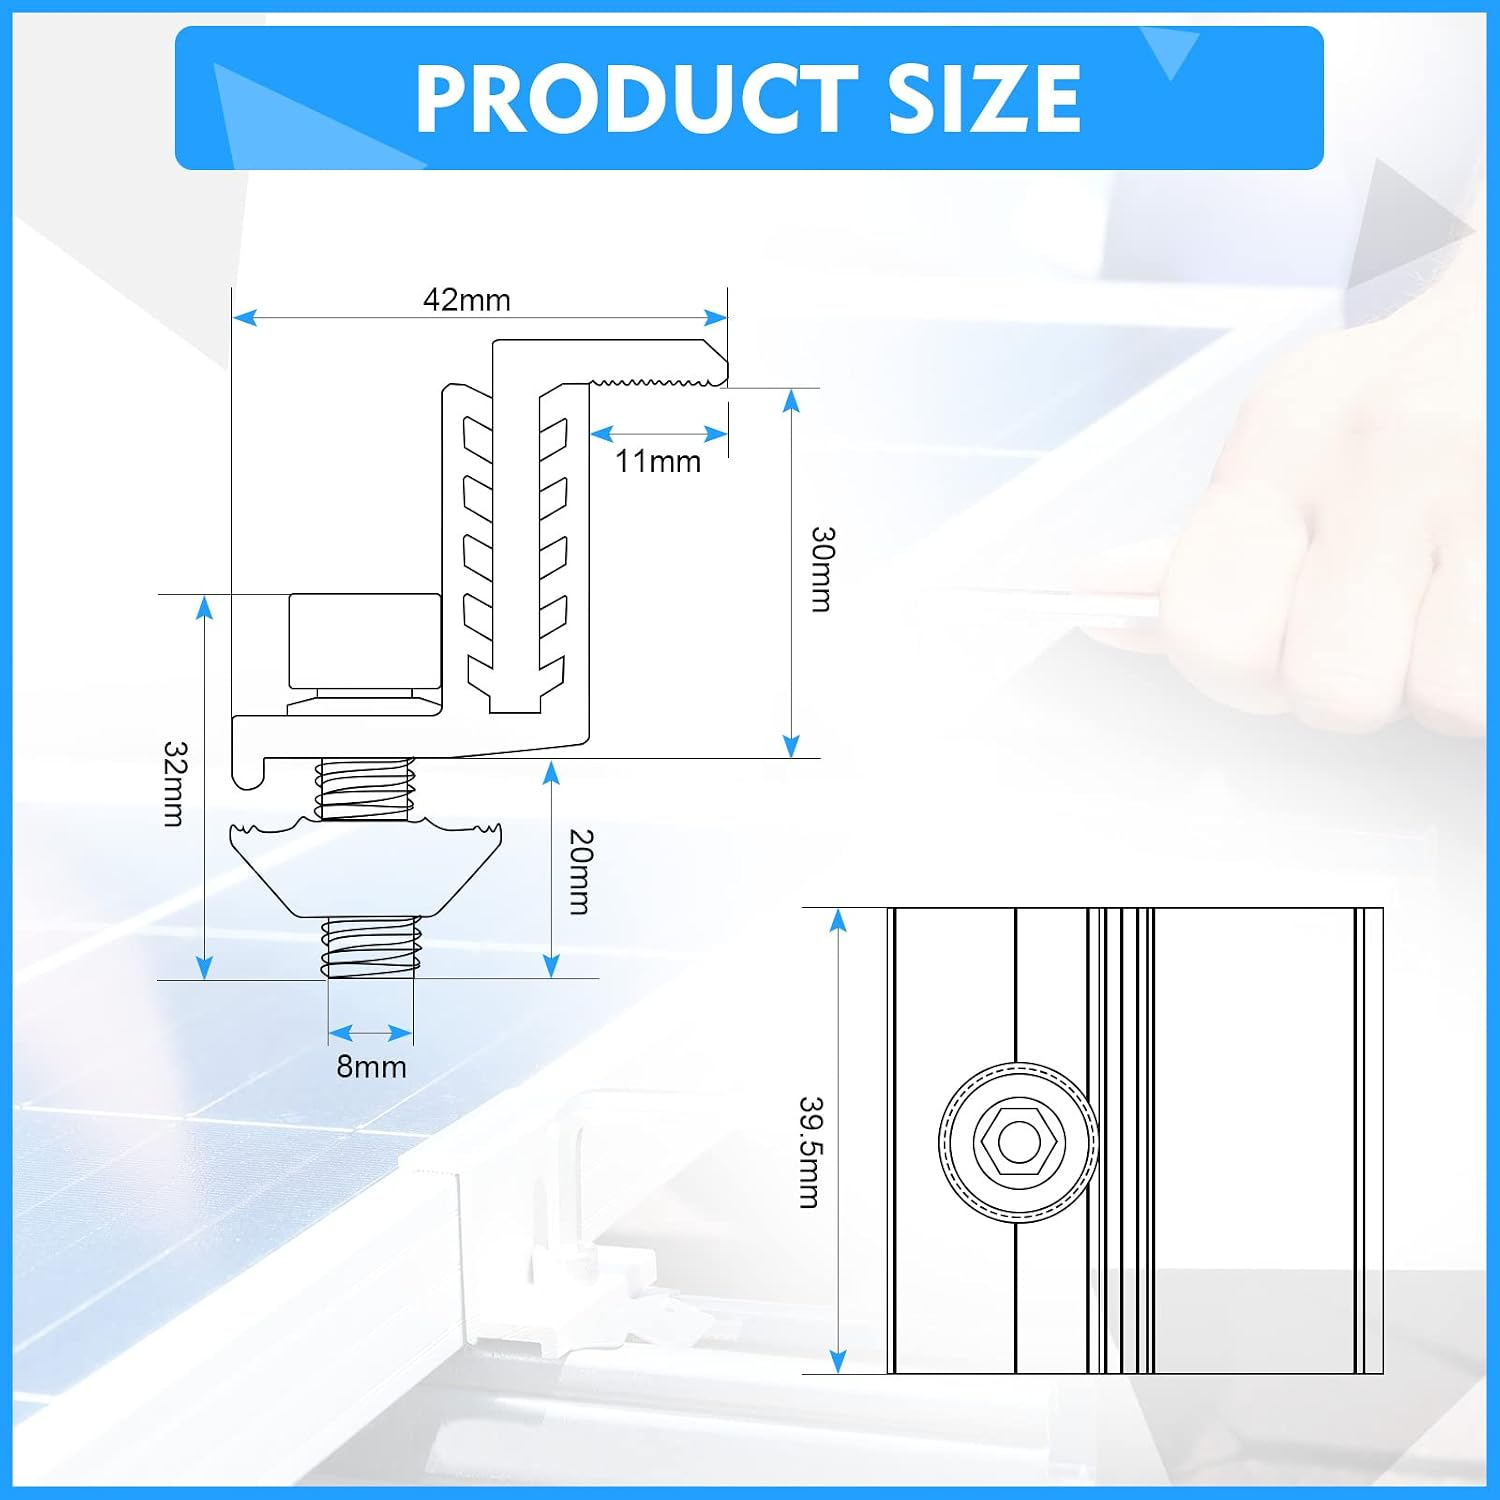
- Amazon - 40 Pack Solar Panel End ClampsAmazon affiliate linkAs an Amazon Associate I earn from qualifying purchases at no additional cost to you; using this link helps support the site.
Screws, Fasteners, etc…
2x6 To Bracket - Carriage Bolts
For connecting the 2x6 posts, to the brackets, I used 3/8" x 2 1/2" galvanized carriage bolts.
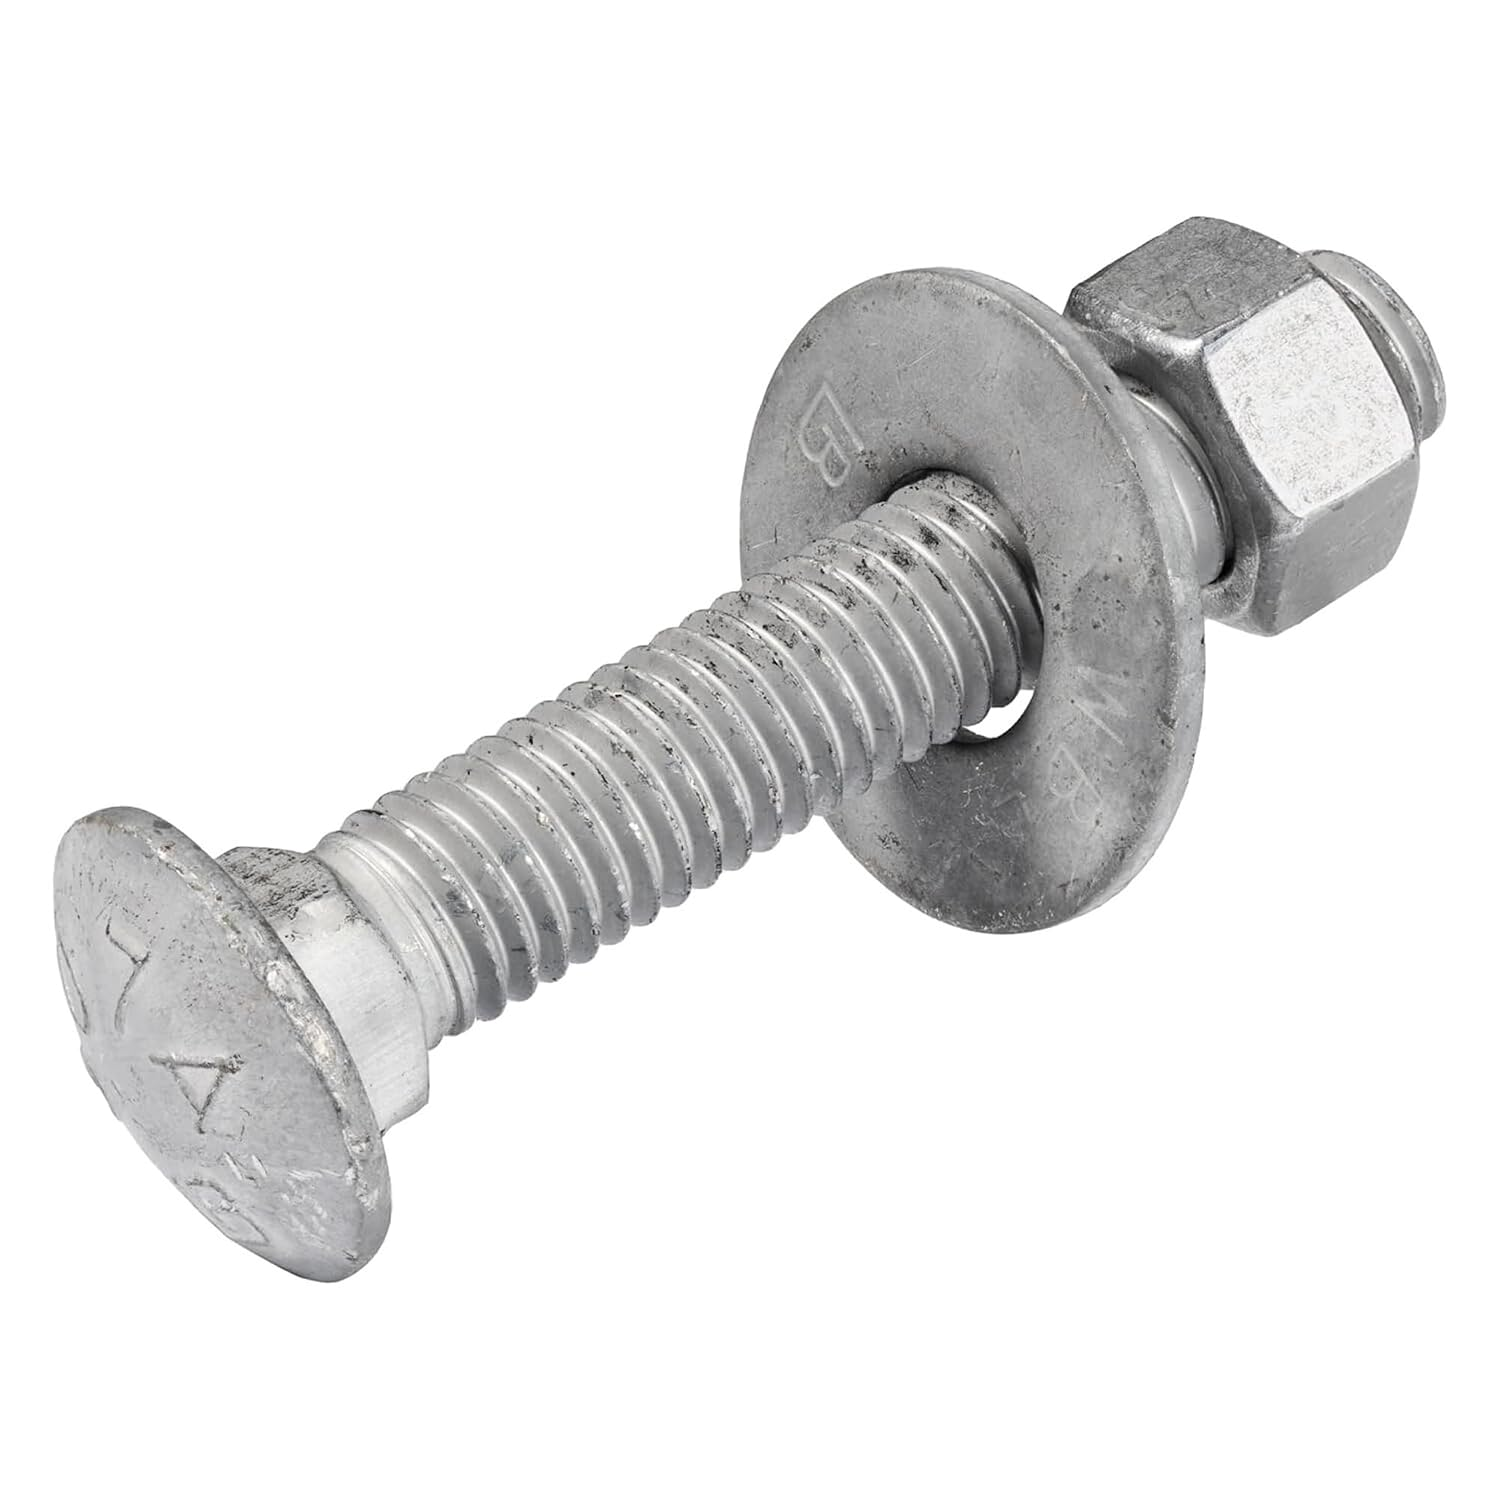
- Amazon - Galvanized Carriage Nuts/BoltsAmazon affiliate linkAs an Amazon Associate I earn from qualifying purchases at no additional cost to you; using this link helps support the site.
End-Clamp/Mid-Clamp to 2x6 - Lag Bolts
For securing the mid-clamps to the rails, I used 4" zinc-coated lag bolts.

- Amazon - 5/16" x 4" zinc-plated lag boltsAmazon affiliate linkAs an Amazon Associate I earn from qualifying purchases at no additional cost to you; using this link helps support the site.
Warning
These bolts were too big to use with the end clamps!
They physically fit in the hole, however, there is not enough room left to fit a socket, or nut-driver onto the bolt.
I ended up using 1/4" fasteners for the end-clamps.
2x6 to 2x6
For screwing together the 2x6 frames, I used lag screws.
Specifically, #14 x 3 1/2" epoxy-coated. T-30 drive.
- Amazon - #14 x 3 1/2" lag screwsAmazon affiliate linkAs an Amazon Associate I earn from qualifying purchases at no additional cost to you; using this link helps support the site.
You will need…. a reasonable amount of these.
Drill String to Brackets
For mounting the angle-iron brackets to drill string, I used stainless-steel u-bolts.
M10 x 78mm x 153mm.
- Amazon - Stainless U-BoltsAmazon affiliate linkAs an Amazon Associate I earn from qualifying purchases at no additional cost to you; using this link helps support the site.
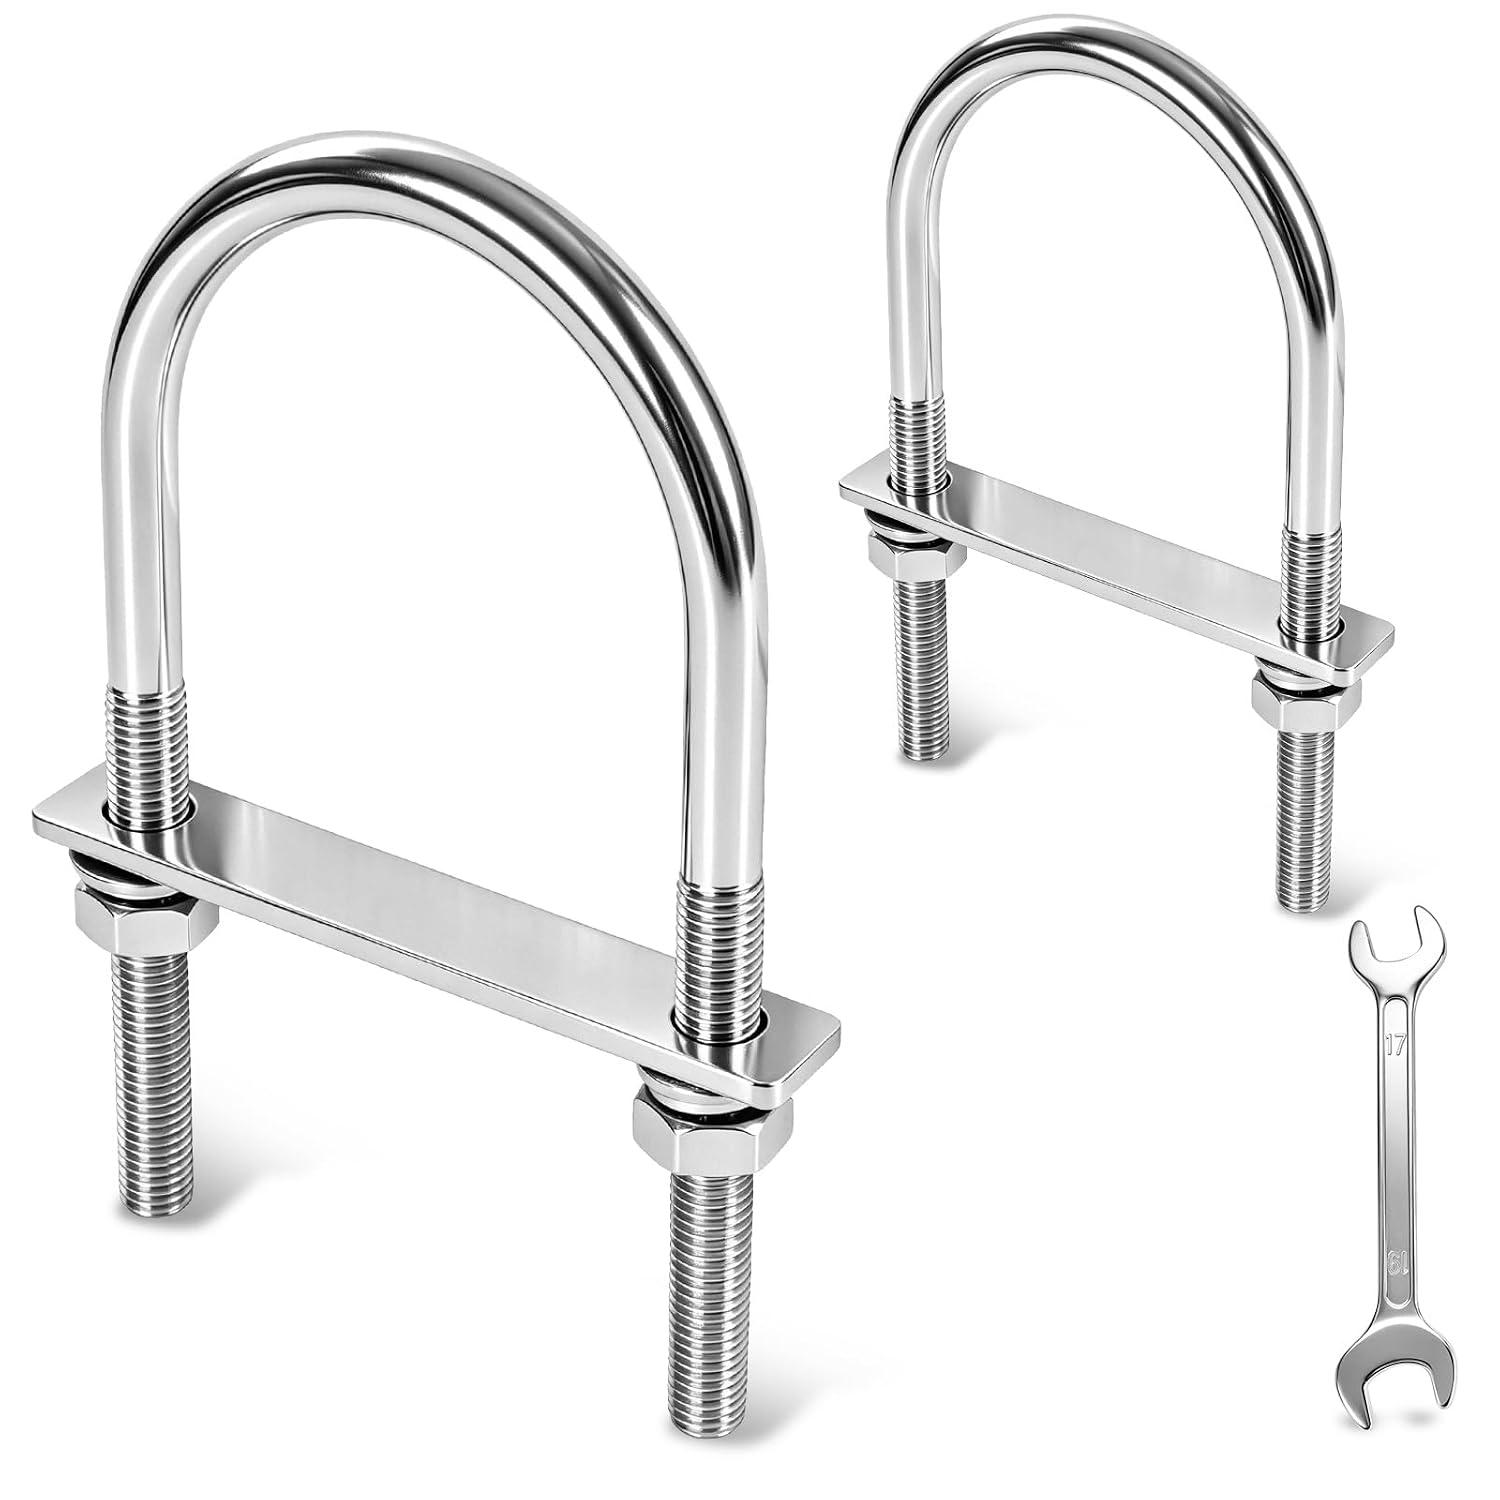
Note- I picked up 8 packs. As of me writing this post- I think I purchased all of the available 8 packs….
Total Hardware Cost
Note- Prices are based on the prices I paid via Amazon divided by the quantity in each package to get the per-unit price. Then multiplied by number of units required.
Building Brackets
For the brackets to mount the wood beams to the drill string, I built these in my garage, using some angle iron I picked up for this project.
Step 1- was cutting a lot of brackets. Four brackets per column. 12 columns. 48 brackets.
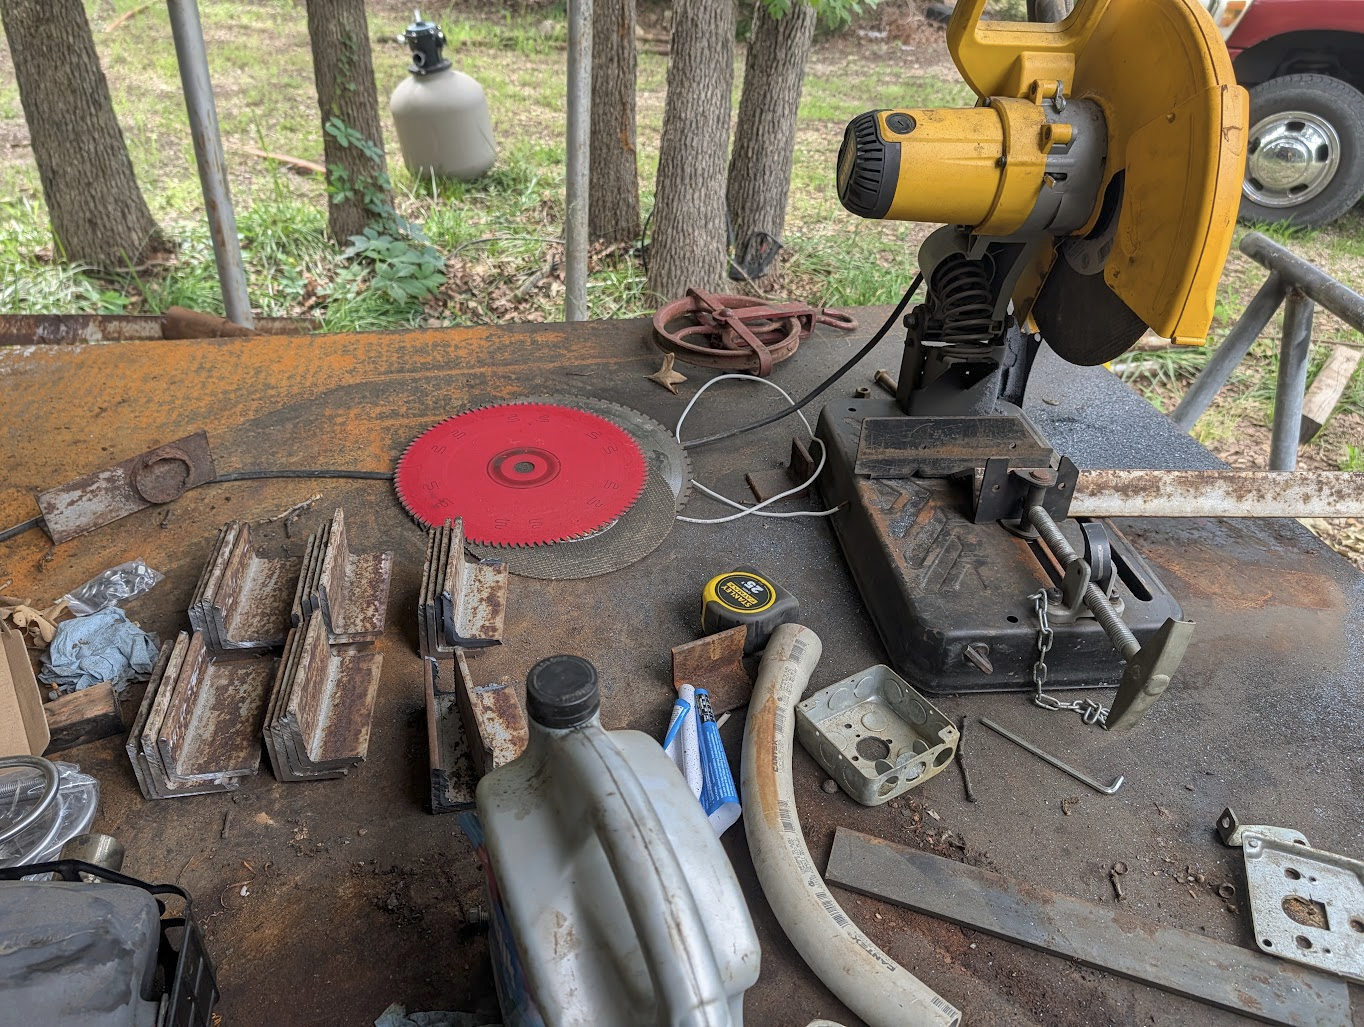
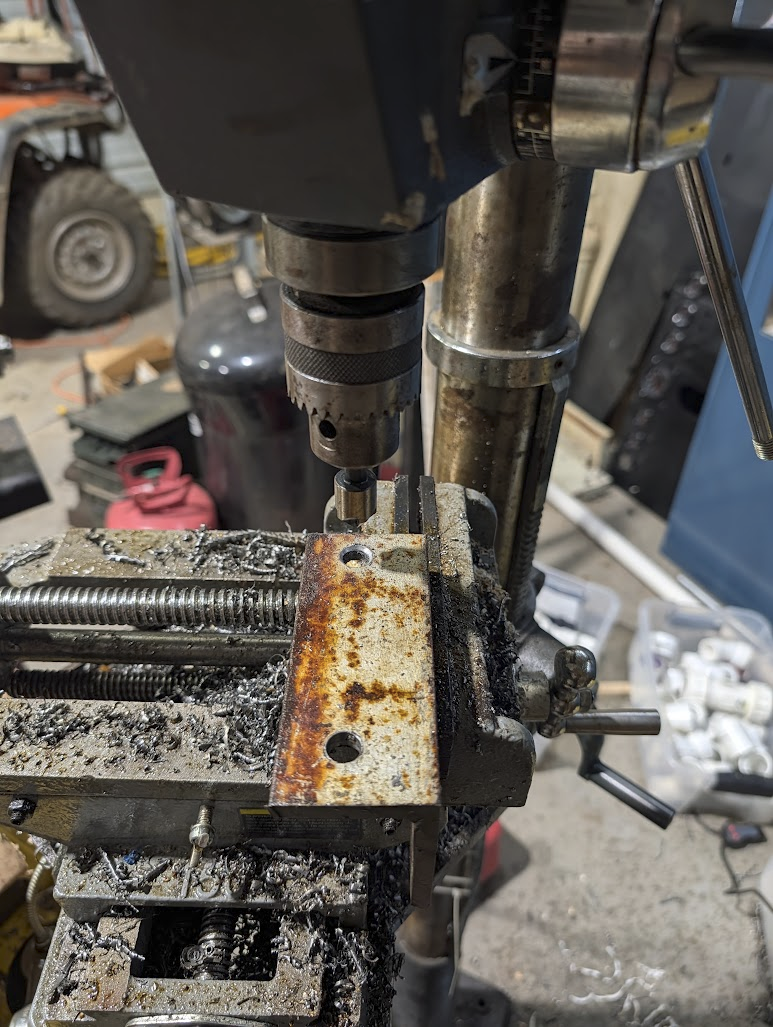
Then, I needed to drill, a LOT of holes. 144 holes to be exact.
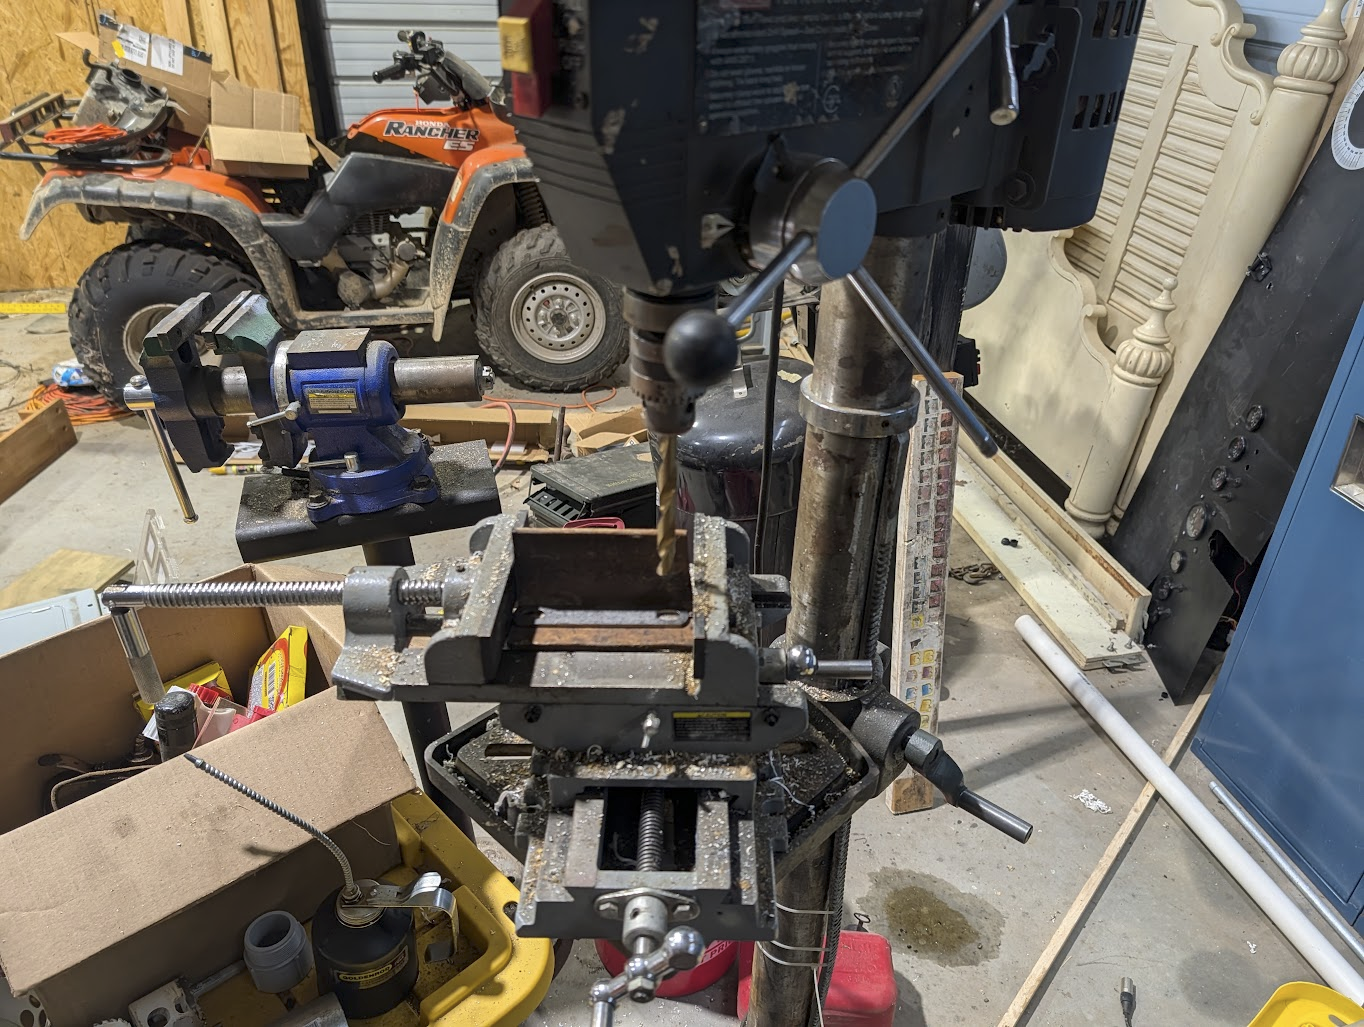
This, is not the most fun part of the project. Use cutting fluid or oil to prolong the life of your drill bits.
Would, strongly recommend having a good oiler with a flexible spout. Lowes - 12oz oiler
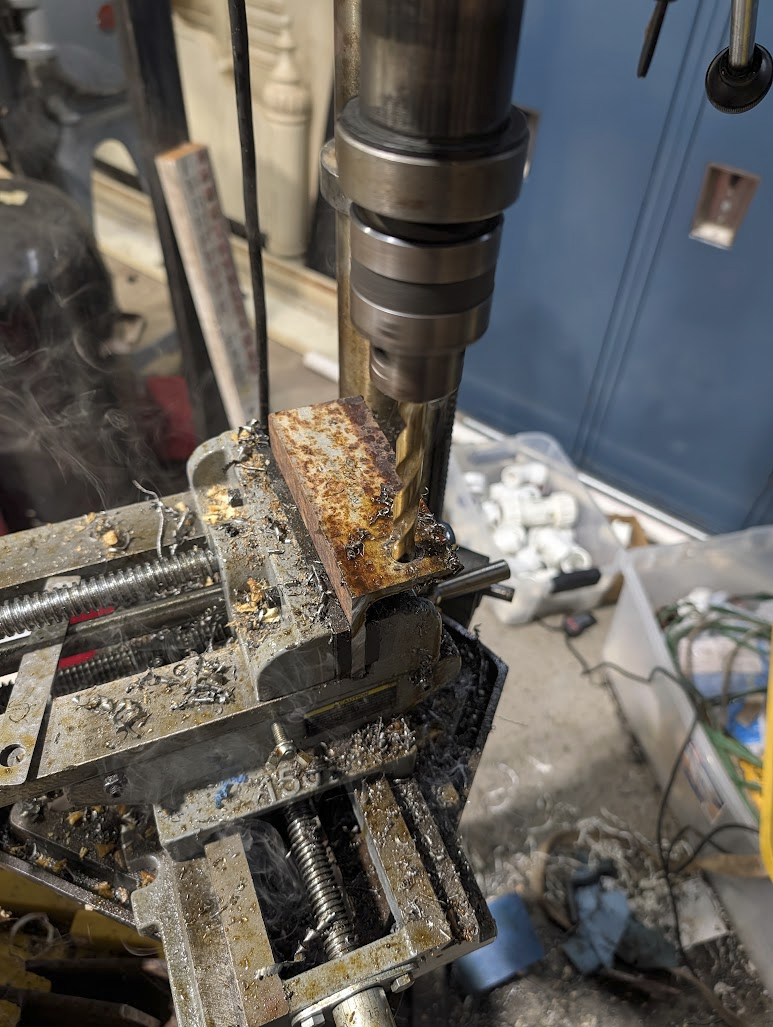
After drilling all of the holes, I used a chamfer bit on the holes.
Hardware For One Section
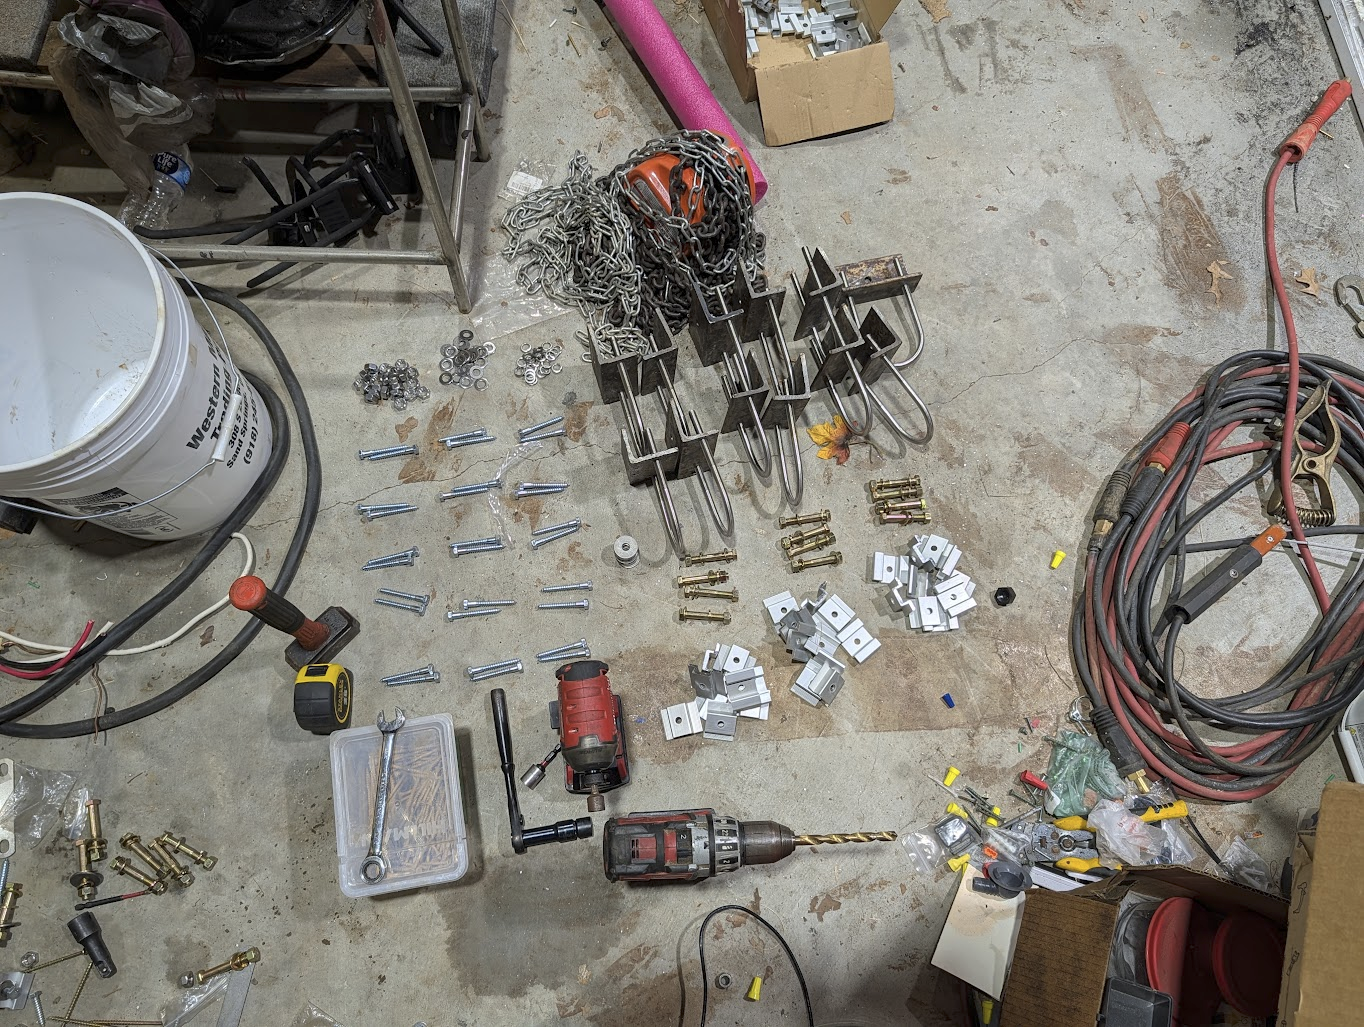
All said and done- here is the tools & hardware laid out to install one section (or three columns) of panels.
Mounting the panels
With- all of the hardware out of the way- Lets start building panels.
The hard way
So- when I first started- I built everything directly on top of the frame.
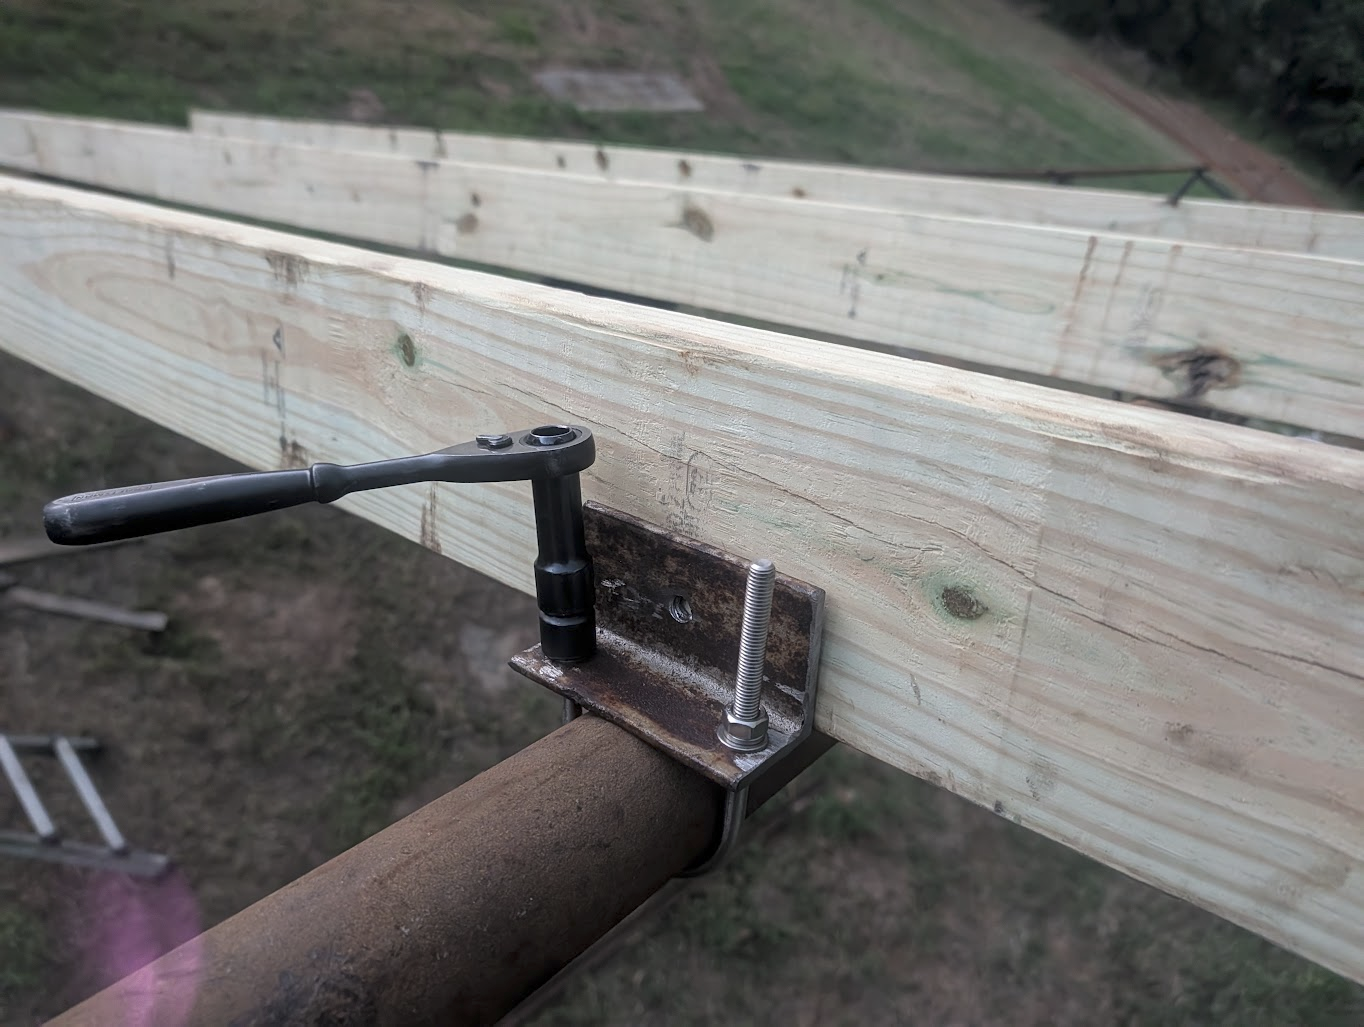
Used straps to pull panels into place….
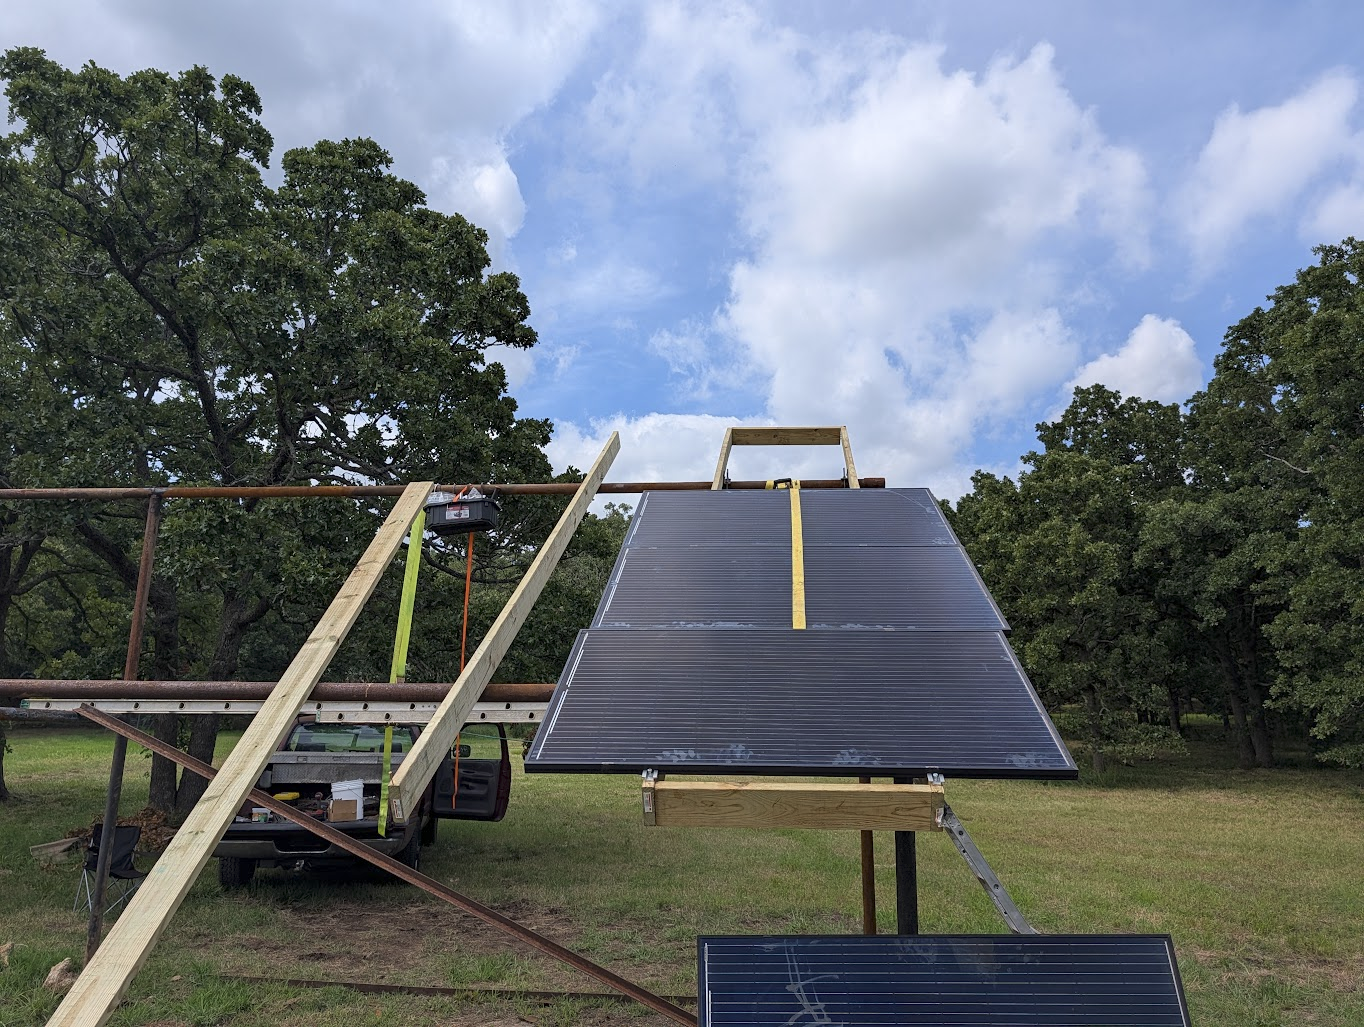
And- started building the next.
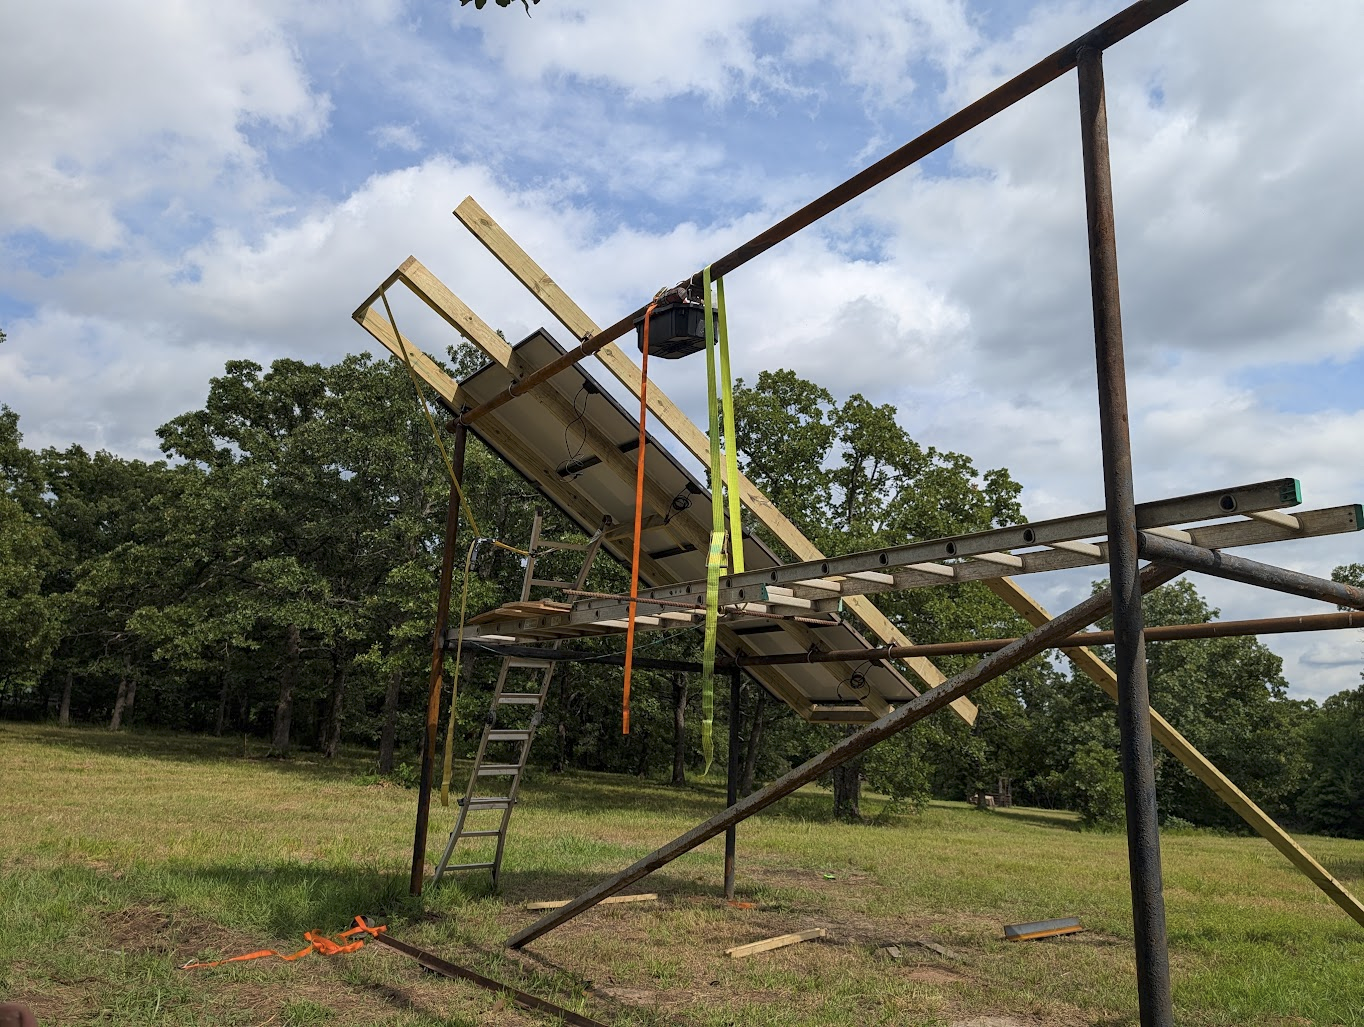
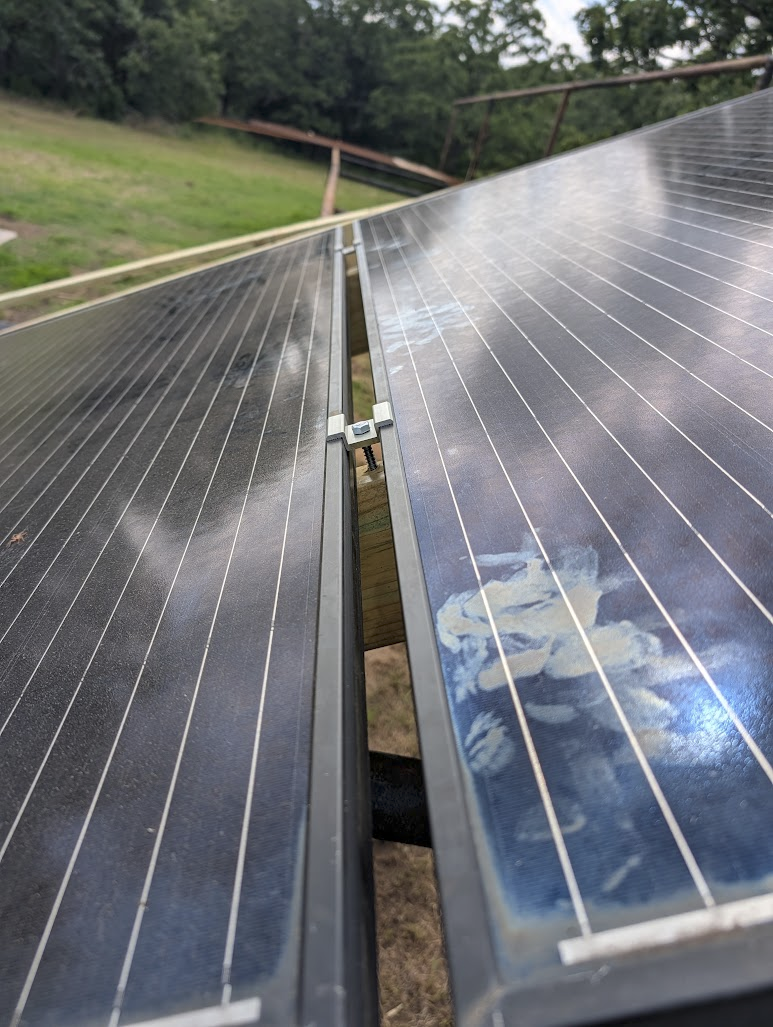
Here- are how the mid-panel brackets are installed. Also- this is one of the reasons I used really long hardware.
The Easy Way
After putting up the first three panels- I had an epiphany.
Why don't I build everything on the ground, and just pull it into place.
As it turns out- This was an absolutely fantastic idea.
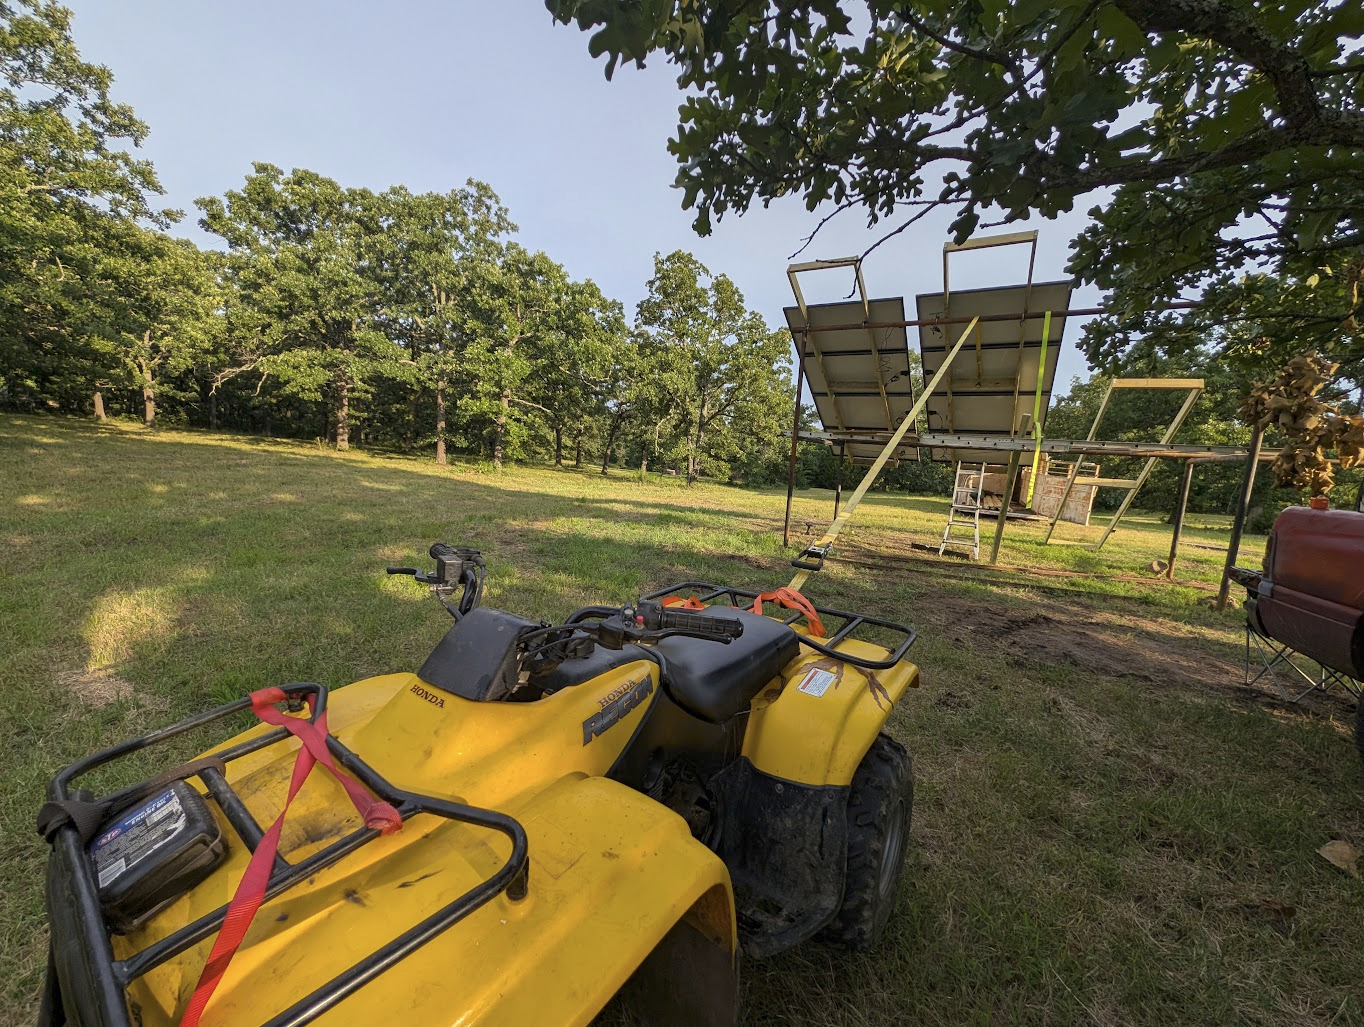
Using a 4-wheeler to pull panels into place- We got to where two of us were able to install 12 panels, in a little over an hour. In- the miserable weather too.
After a while- The first 12 panels were installed.
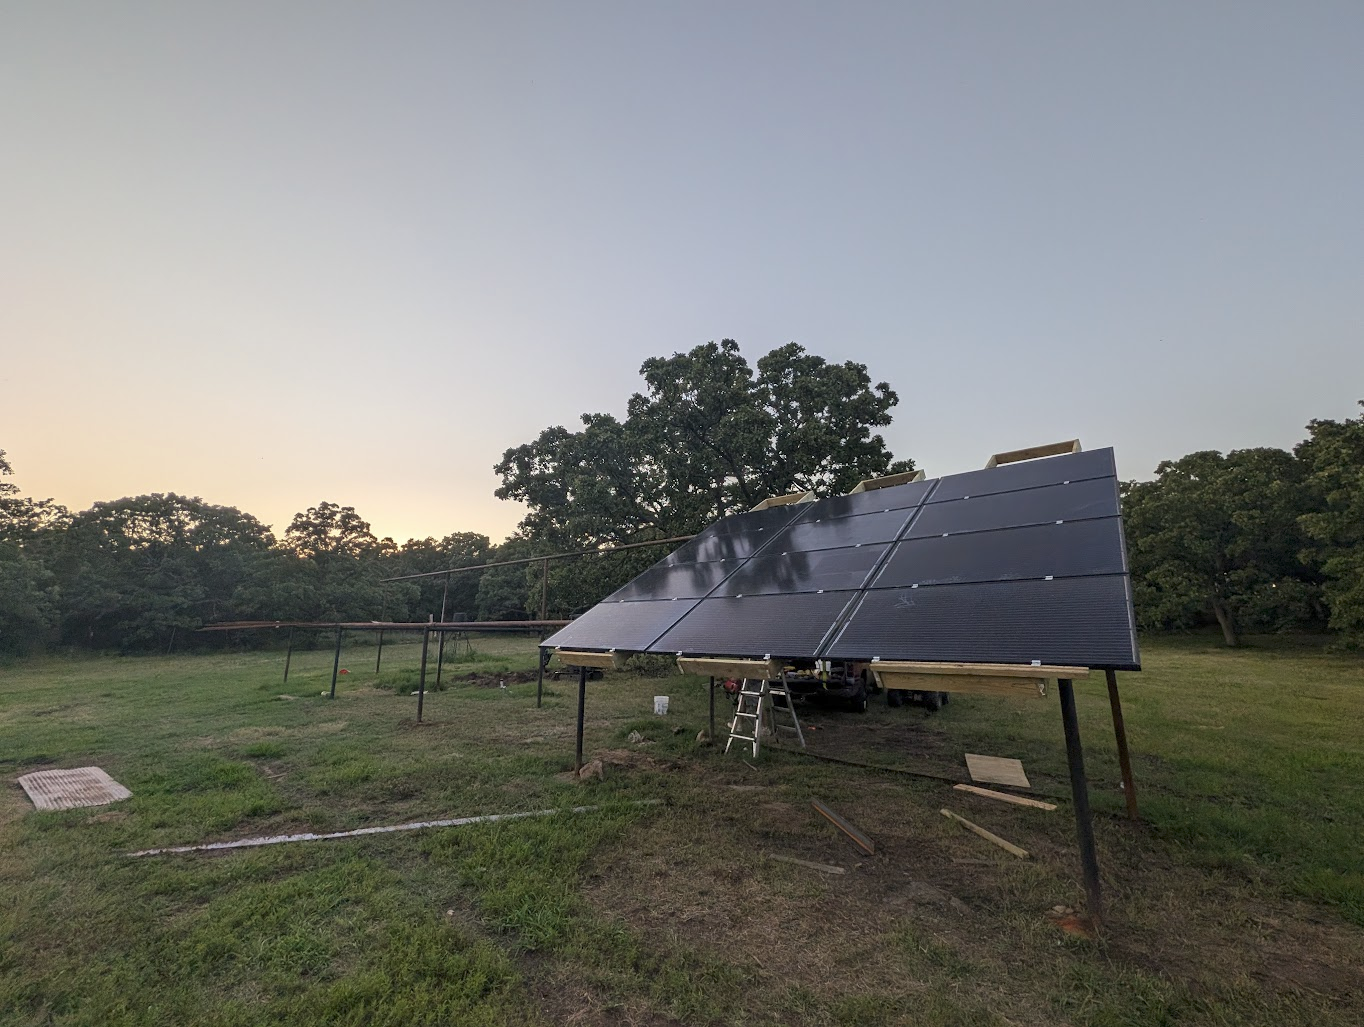
Here- is a video showing the process of lifting the panels
Intermission - Pulling Cable
Since I now had panels in place- I really needed to get some copper pulled in order to connect them.
After getting a piece of pulling string in the conduit, I then pulled a piece of EGC cable through.
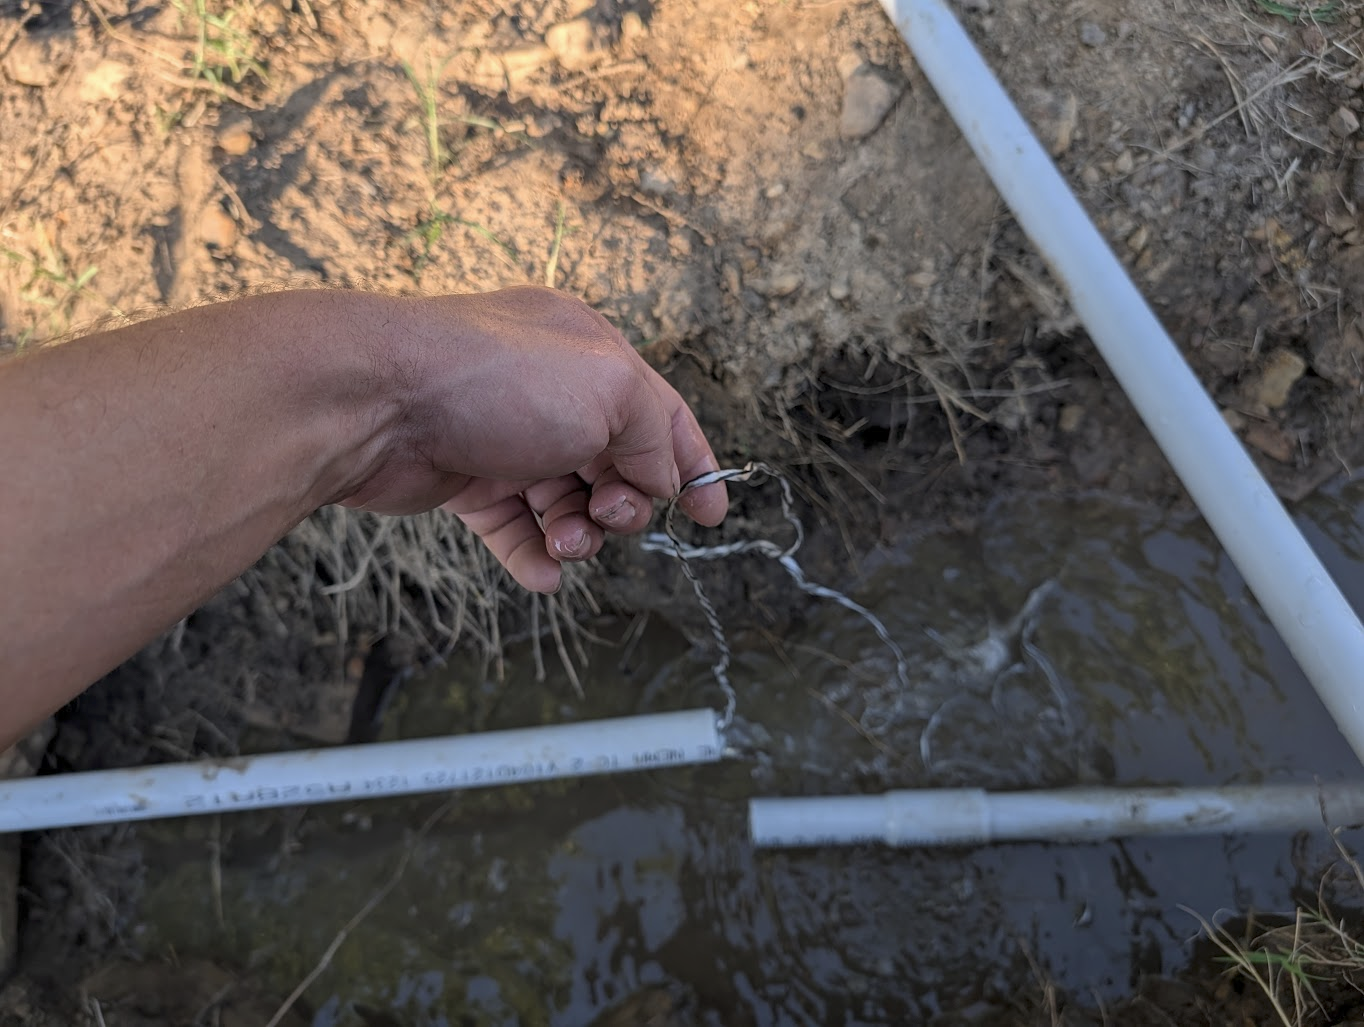
And- then pulled it right back out (but- pulled the pulling cable in behind it).
I did this- as I needed to know the length of cable needed as I had 1,200ft spools of 12AWG THWN-2. And- I knew I would have about… 3 total runs.
With a piece of cable the proper length- I was able to start laying out the pairs using the 4-wheeler, across the field.
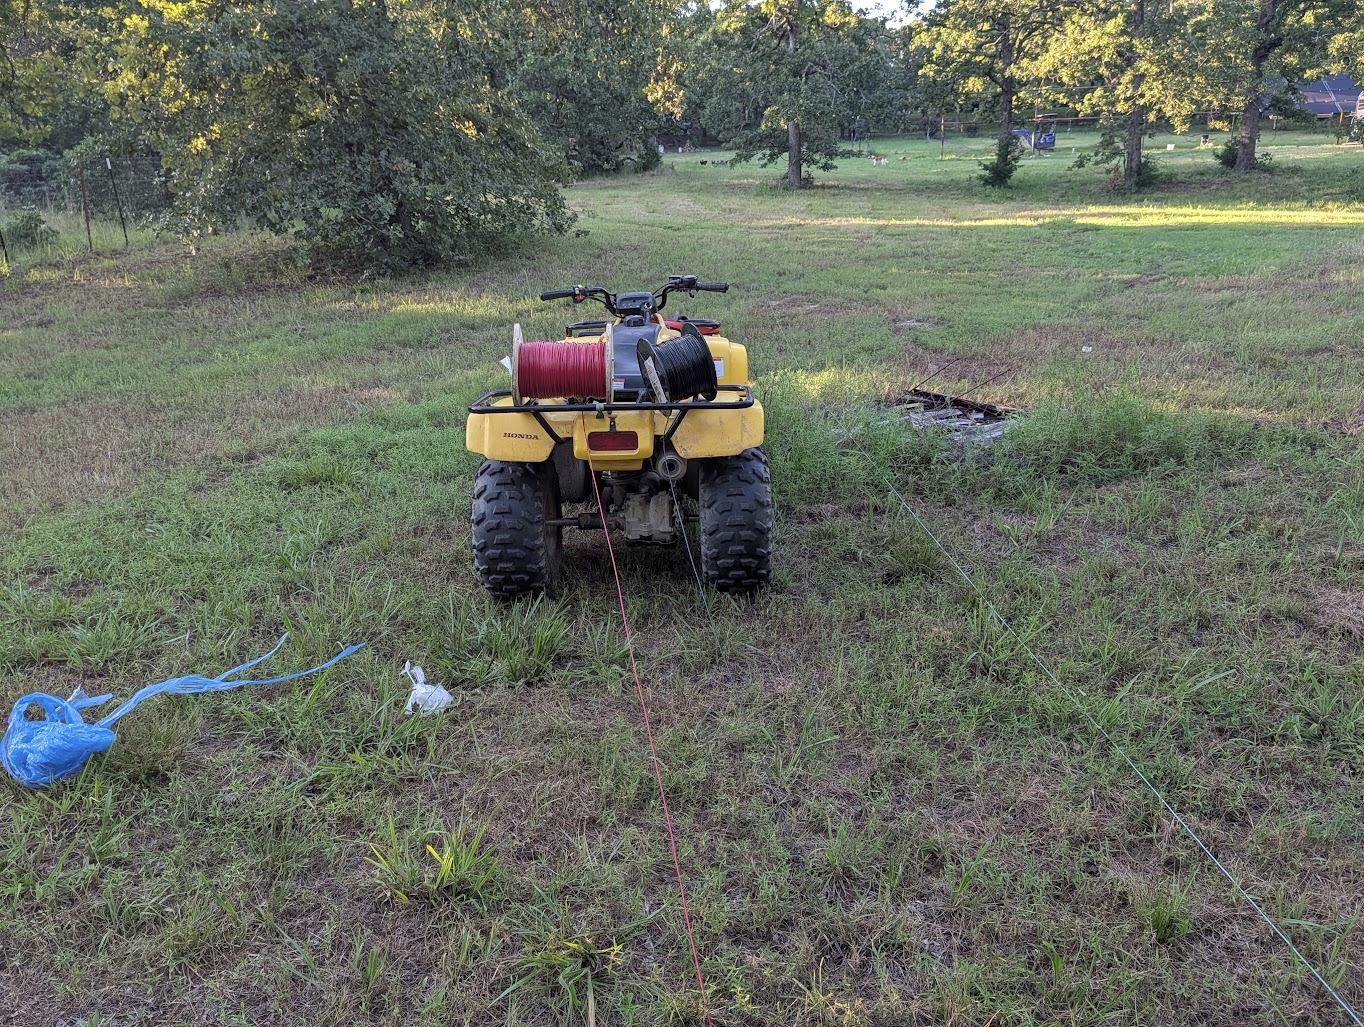
And- after I finished the 3rd run, I had, about 15 ft of cable left.
Danger
Do NOT forget about the other 800ft of cable you have laying in your garage!!!
Otherwise, when you go to hookup the 4th, and 5th strings- You will be extremely disappointed in yourself… And you will have to go dig another trench, and lay another 400ft piece of conduit.
Ask me how I know!!!!
Because- copper is expensive, and I don't trust the wildlife- I did drag all 3,000ft of cable, and stored it in the garage.
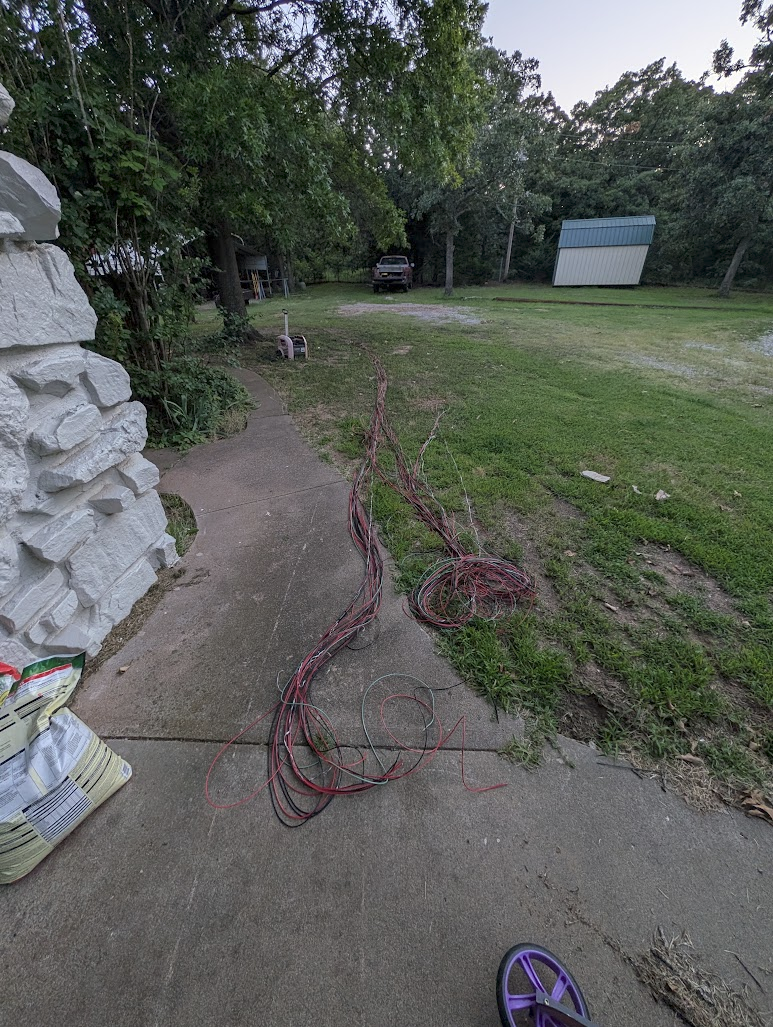
And- the next day- I got to pull it all back out of the garage.
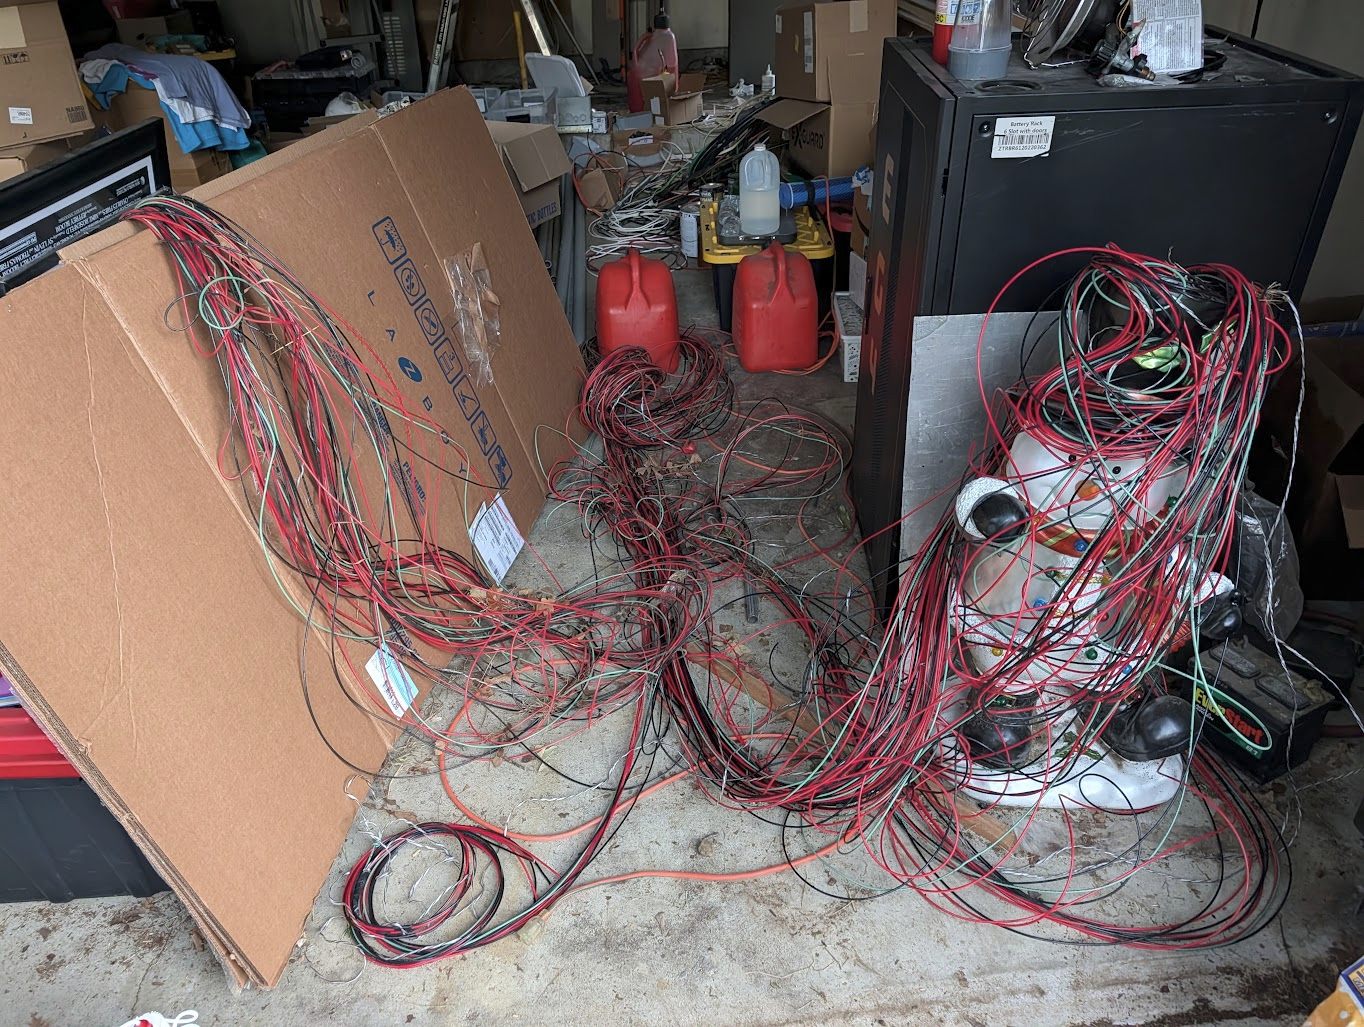
Which- although it looks like a giant knot / mess- it only took about 15 minutes to get organized, and ready to be pulled.
There honestly wasn't too much to the process of pulling. One person at the top guiding the cable into the conduit… another at the bottom, pulling it through.
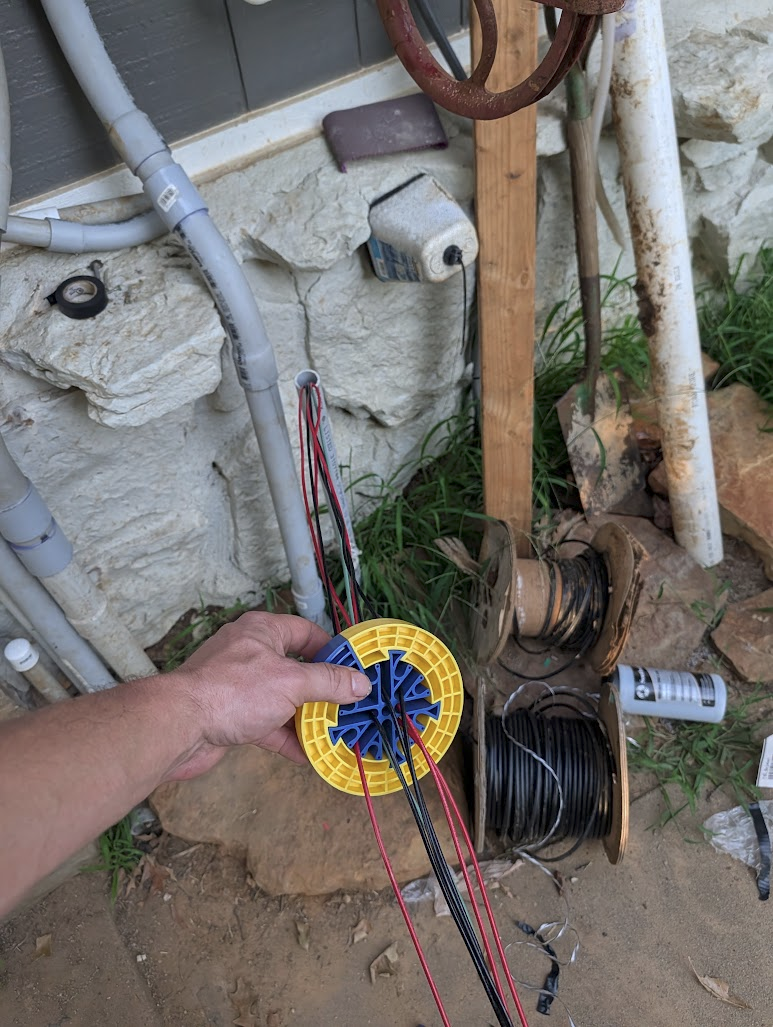
Down at the rails- I did use a cheap combiner box, for now.
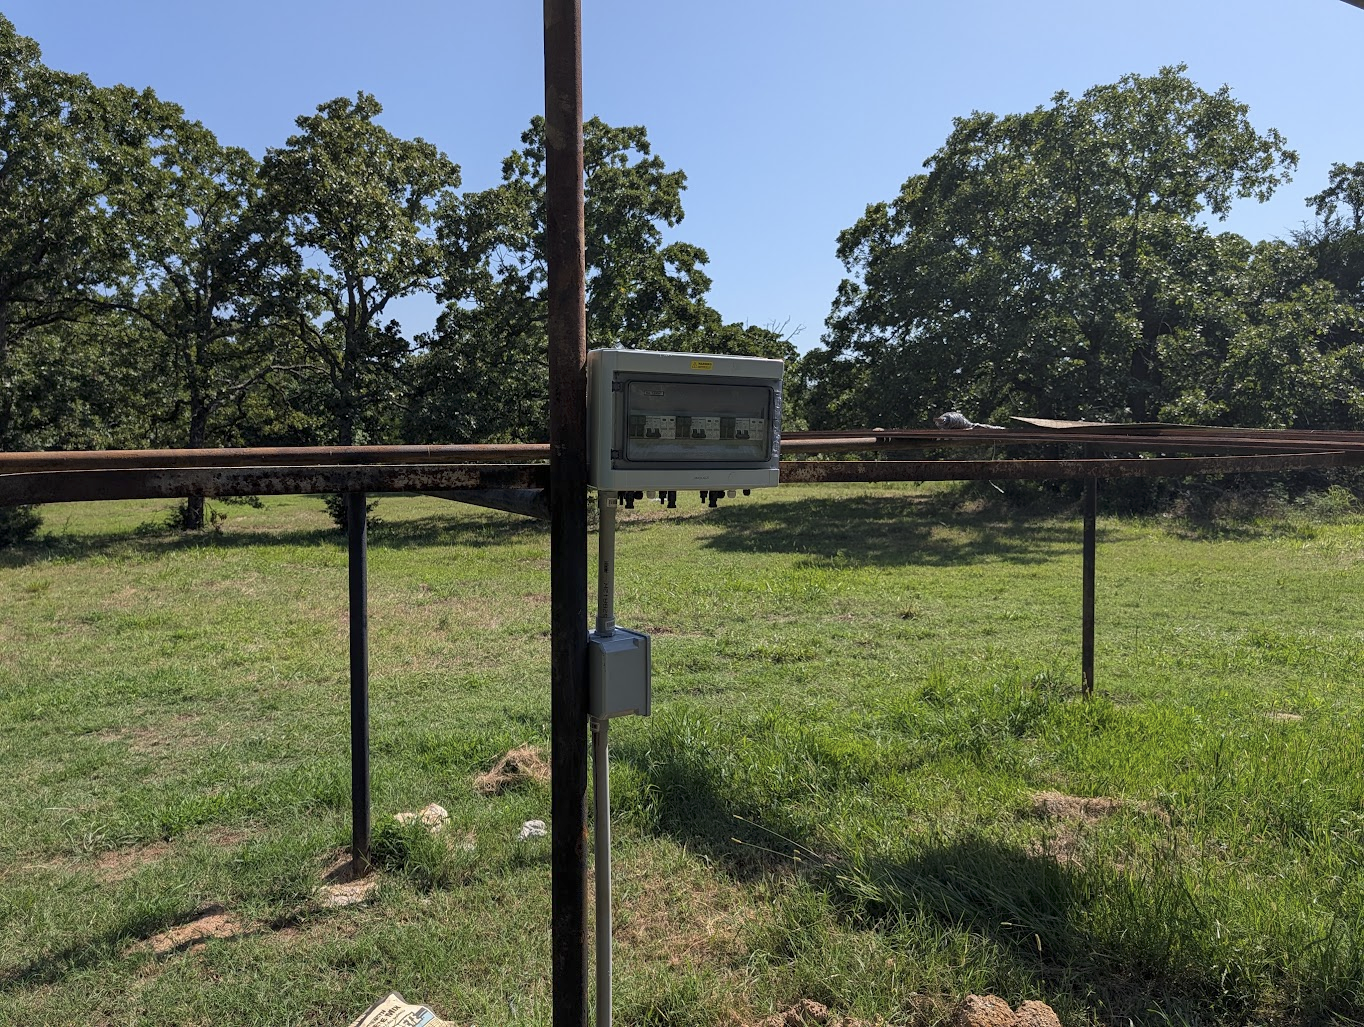
For the price- I can't really say anything negative about it. It works, and worked pretty well.
- Amazon - 3 in 3 out combiner boxAmazon affiliate linkAs an Amazon Associate I earn from qualifying purchases at no additional cost to you; using this link helps support the site.
I do have a metal DIN-enclosure I will be replacing this with soon…
Mostly- because, I need enough room for 5 strings.
Finishing the panels
DC Optimizers
For all of the panels I am installing (48), I have a Tigo TS4-A-O optimizer on each one.
Is it needed? No.
Here are the reasons I am using them:
Flexibility with mismatched panels
- Tigo optimizers can tolerate a 25% difference in min/max voltage AND current. Source
Partial Shade If you have partial shade on your panels- the optimizers will prevent the shaded panels, from impacting the output of the entire string.
For example- here is earlier in the project- there was a tree limb which would cast a shade in the evening:
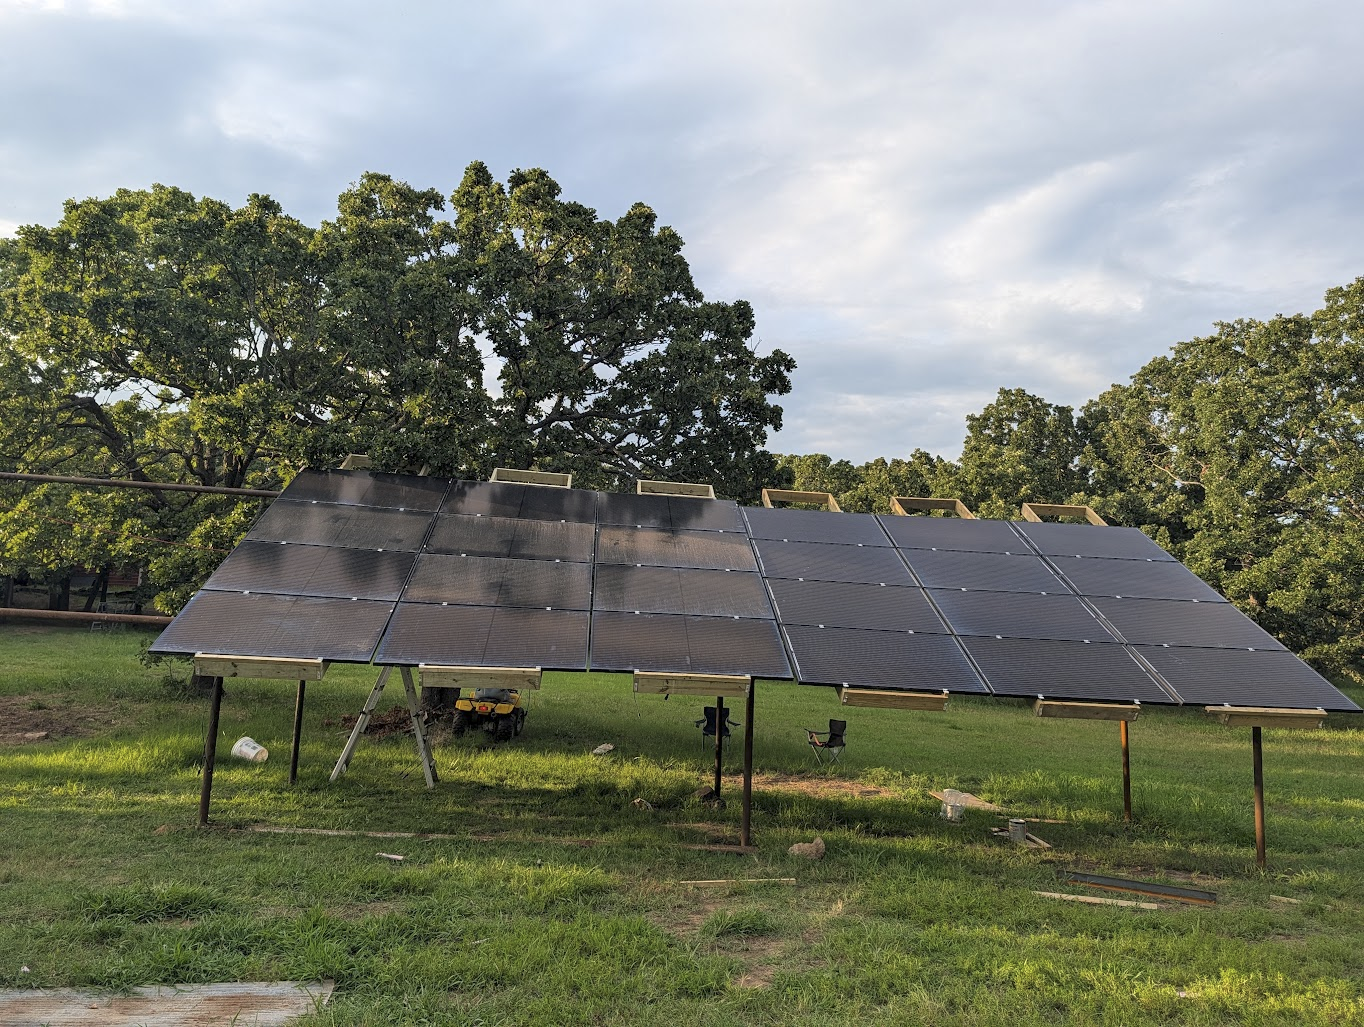
The rest of the unaffected panels would continue to produce full output.
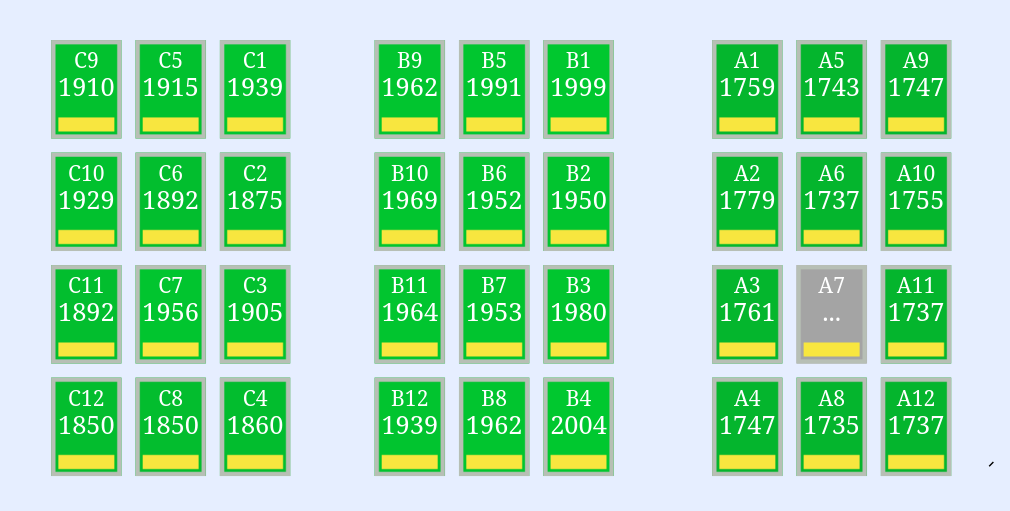
Per-Panel Monitoring
- I like data. And having data PER-Panel, makes me happy. It makes it very easy to spot if there is an issue with a specific panel, or even an entire string.
Safety Features
The optimizers do support rapid shutdown. And will de-energize the PV lines between the optimizer and your inverter.
I personally tested on one of the 400v DC lines- and was able to produce a 1+ ft electrical arc.
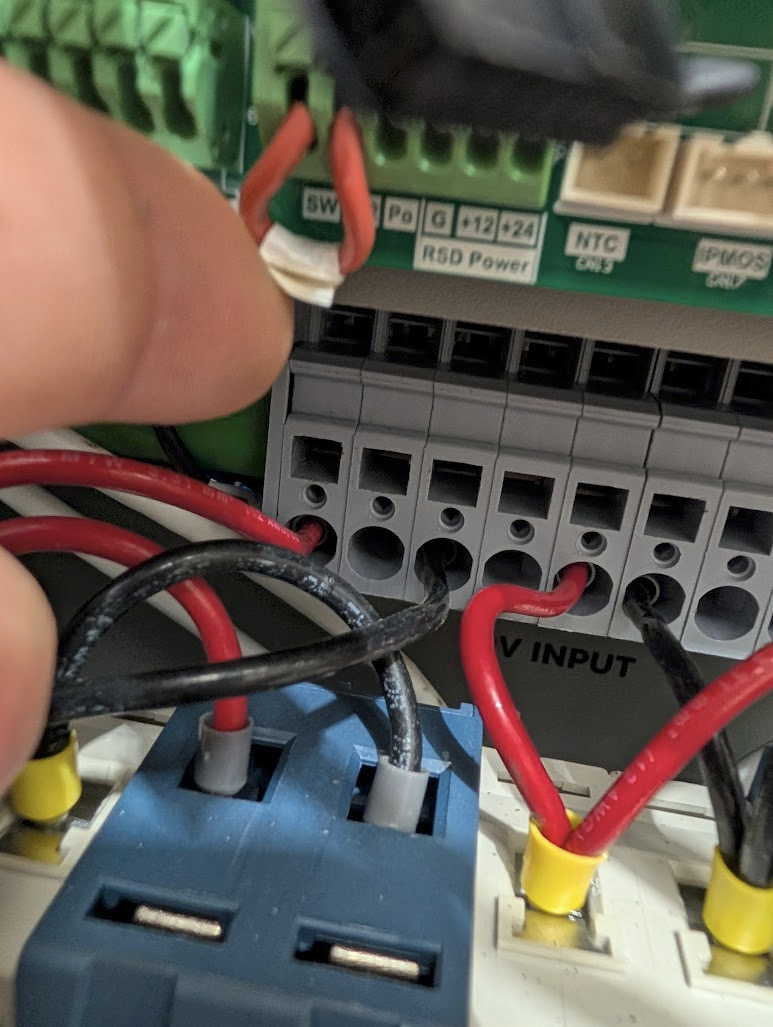
In addition- If you do something stupid, such as connecting both + and - to the + input on your MPPT causing a short circuit- RATHER than releasing the magic smoke, melting cables, tripping breakers, or blowing fuses…..
The Tigo units will instead, just beep at you. This- is a pretty handy feature.
Causing a short circuit- Isn't that hard. For example- here is said short-circuit:
That being said- I have 48 of them. I purchased a few full boxes.
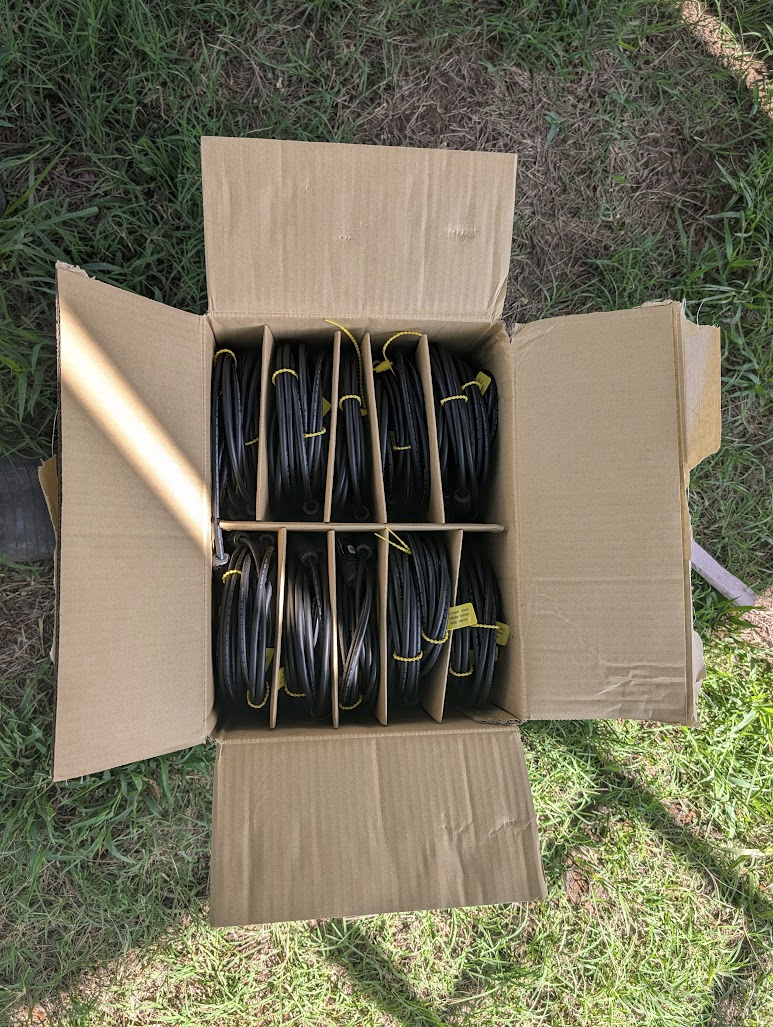
If, you were interested in purchasing these units, here are a few links:
- Amazon - Tigo TS4-A-O OptimizerAmazon affiliate linkAs an Amazon Associate I earn from qualifying purchases at no additional cost to you; using this link helps support the site.
- Signature Solar - Tigo TS4-A-O
(Amazon- had much cheaper shipping (free) AND was a few bucks cheaper. I ended up buying a few boxes from both sources though.)
Racking more panels
And….. this is a few weeks after the first 6 rows went up. BUT- it was time to finally finish putting the rest of the panels up.
So- more frames built, and ready to go.
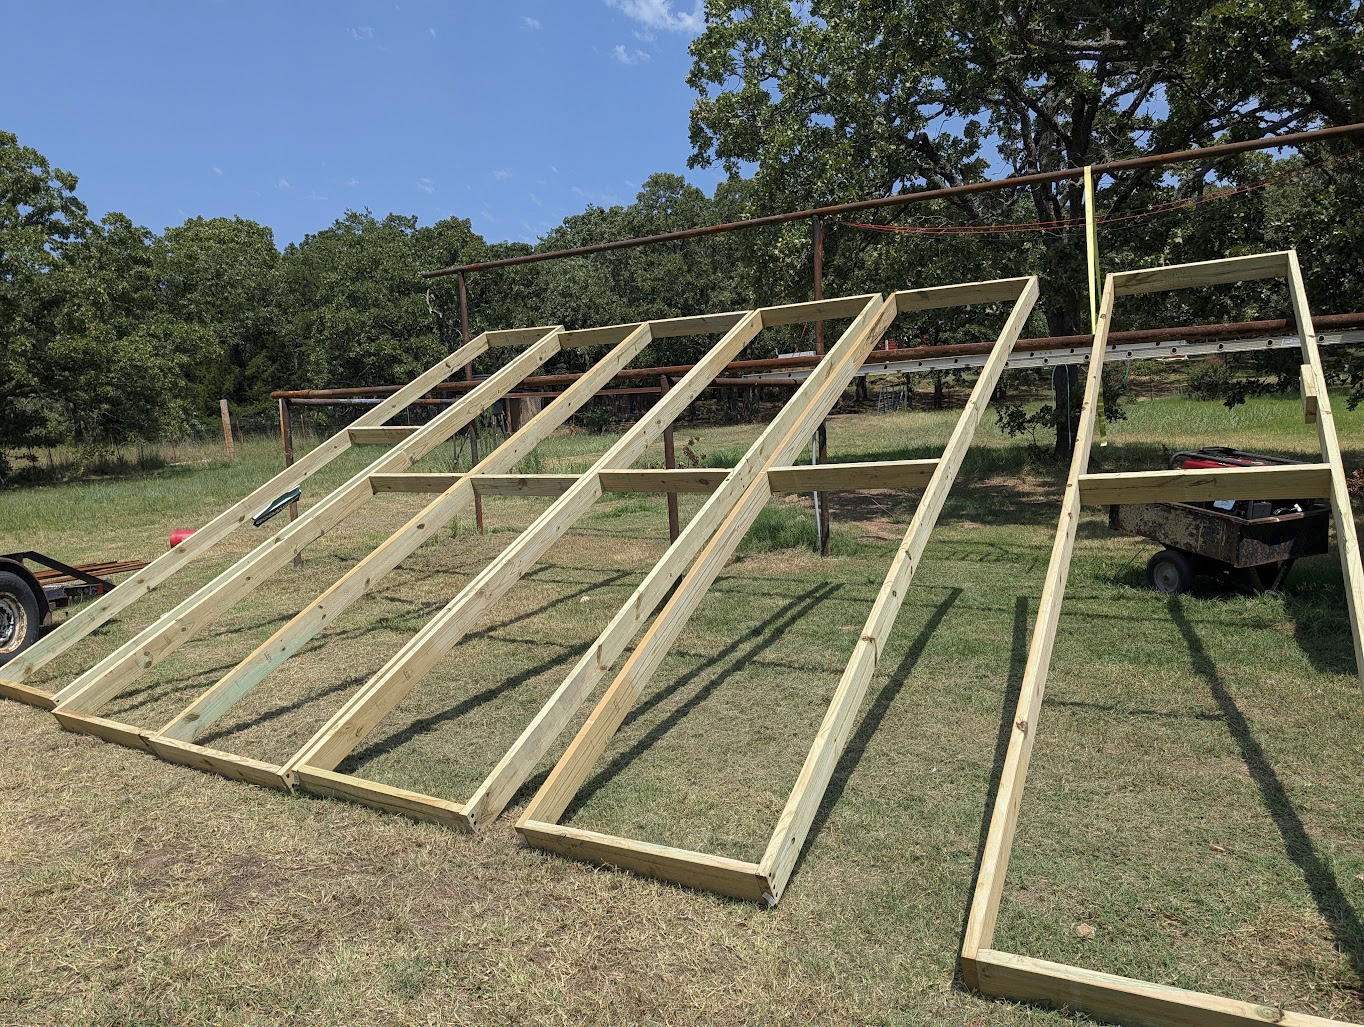
We loaded up and secured three columns worth of panels, to do at the same time.
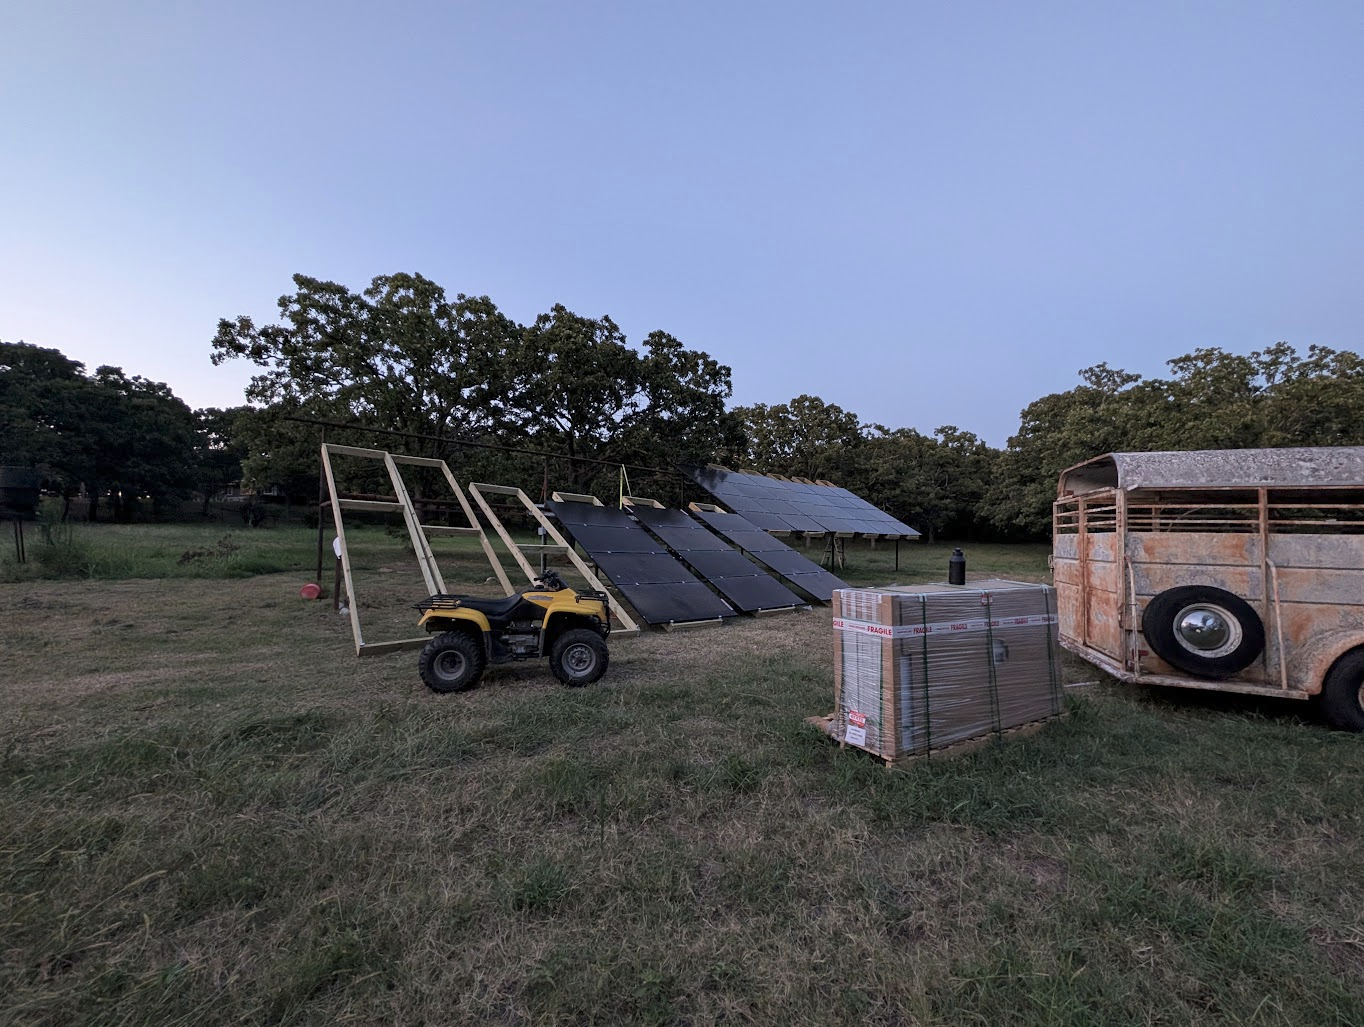
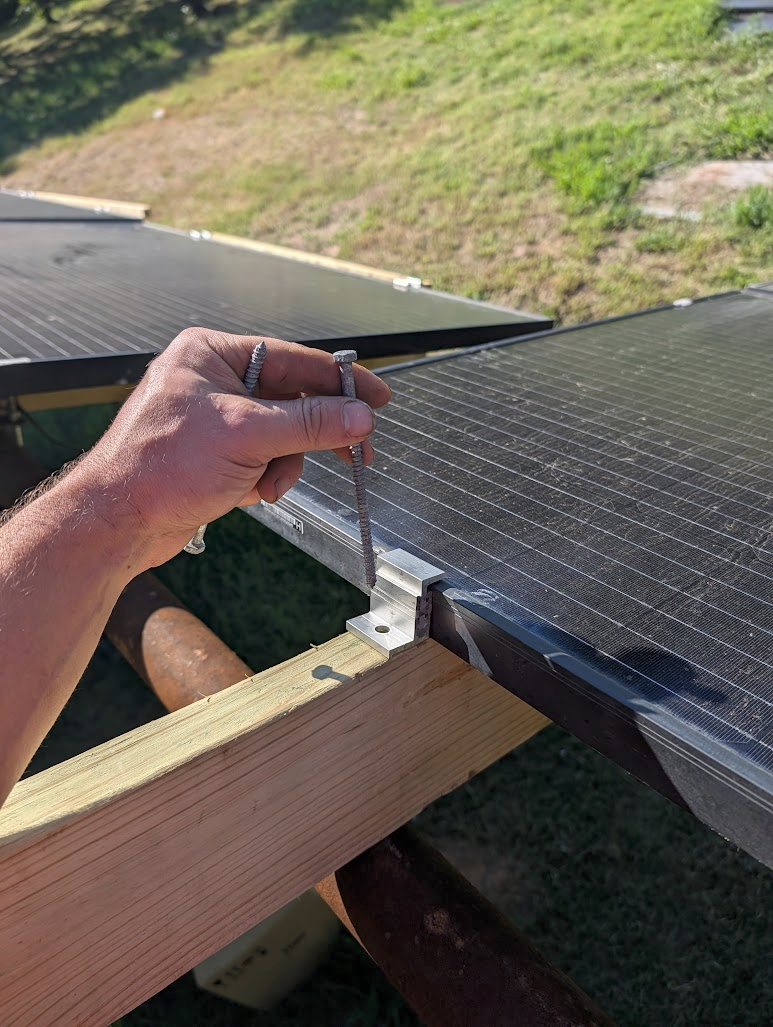
Remember- the earlier note about the lag bolts being just a hair too big for the end-clamps? I did have a bunch of these laying around, which worked perfectly.
The important part, is for deep penetration.
And- finally……
I had the rack completely full of panels.
Installing Additional Disconnects
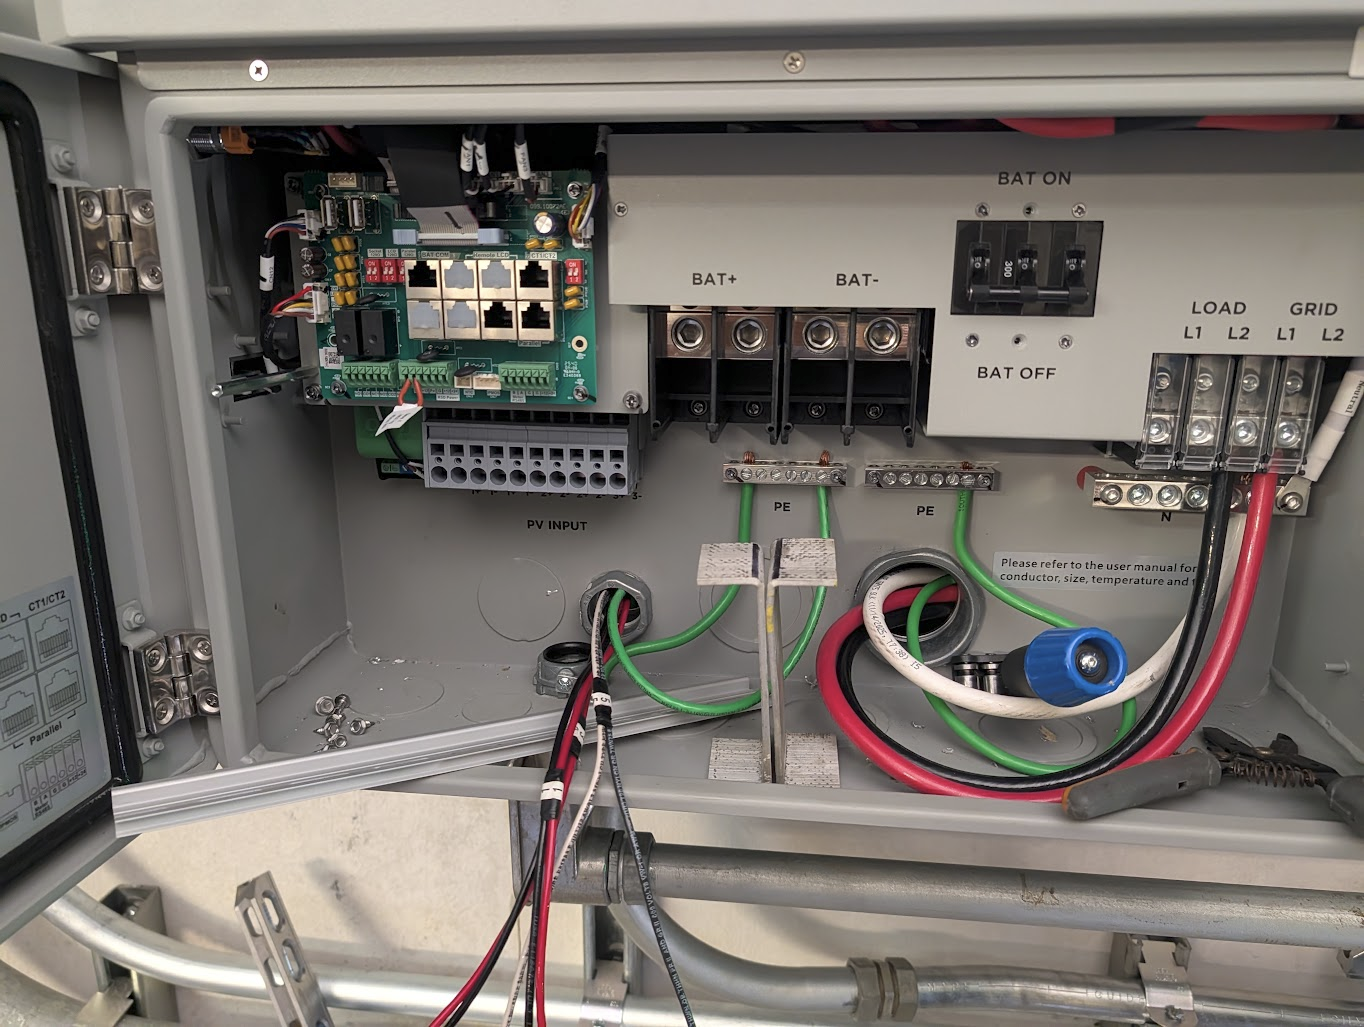
So- The FlexBOSS21 itself, does not have PV disconnects/breakers. And, I did want the ability to turn off the PV up at the house in case needed.
Here- is what the inside of the inverter currently looks like:
I made some brackets from a piece of aluminum, and bolted a DIN rail to the brackets.
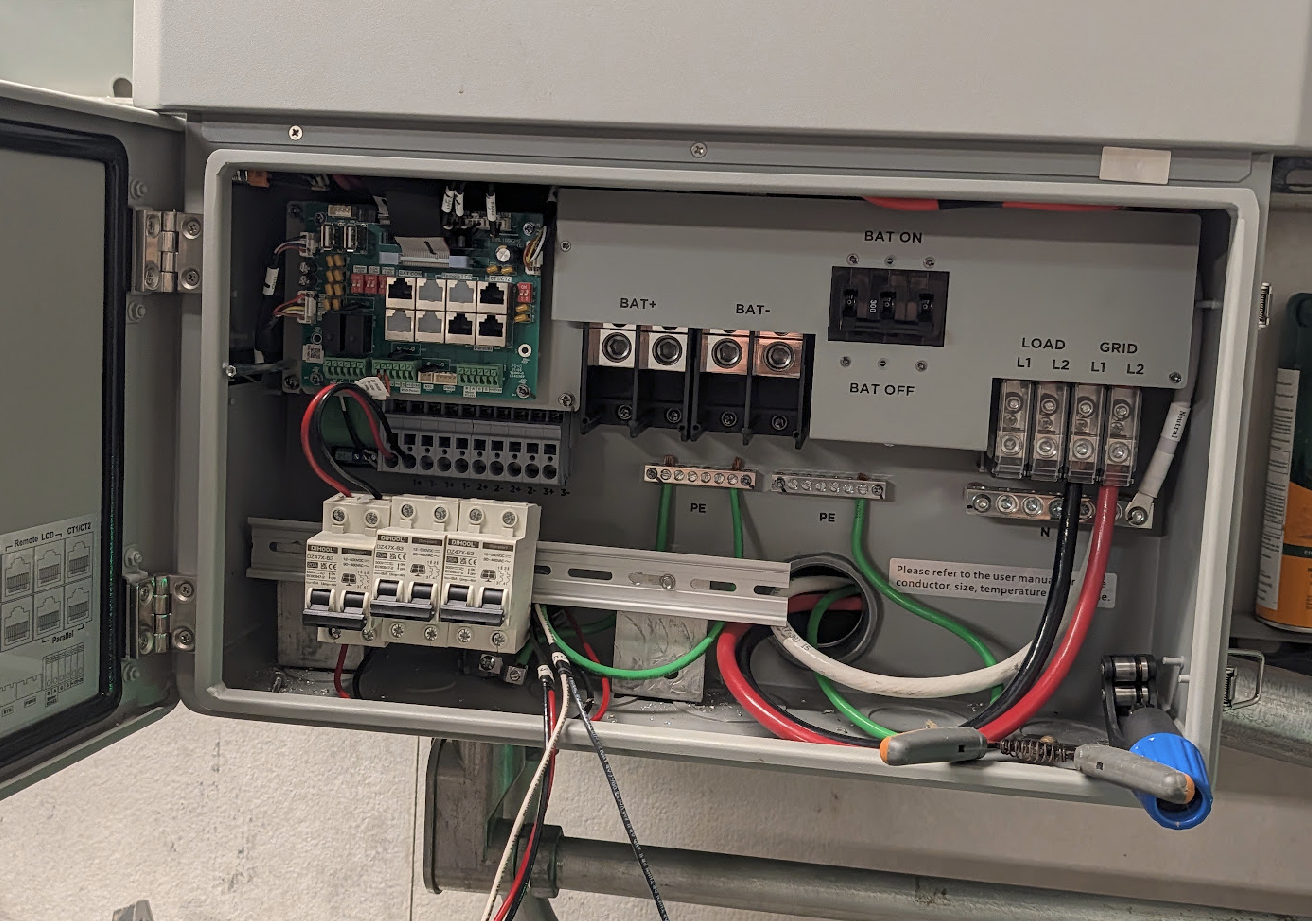
As- these did work pretty well, I also went ahead and added some DC-Surge Arrestors, and got everything wired up using ferrules.
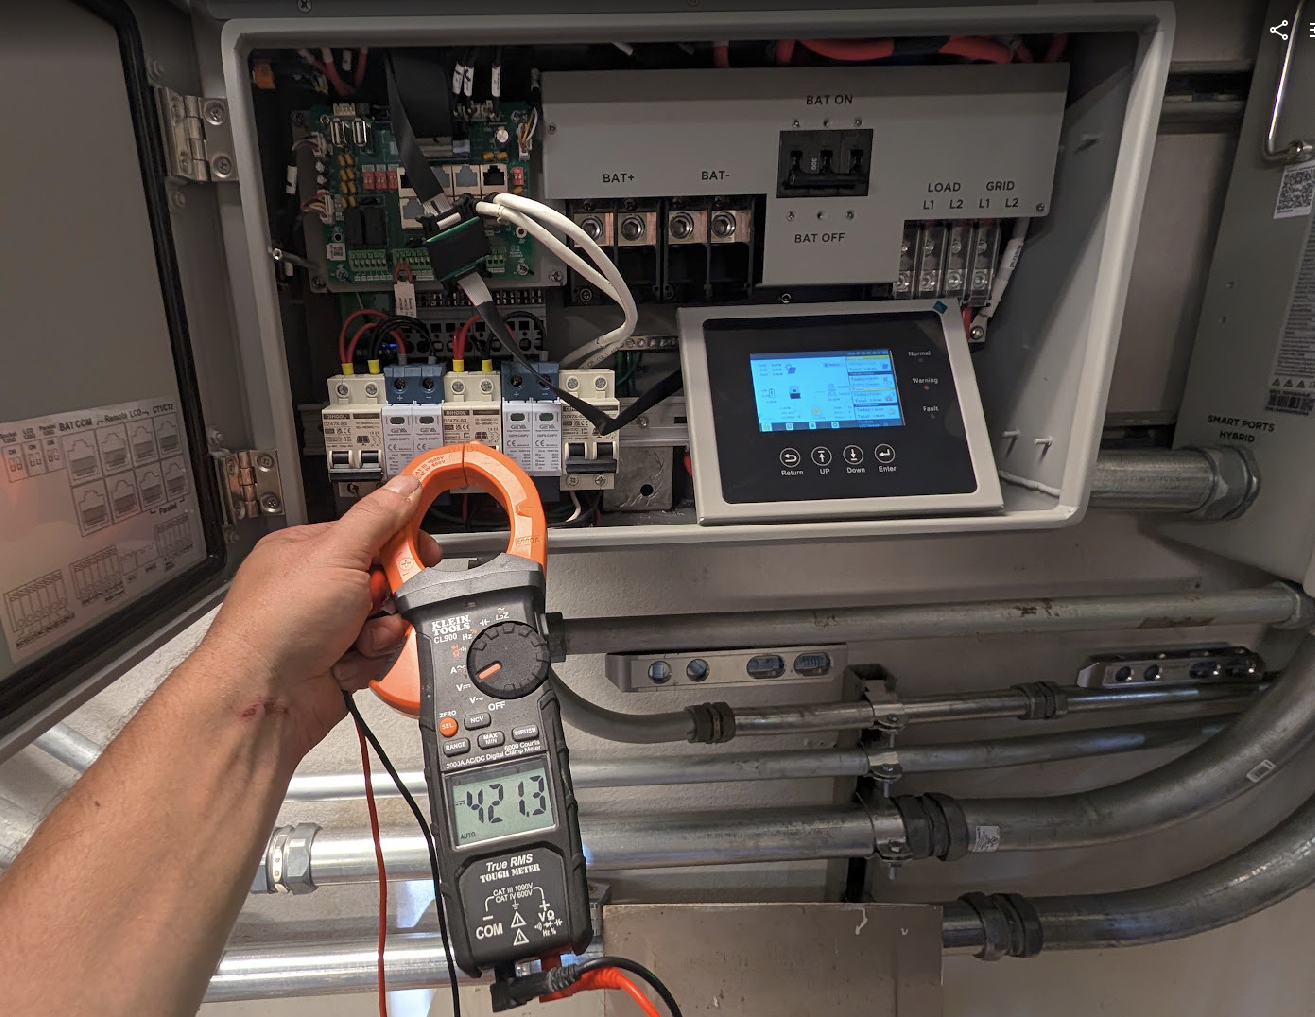
A pretty minor change, but, useful nonetheless.
Next Steps?
If- you didn't catch my rant earlier in the post- I do need to run an additional conduit to carry a few more pairs of conductors.
Currently- Each of the three conductors, is running around 10 amps of current. WHILE 12AWG THWN-2 IS rated for a bit over 20amps- But…. at 400ft long- I'd rather not lose two panels worth of output to thermal losses.
When I do get around to burying new conduit, I do need to reorganize my strings a bit.
Right now, I have three strings.
12x 340w 12x 355w 12x 355w
The problem is….. In the winter when these panels are working more efficiently…. the voltage of the 12x 355w strings will potentially exceed 600v, which is not acceptable. The cable is not rated for it, neither is the inverter, breakers, or other components.
As such, I will instead organize my strings like so:
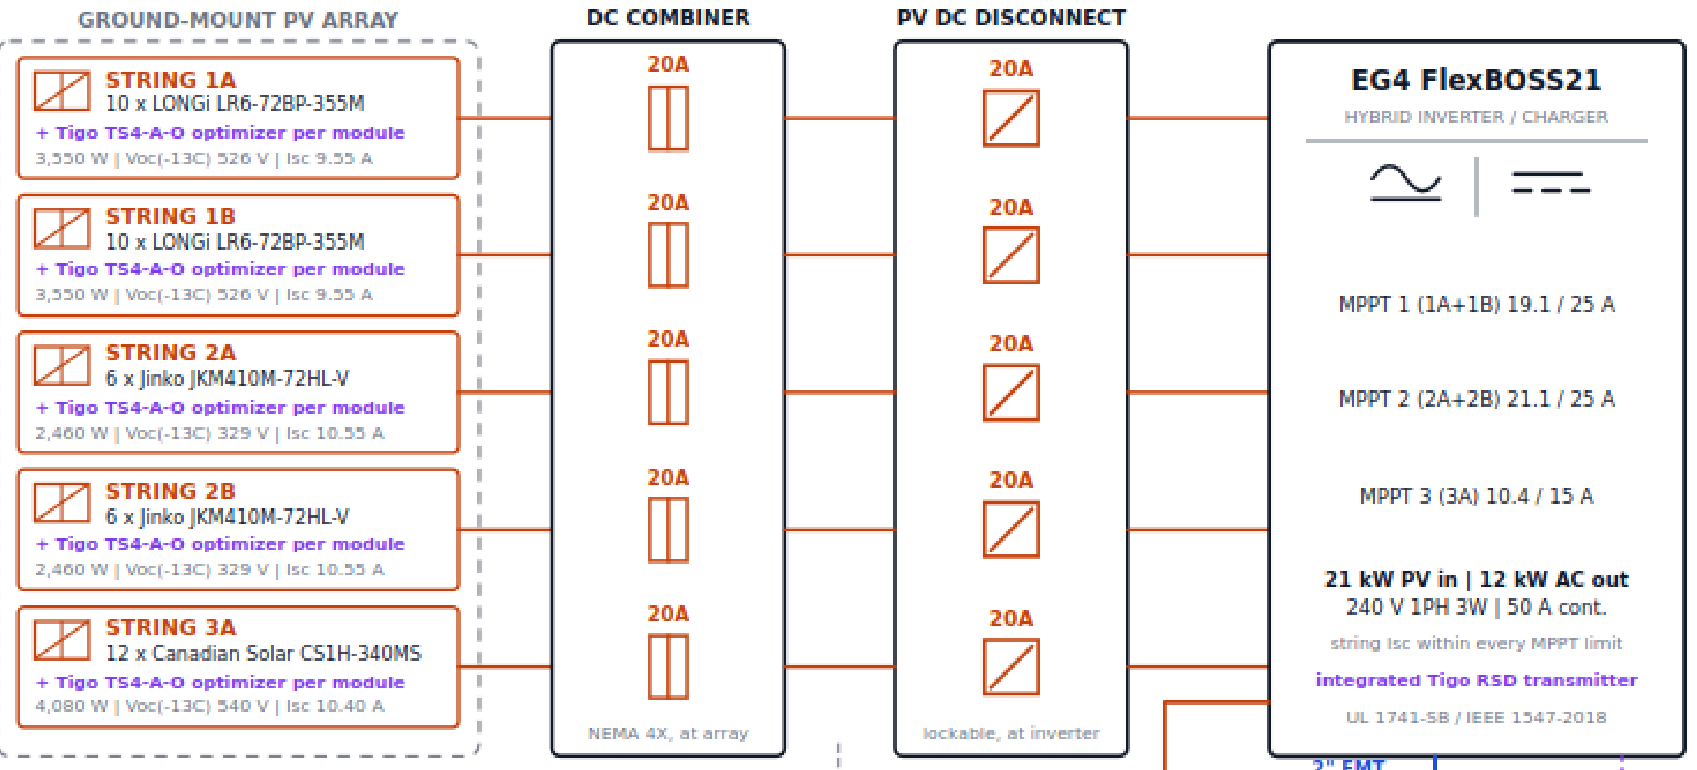
To make this happen, I will be removing one column of 355w panels, so that I can install the last column of 410w panels. ( I ran out of room! )
And- the 12x 355w strings, will become 2P10S 355w on the same MPPT.
The 12x 410w panels will be split into 2P6S, which will be pretty low on the voltage, but… will still be at 20 amps of current. In the future, I might try and fit another column of panels to make 2P8S bumping the voltage up a bit.
But- for now- the solar panels are installed, and the focus is getting all of the inspections and paperwork finished. (Above diagram is an excerpt from the inspections/interconnect paperwork)
The next post regarding this project, will be the garage finale.
Amazon Affiliate Links Used
This post DOES include Amazon affiliate links. If you found this content useful, please consider buying the products displayed using the provided links.
You will pay the same amount as normal, however, it does provide a small benefit to me. This benefit is usually used to purchase other products and hardware for which I can review / blog about.
I do not display advertisements on this site. As such, the only compensation from this service, comes from affiliate links. I do not ask for, or even accept donations.