
So- I am behind just a bit on documentation. I built the racking back in early June.
This post details how I designed and built the racking and brackets, and finally, installed the solar panels.
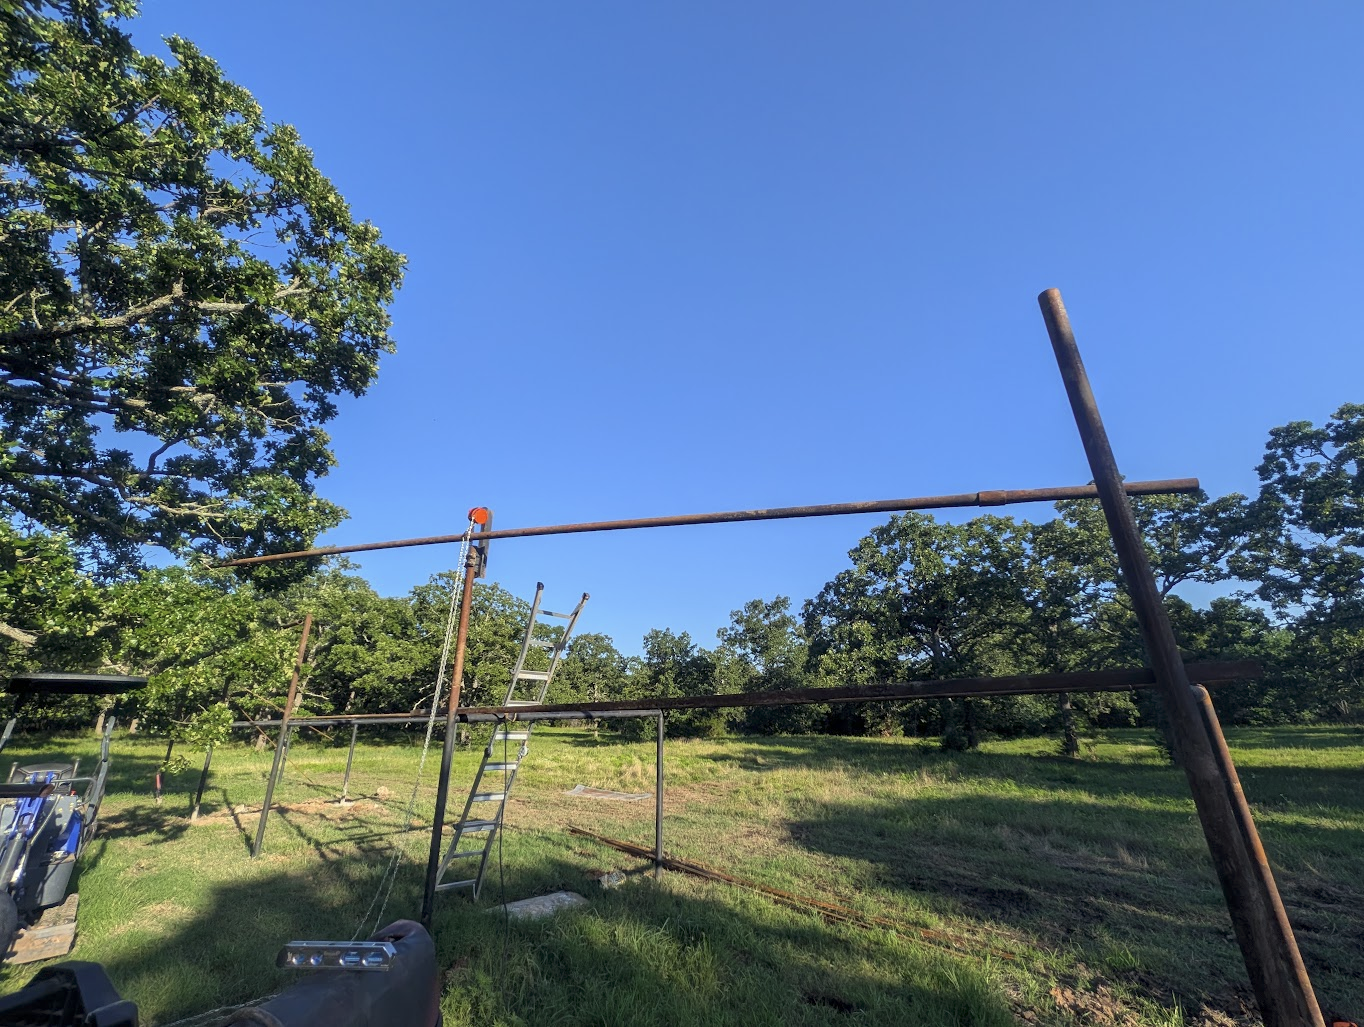
Getting Started - Planning
The first step- was making a drawing and planning how to build the racking.
I used Autodesk Fusion to design the rack.
After a few weeks of messing around, here is the final design I came up with.
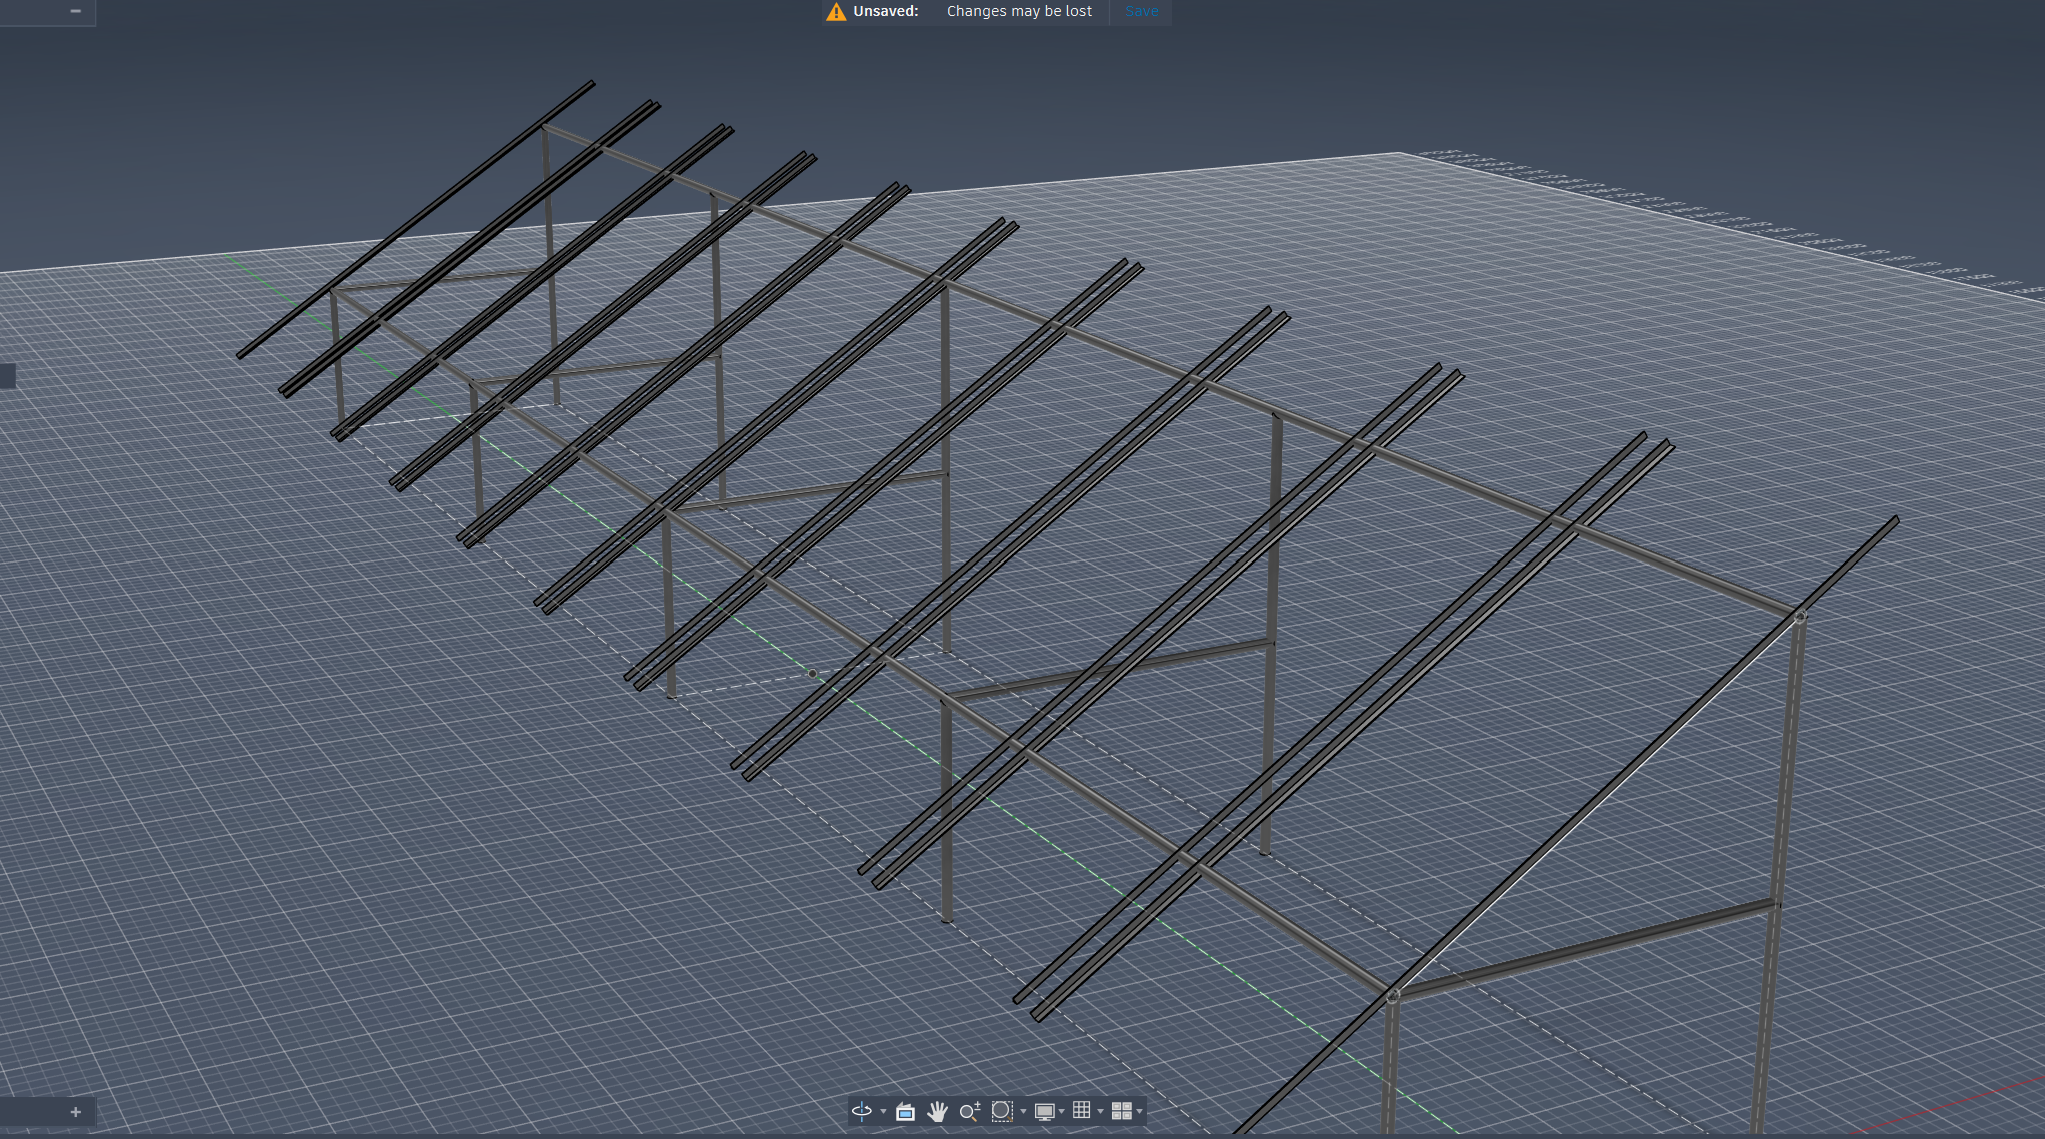
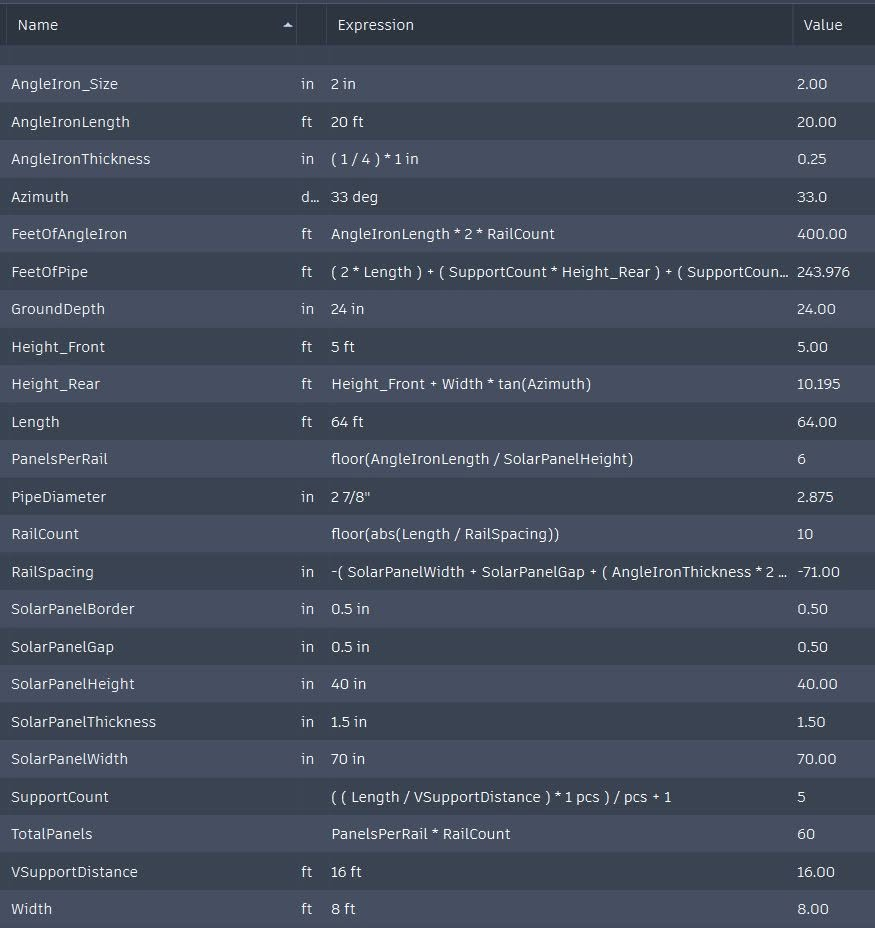
This plan leveraged 2 7/8" drill string, and leveraged angle iron to mount about 10 columns, 6 rows of panels, for a grand total of 60 panels.
The front was around 5 ft, with the rear about 11ft.
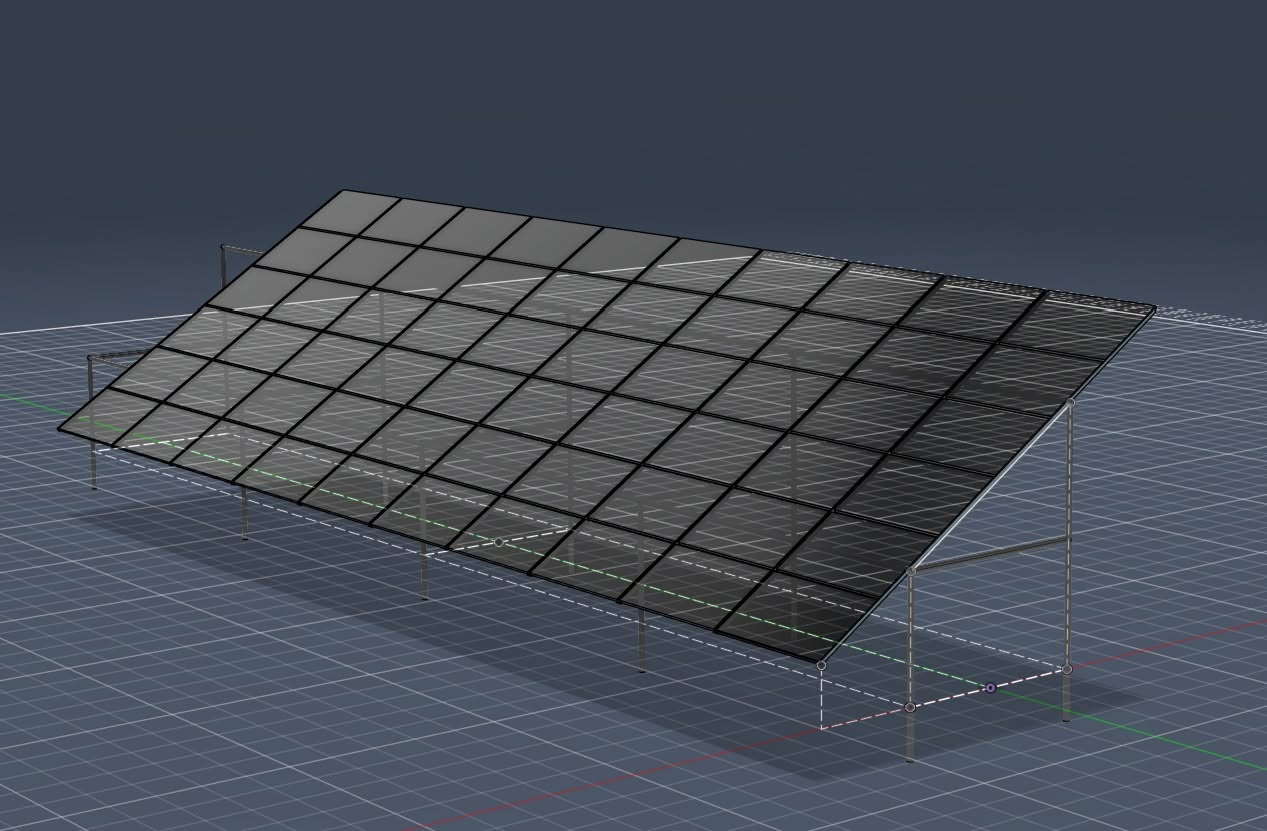
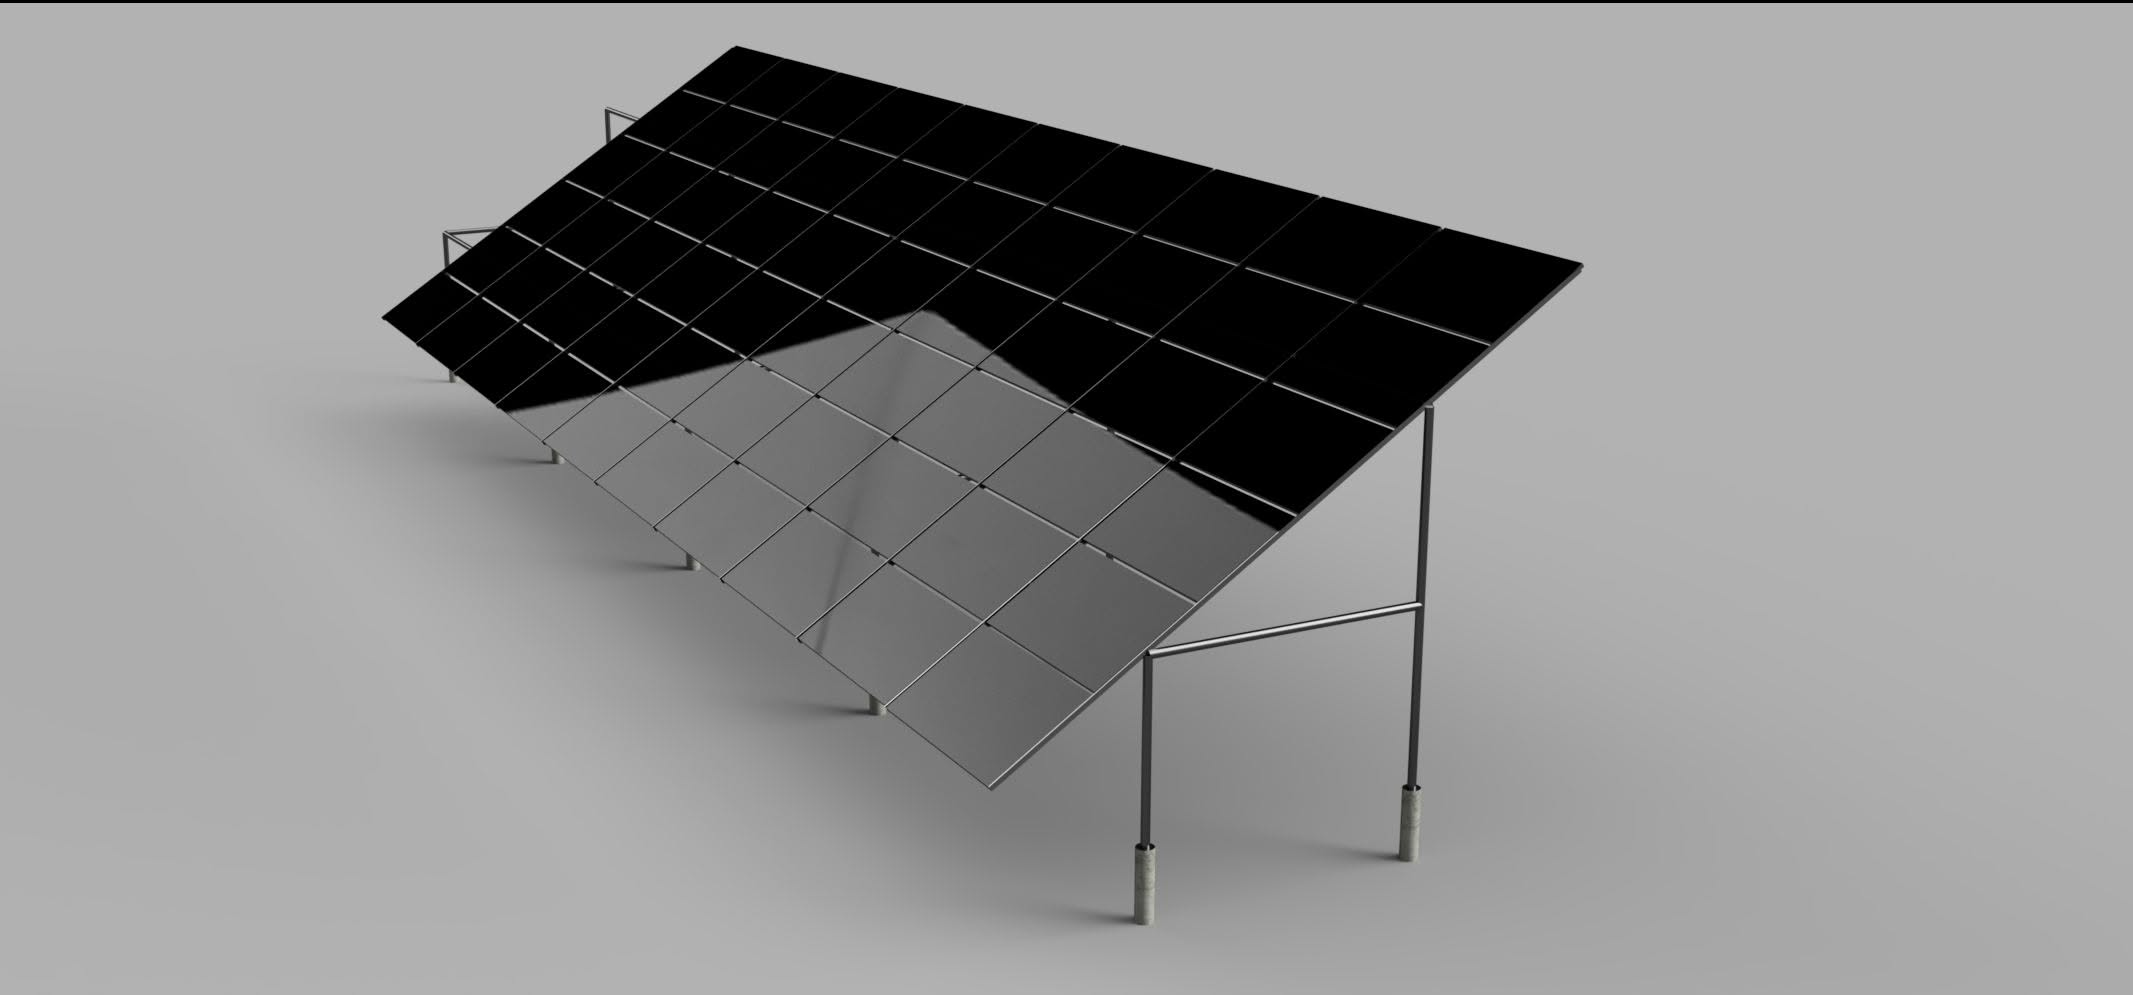
Some of the parameters I had configured in Autodesk
Ordering Materials
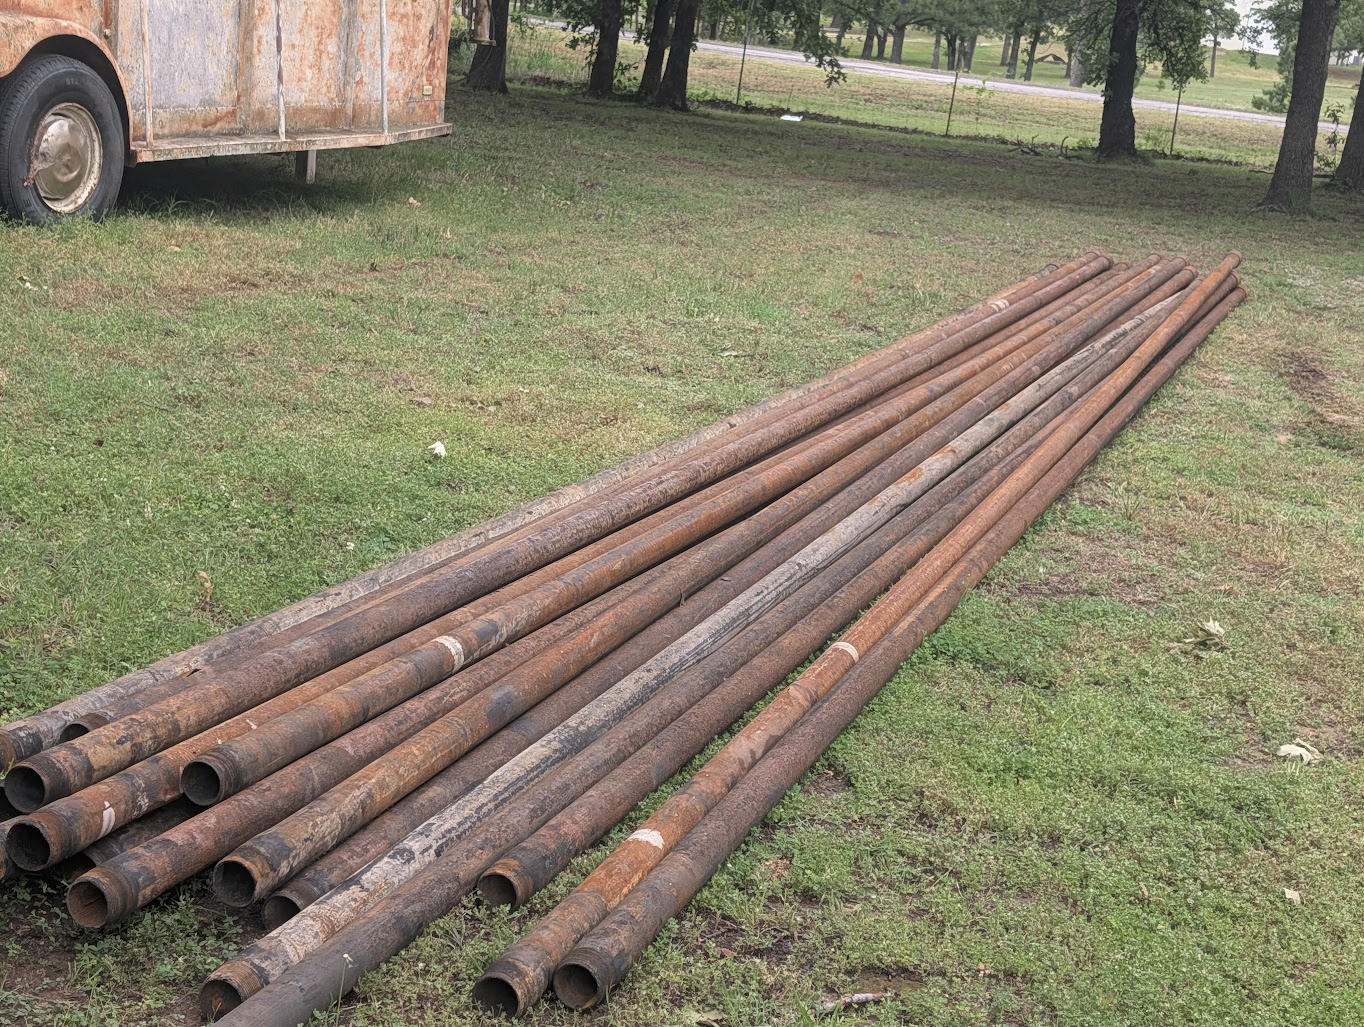
Since- I had a plan, it was time to start ordering materials. I started with buying some locally sourced, discounted 2 7/8" drill string. This drill string was discounted, as, there were breaks in many of the segments.
However- at 40$ per 32' stick, that was not a big problem. These sticks normally go for around 60$ or so per segment.
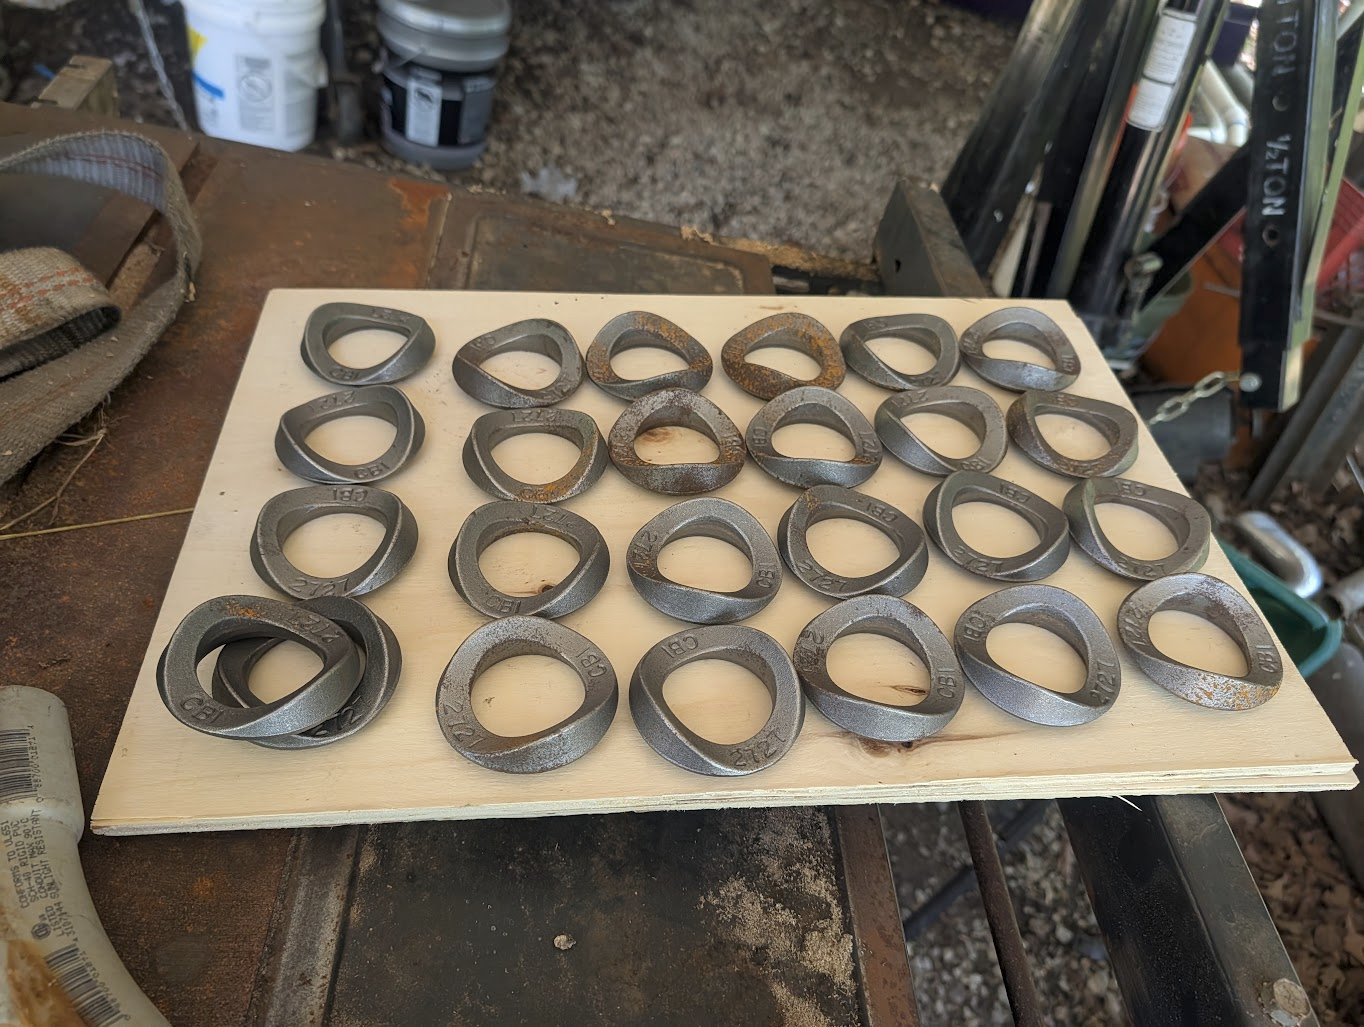
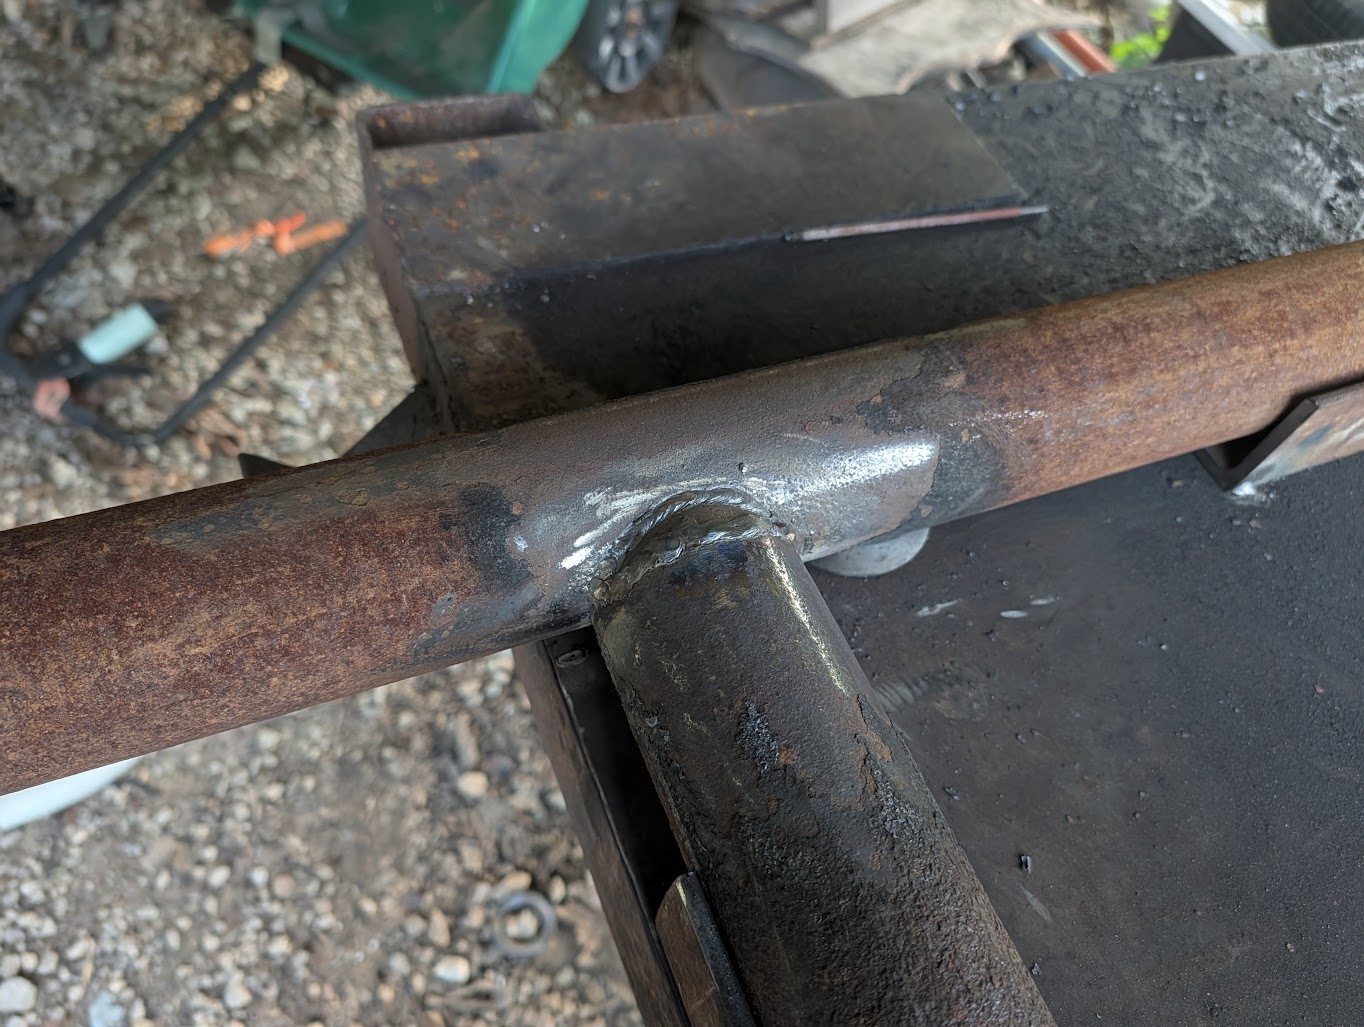
Given the amount of these to weld, I really didn't want to waste hours notching, and instead elected to buy weldable saddle caps.
Amazon - Weldable Saddle CapAmazon affiliate linkAs an Amazon Associate I earn from qualifying purchases at no additional cost to you; using this link helps support the site.
From future me- This was a fantastic decision, and saved a ton of time.
Building Frames
Step one- was to start chopping the segments into parts to be welded.
As usual, I used my trusty Dewalt ChopsawAmazon affiliate linkAs an Amazon Associate I earn from qualifying purchases at no additional cost to you; using this link helps support the site.. This thing has been kicking since 2017, and is still going!
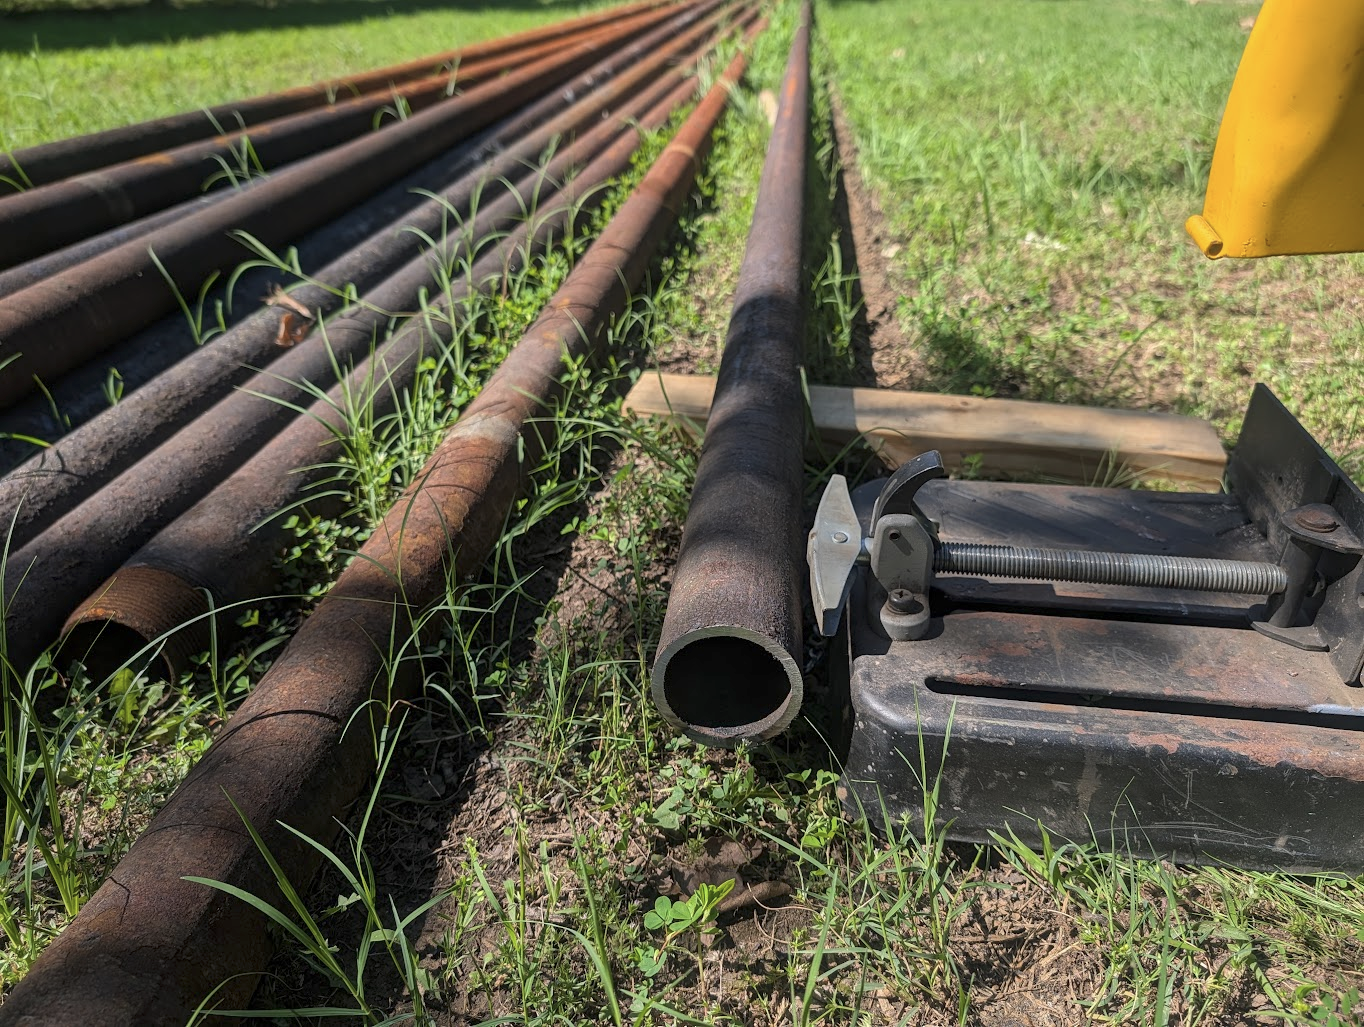
Do- make sure to have a few extra abrasive disks! I believe I went through two or three total.
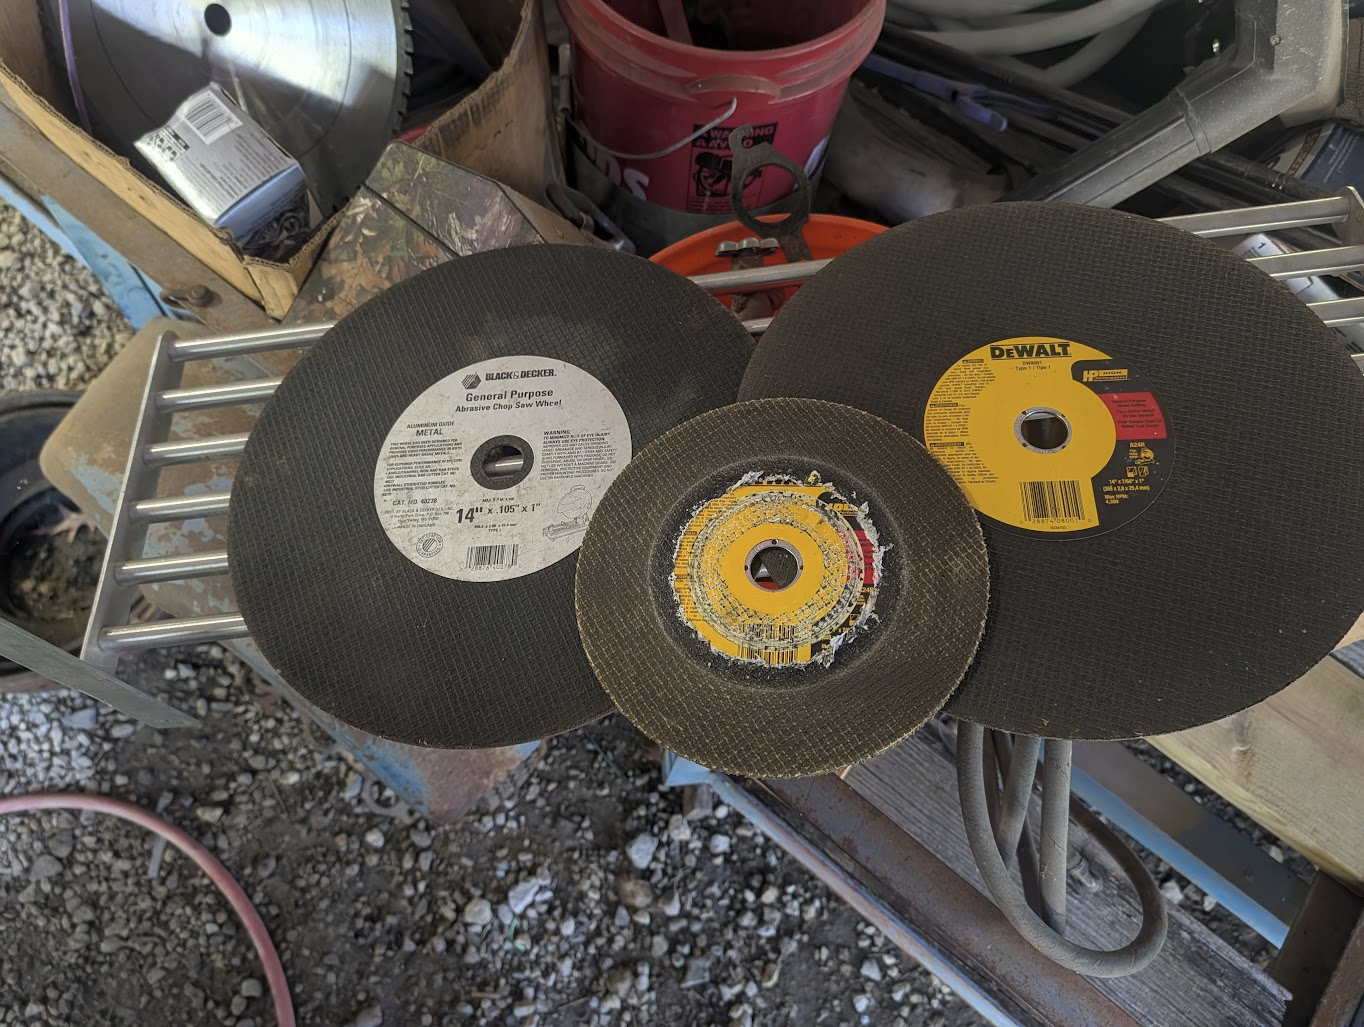
After a while, I had 15 pieces cut, and ready to be welded.
The rear legs are around 10-11ft. The cross-bar is 8ft. The front leg is 5ft.
Since- I had quite a few of these to weld together, I went ahead and cut a few pieces of angle iron, and welded to my table to make a jig.
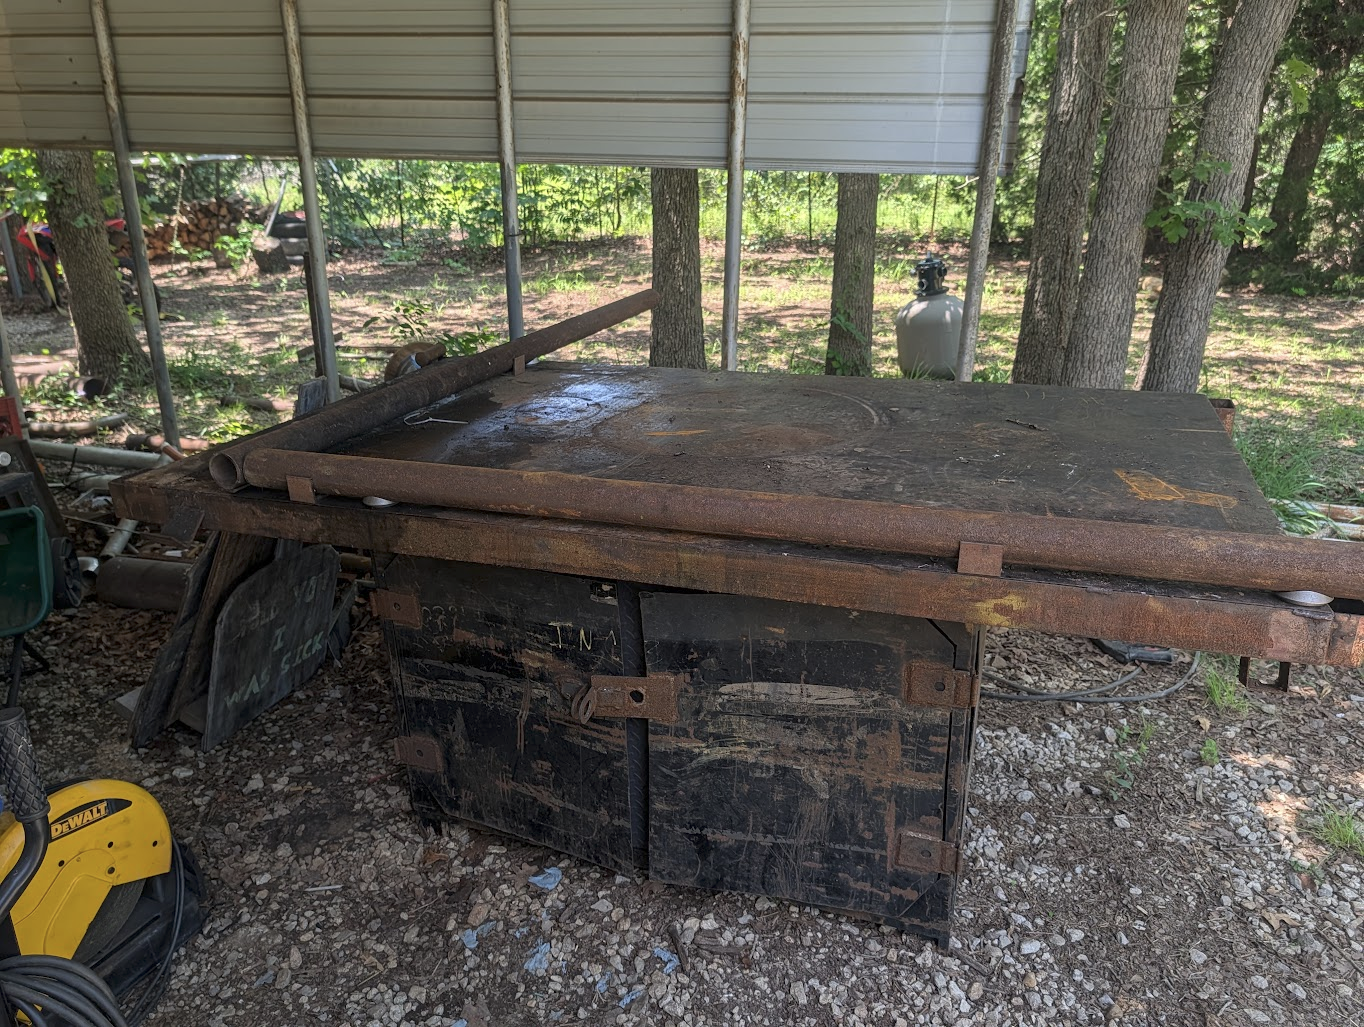
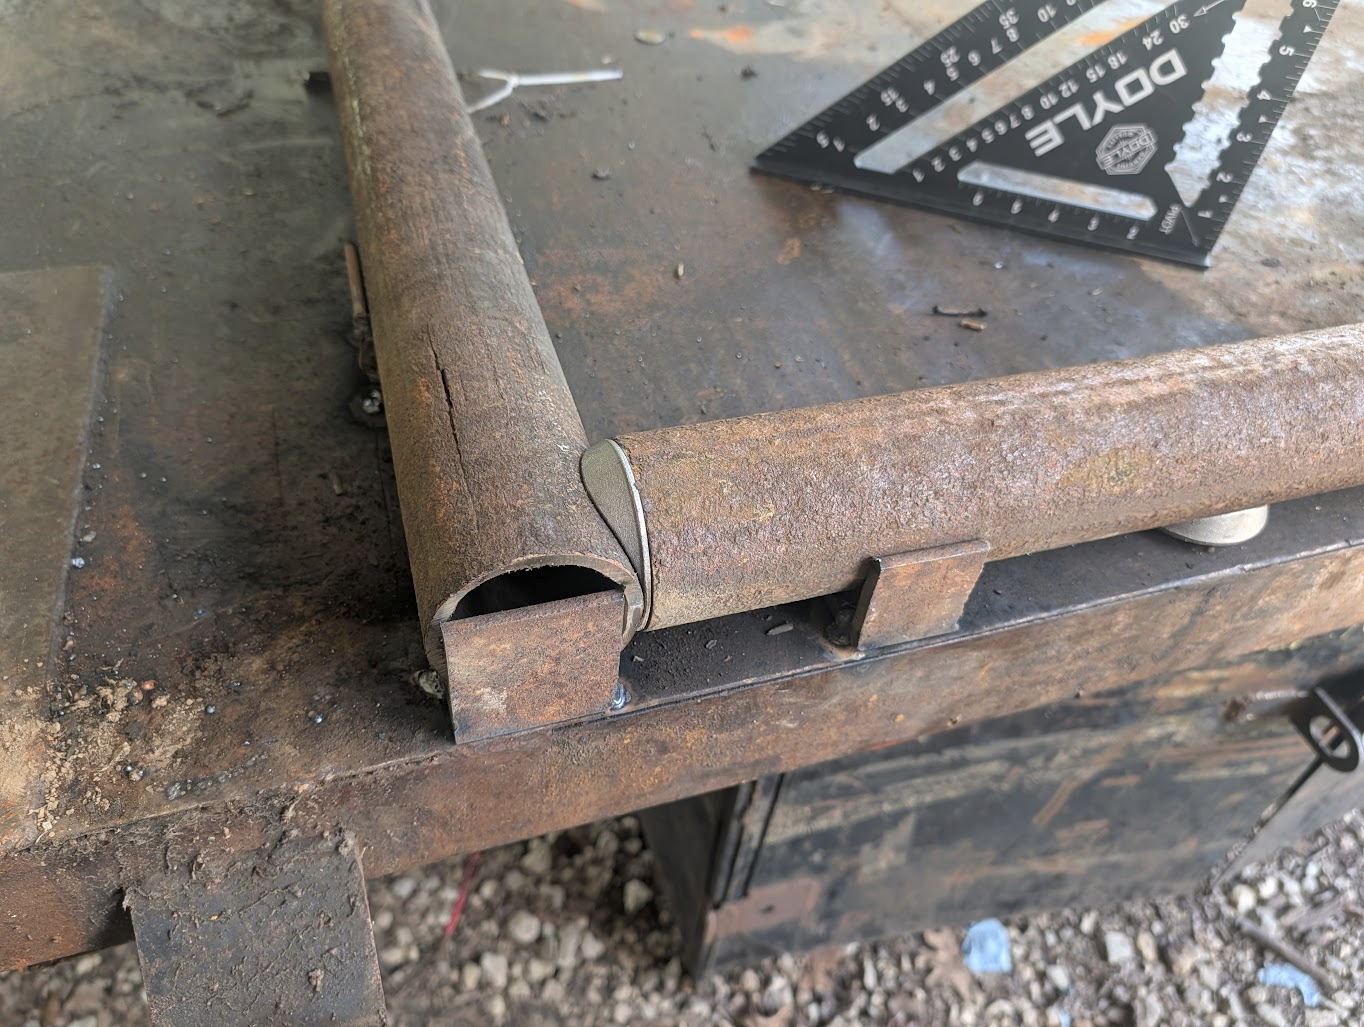
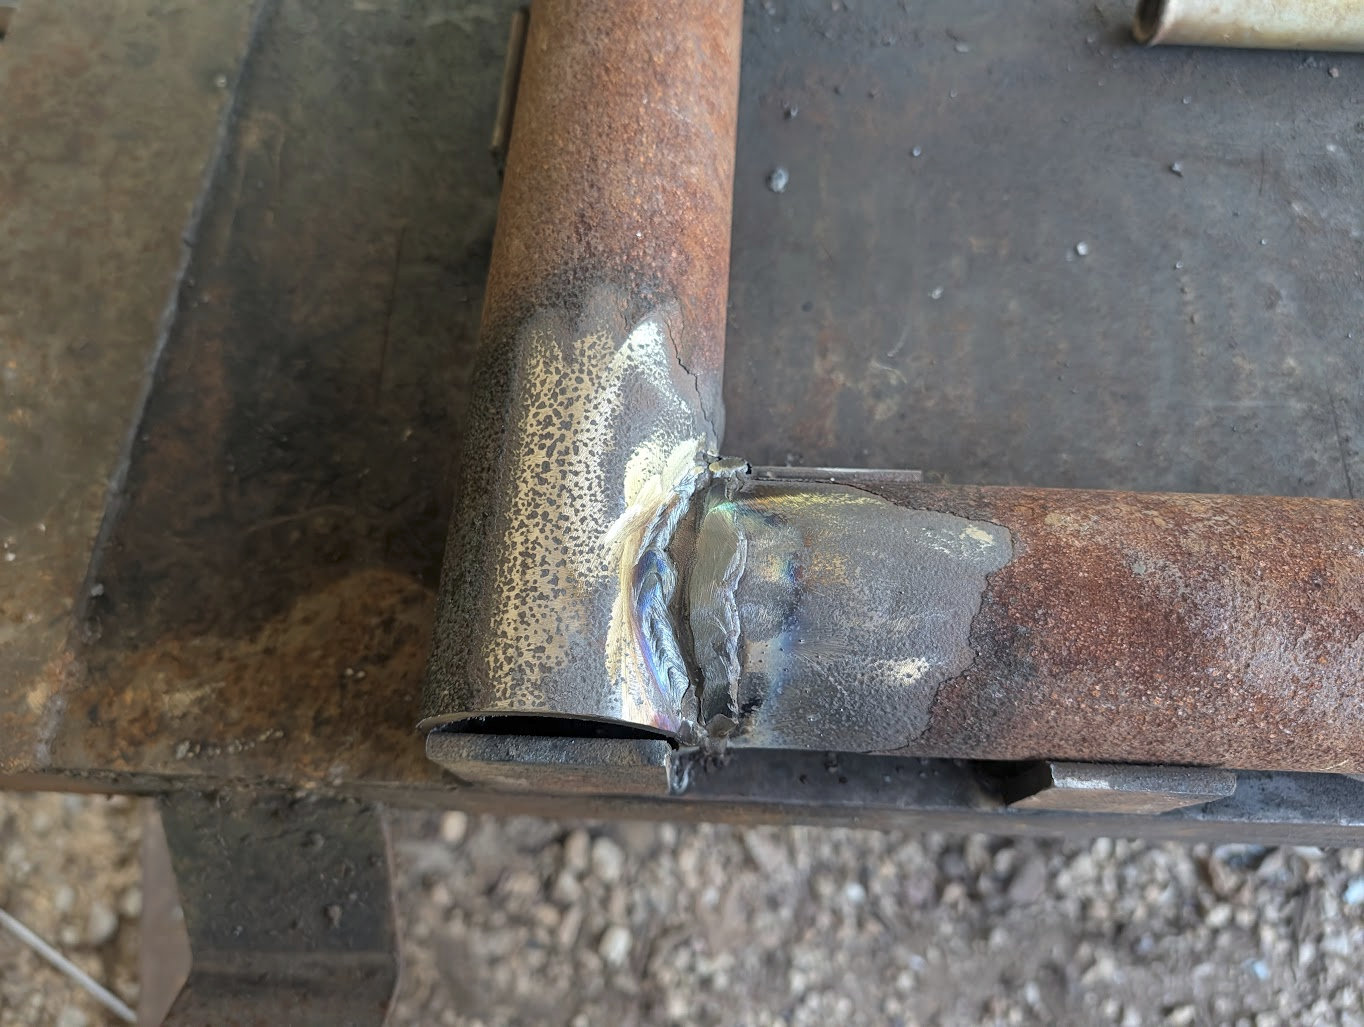
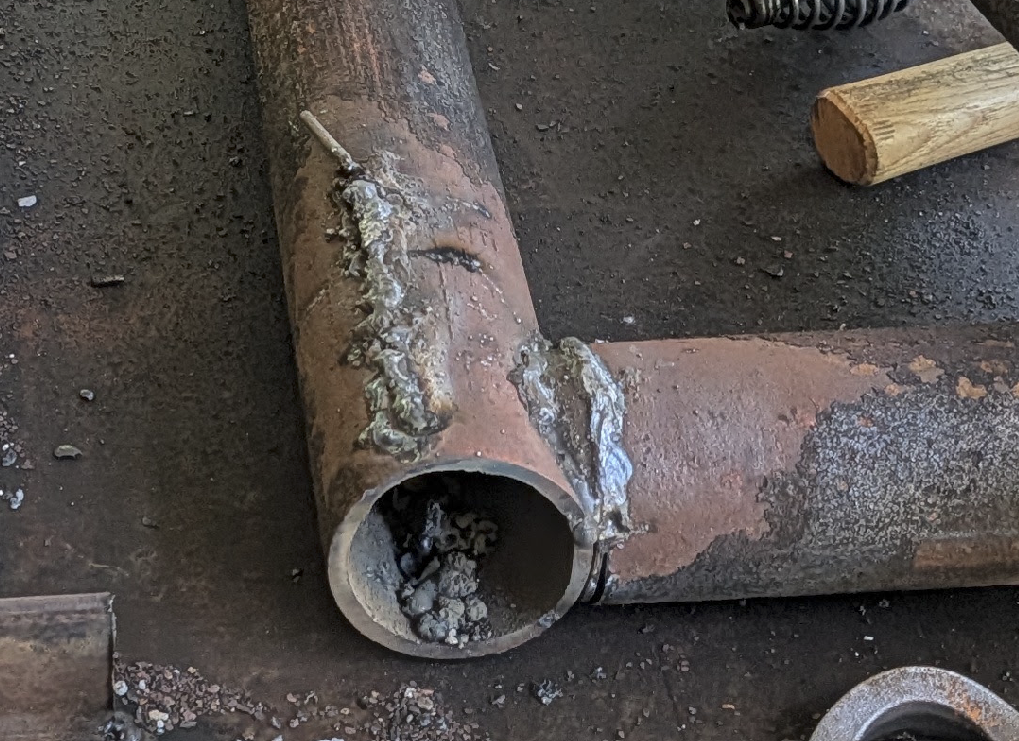
Here- is a picture of one of the pieces with a burst, along with a nice shot of the saddle caps.
Before welding this pipe, I strongly recommend pre-heating. Not only does it make it easier to weld, but, it makes it far less prone to cracking.
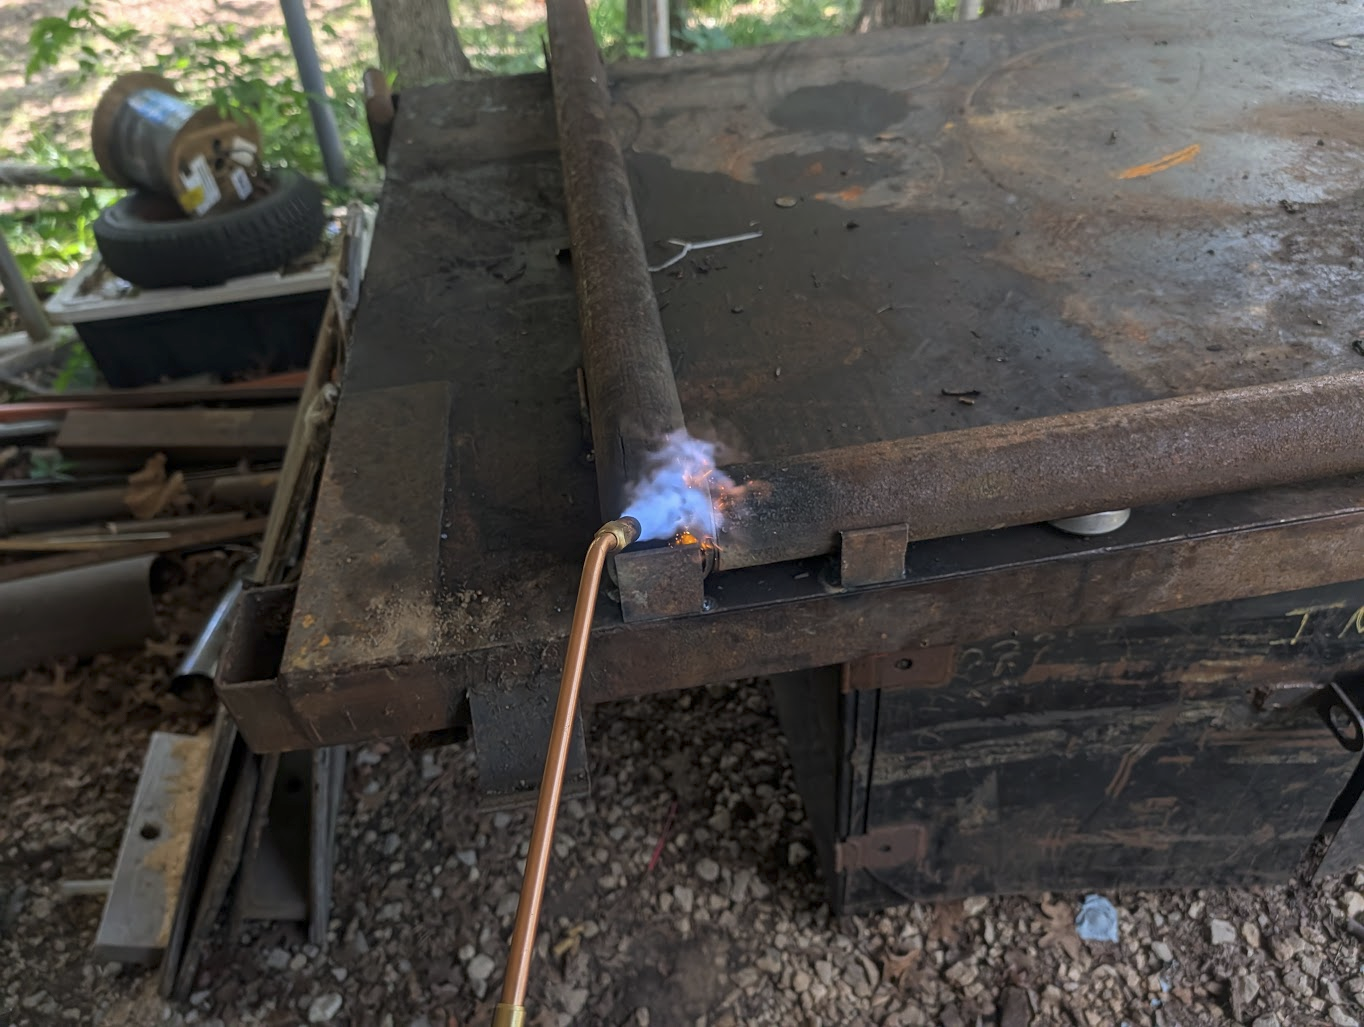
In addition- the pre-heating step also breaks the crust off of the pipe, giving a clean surface to weld on.
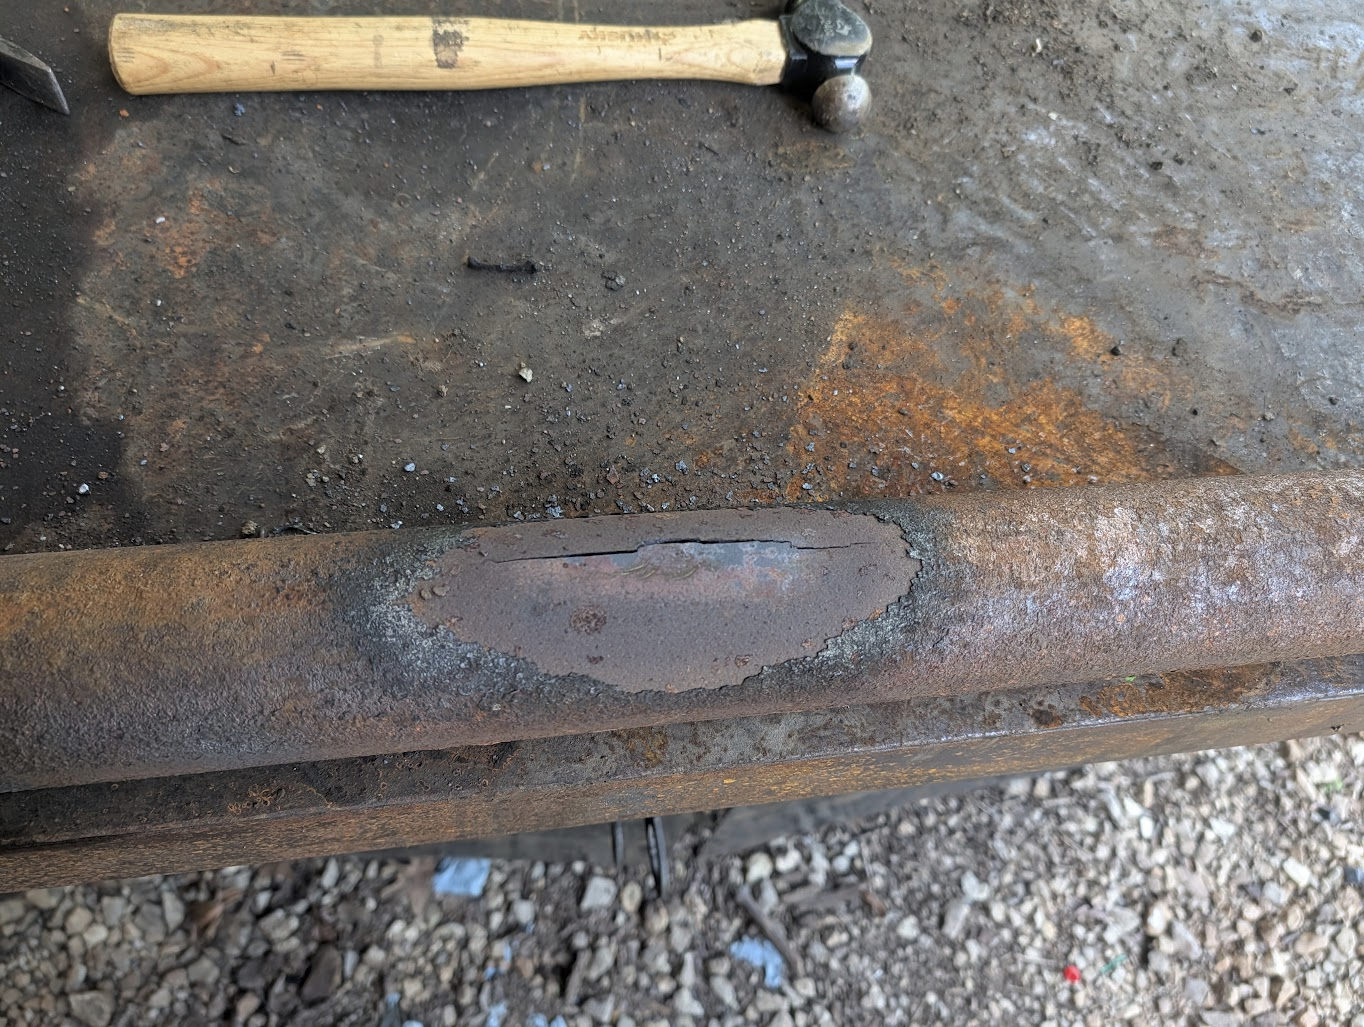
The actual welding process- isn't rocket science. Preheat the metal, hit it with a wire brush to knock all of the junk off. Then- weld it up.
I used a combination of 6010 on the nasty parts, and laid 7018 over the top.
Info
No. Most of my welds don't look this nice.
Especially- some of the repair sections, where the metal was thin.
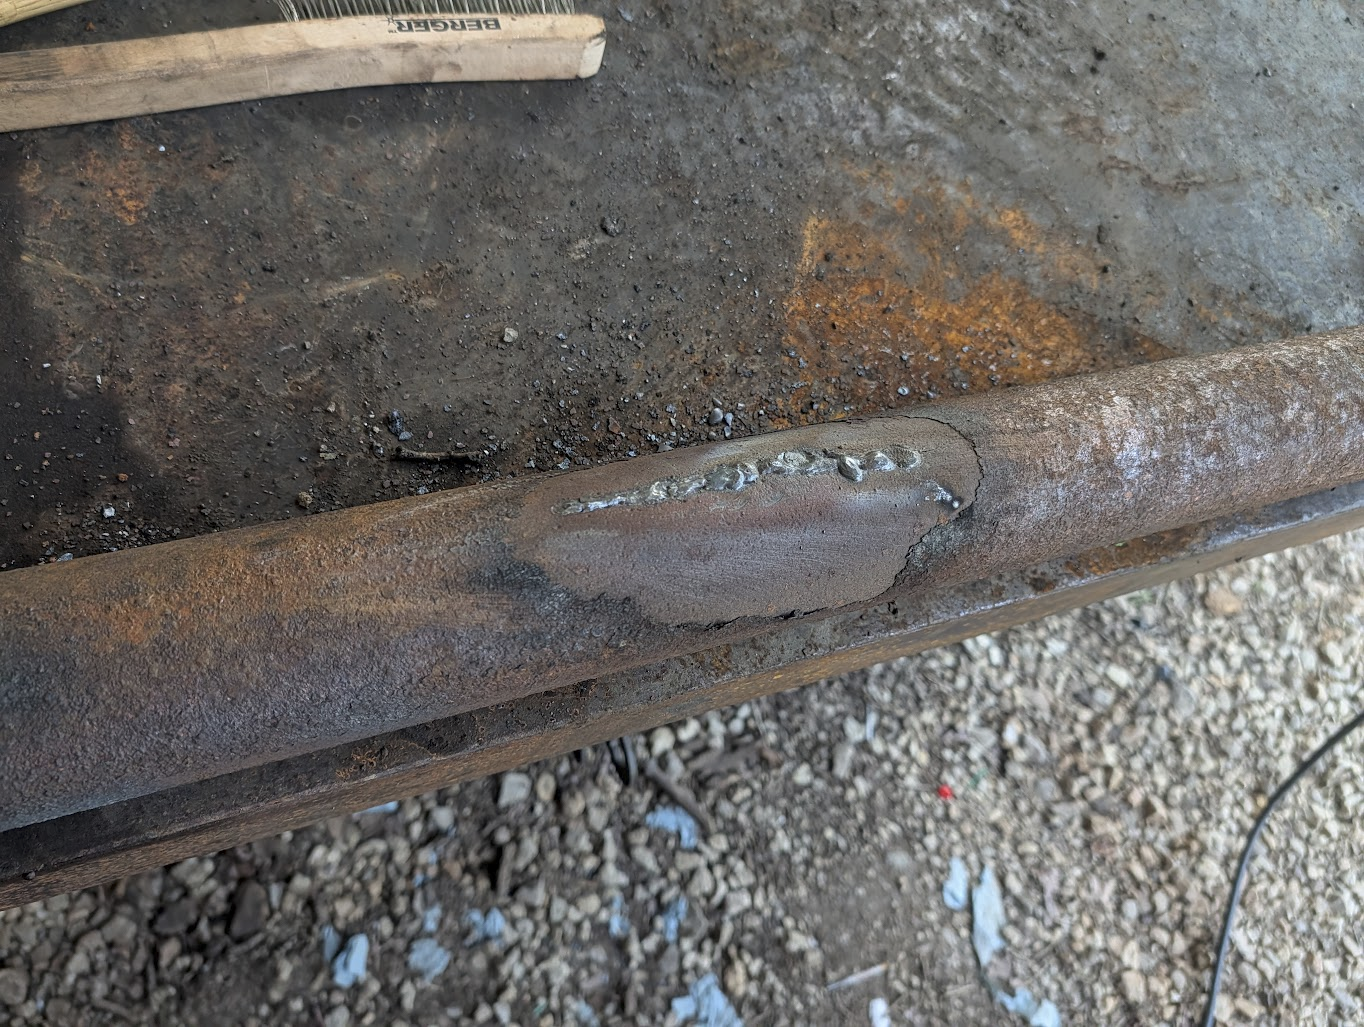
Some- were just plain out ugly.
And…. after a while- I had a frame ready.
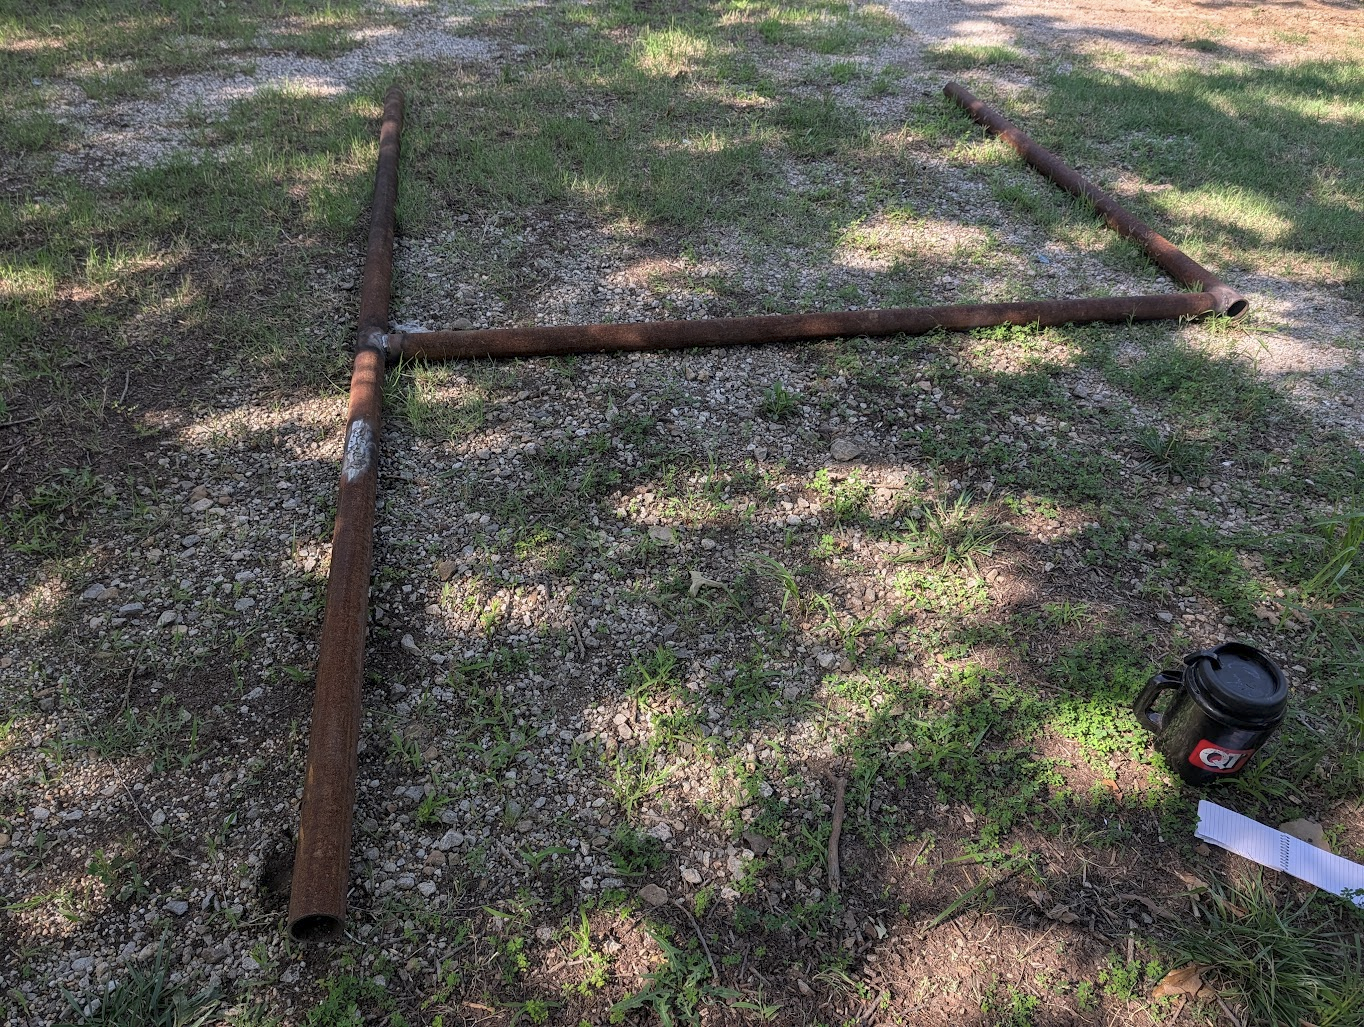
And then a few more….
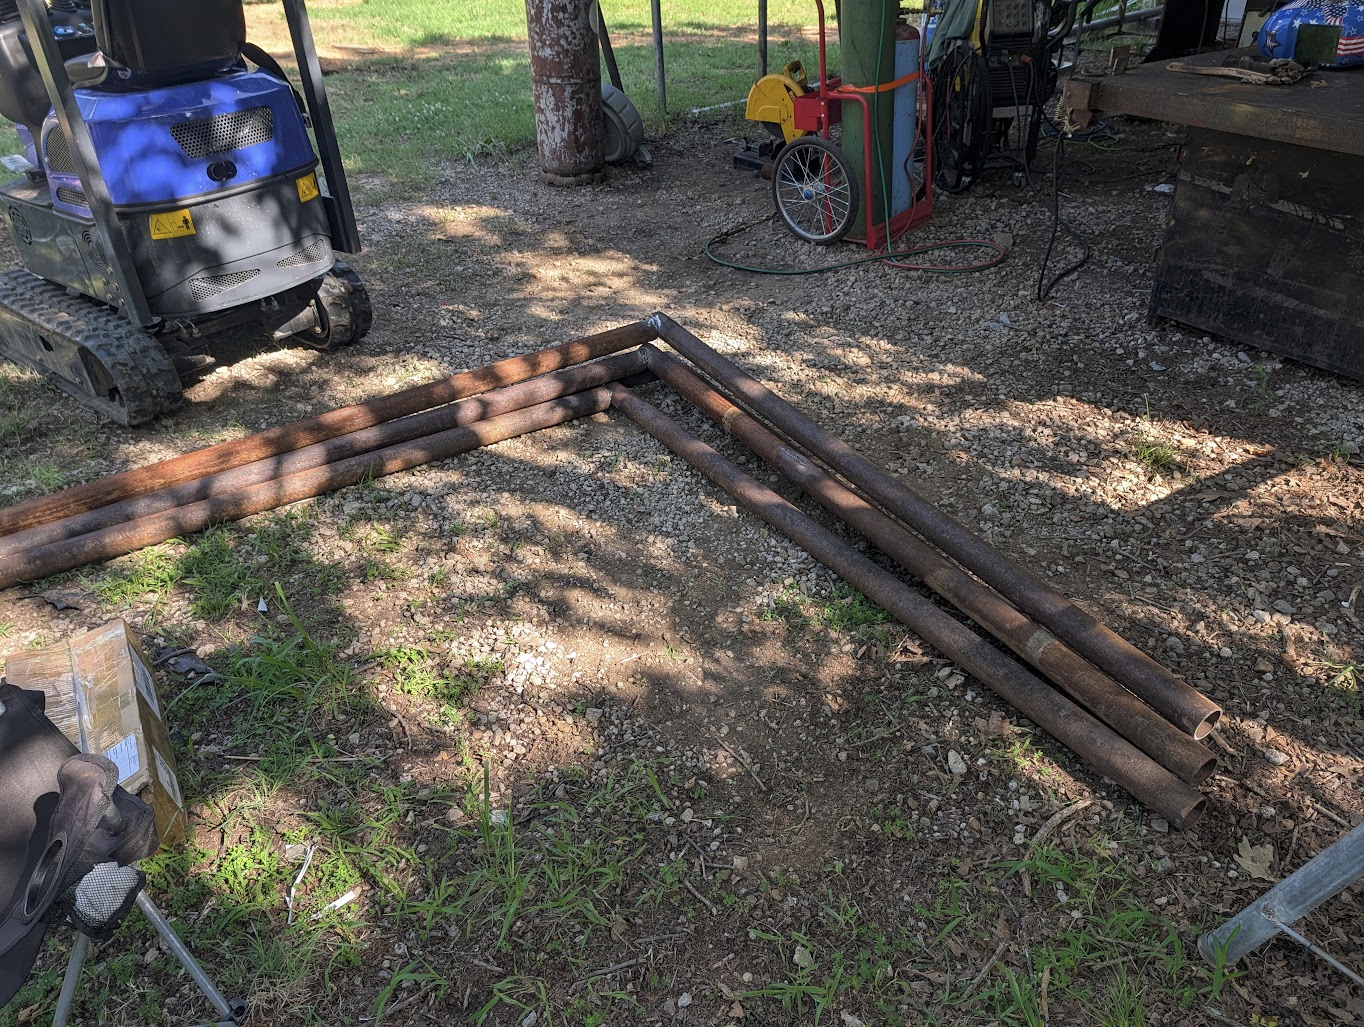
Until I had 5 total frames ready to go.
Constructing the frame
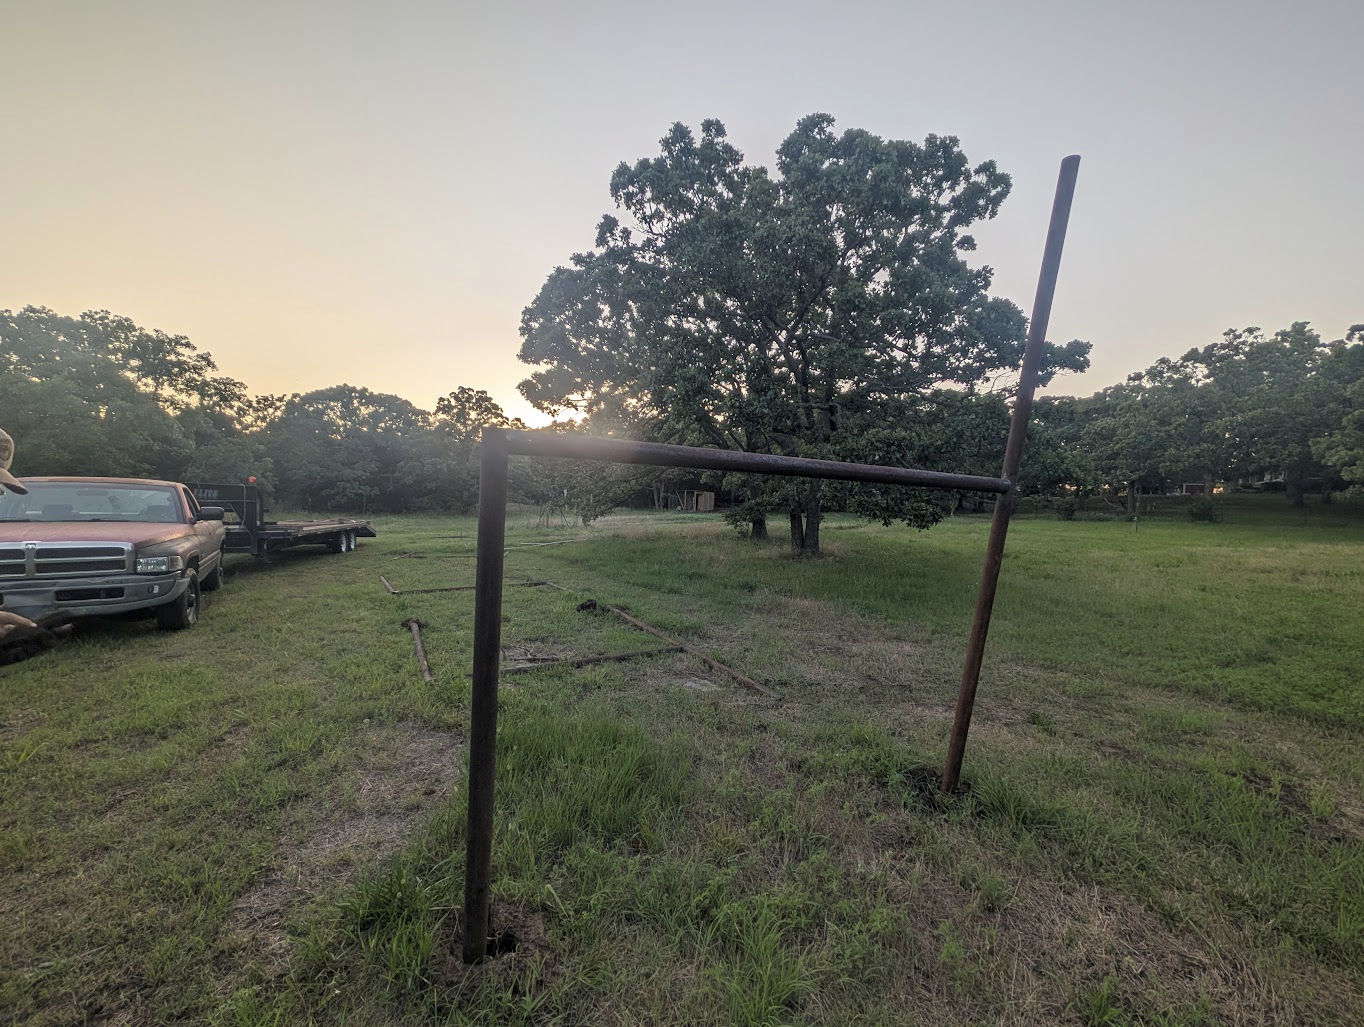
As cutting, welding, and assembling frames took up most of the day- I left off at dropping the frames out in the field.
I did- put the first frame up though.
Danger
As a note- its been extremely hot all June, July…. with the heat index somewhere between 100F, and 125F, nearly every single day.
Make sure you stay hydrated!!!!!
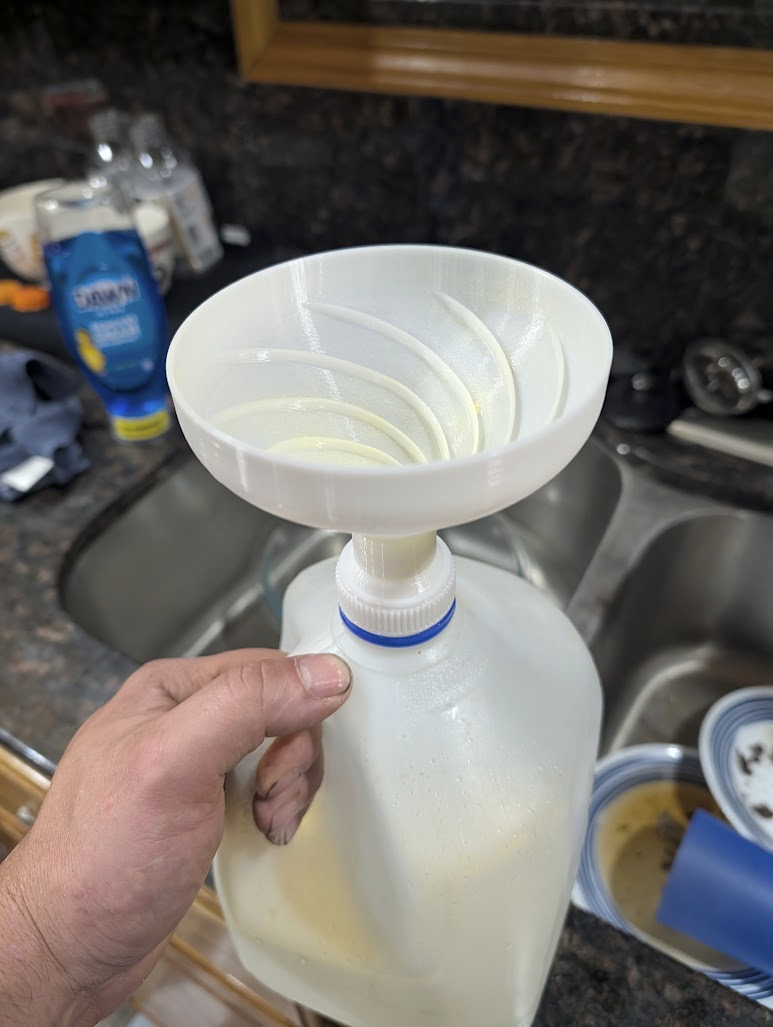
I did- 3d print a funnel which slips on the top of a gallon jug, or a Gatorade bottle, which allows filling either/or with Gatorade and not making a mess.
The next day….
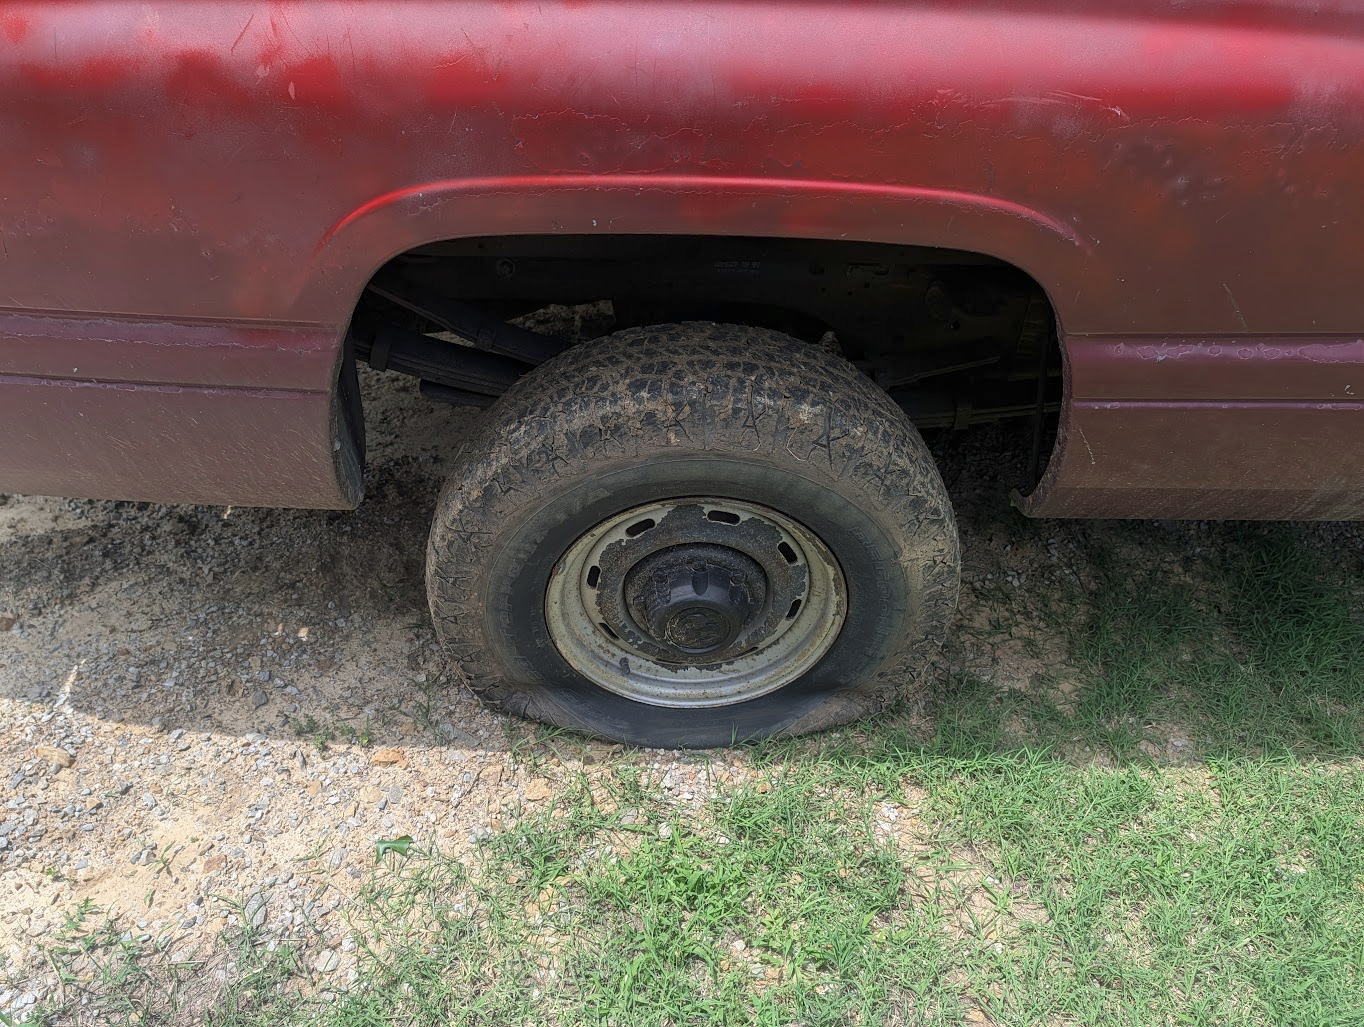
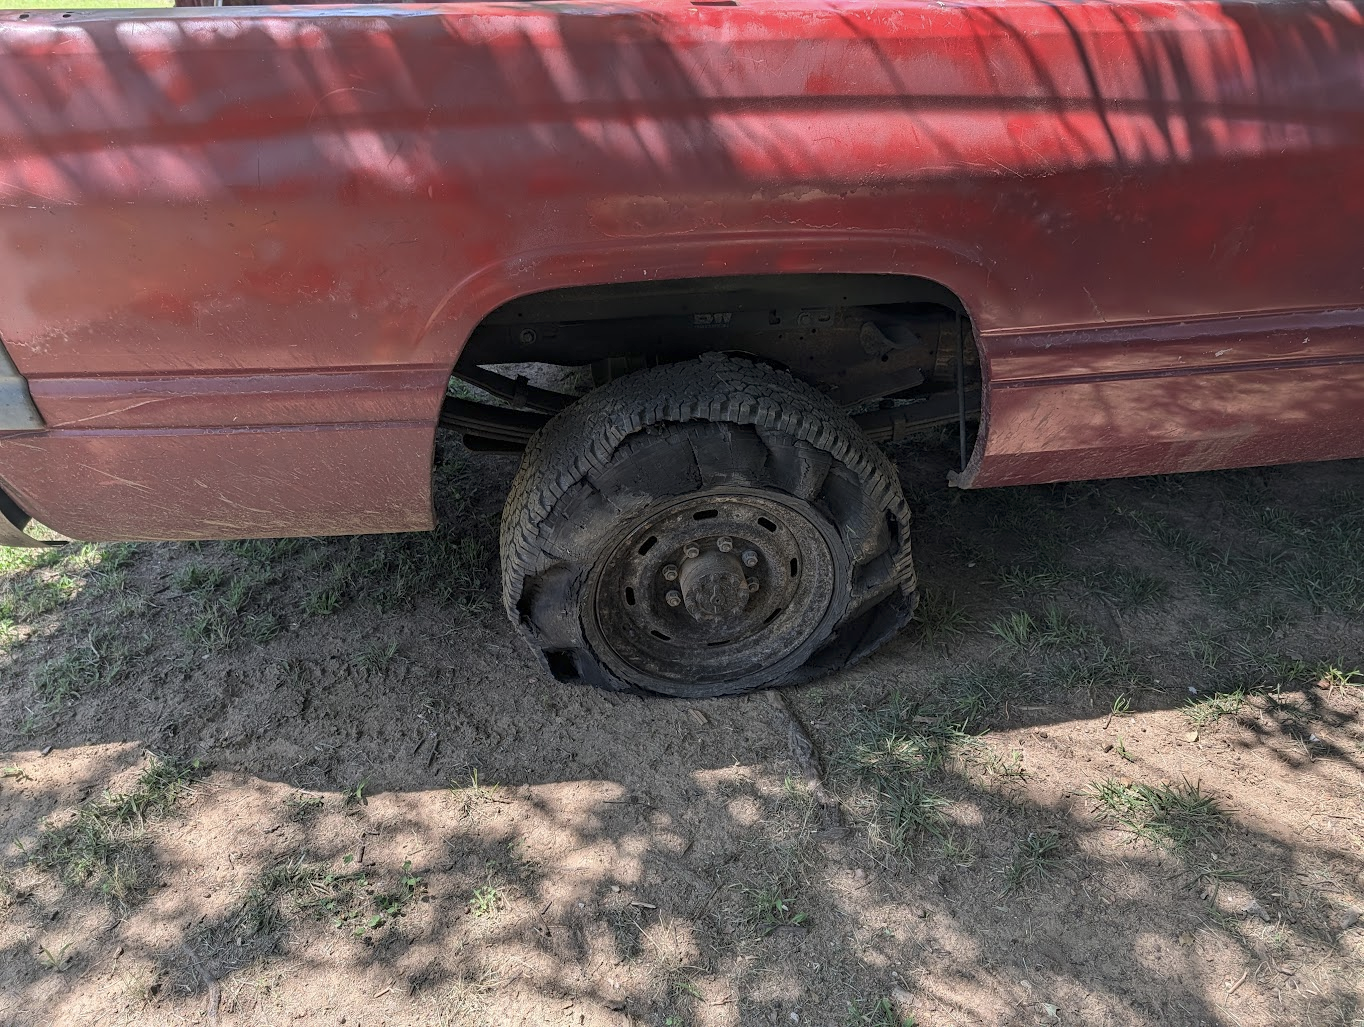
As usual, nothing can be easy. Went out to start working- and lo and behold, a flat tire!
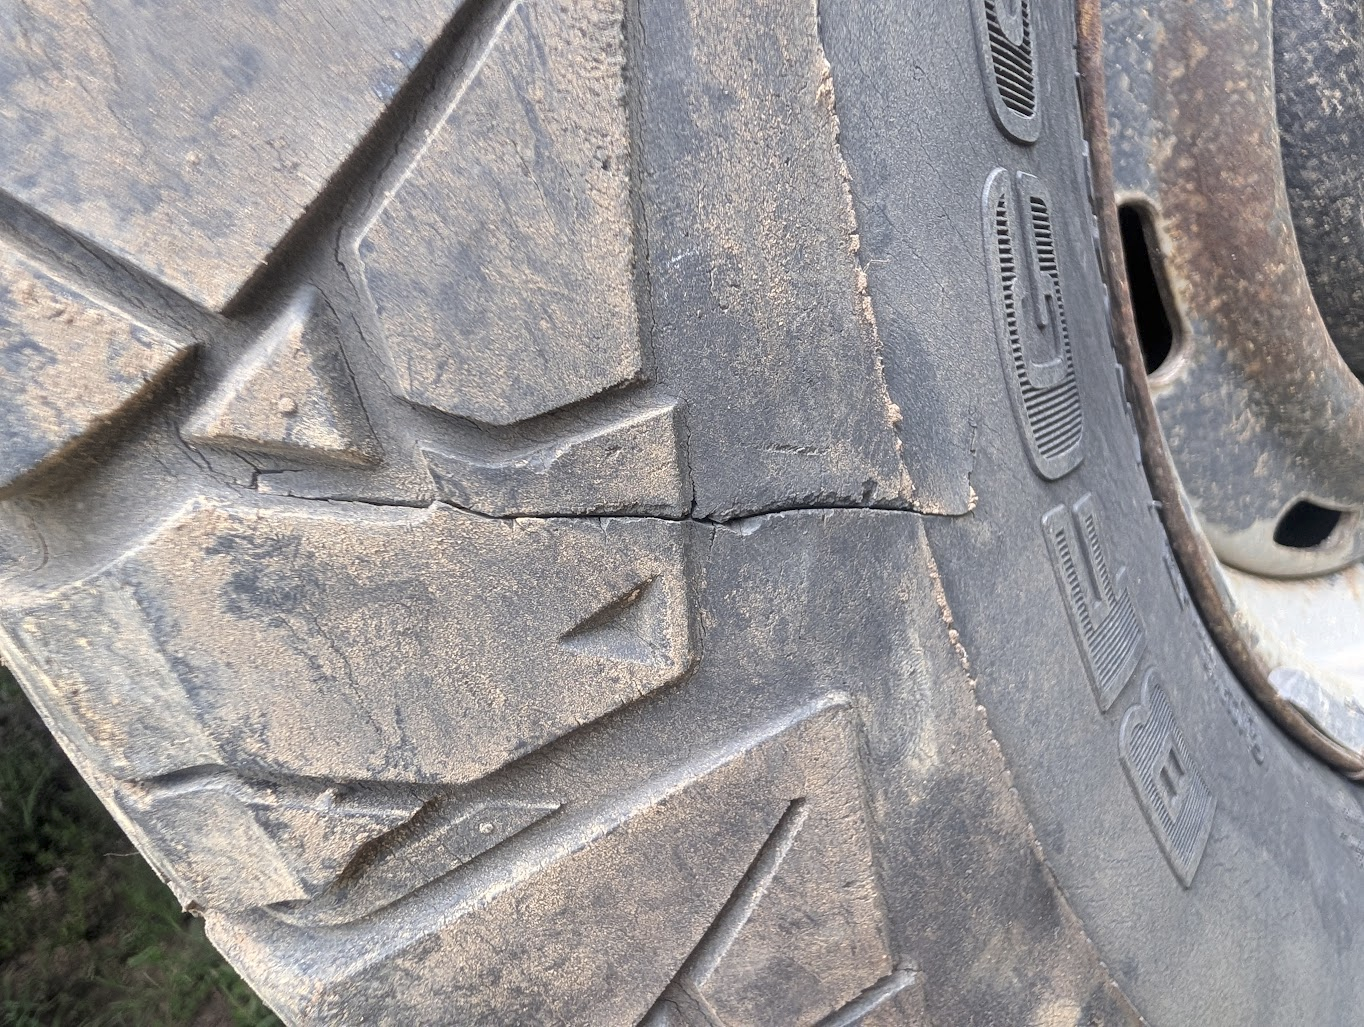
And- not going to be able to plug this hole, lol
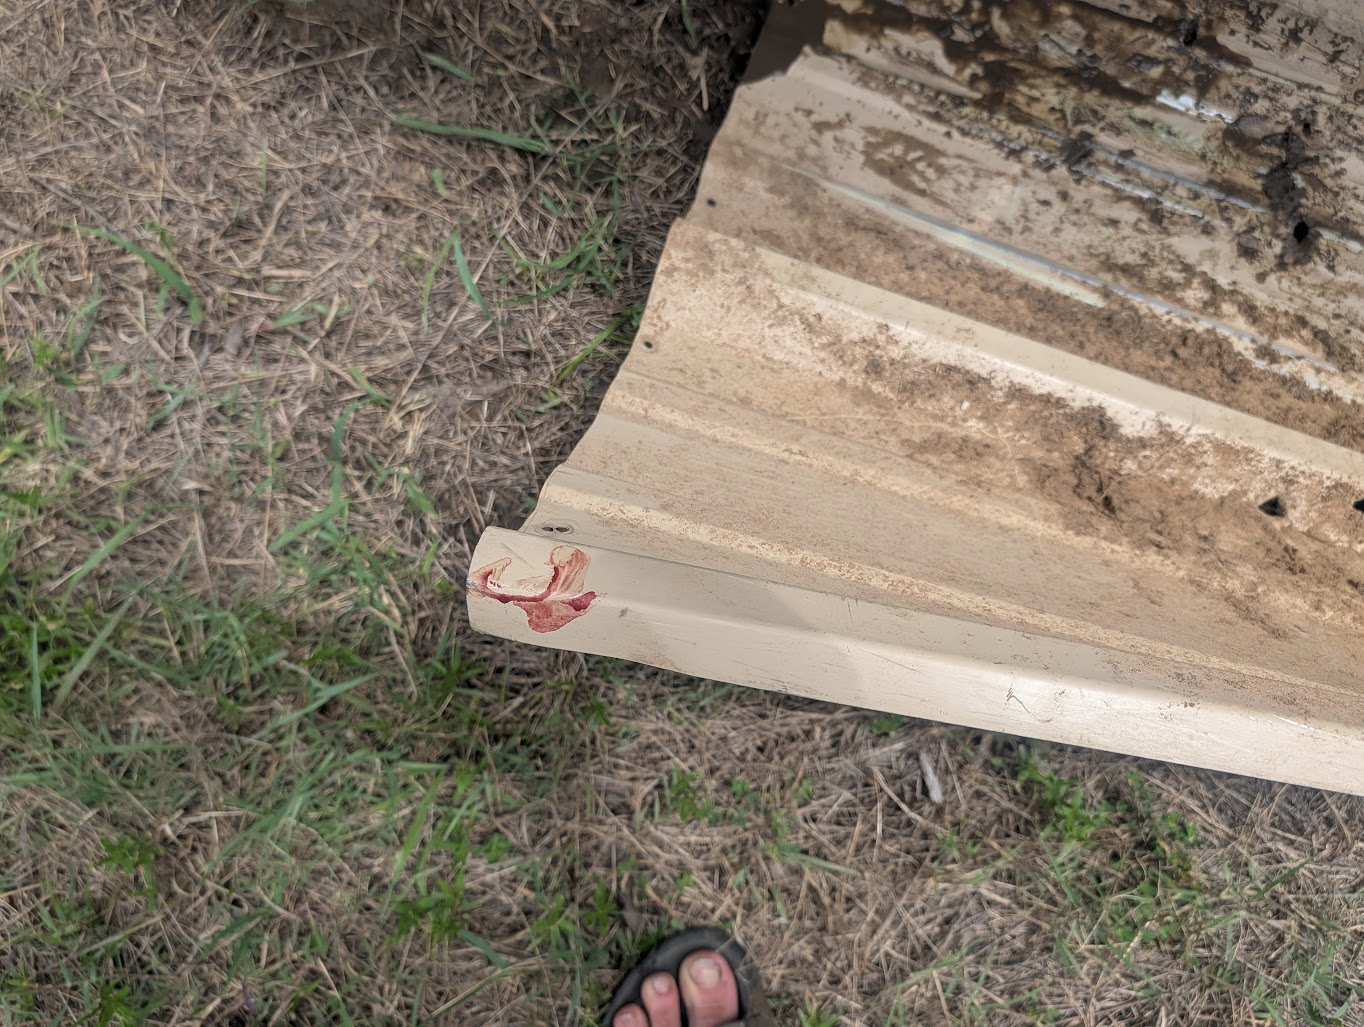
And the fun didn't stop there!
BUT…. I finally did get around to digging out the rest of the holes.
As- you can see by the pile of sandstone- this did not go easy. The holes were already pre-drilled a few weeks prior, with an auger we had. However, it was not able to do very much against the sandstone.
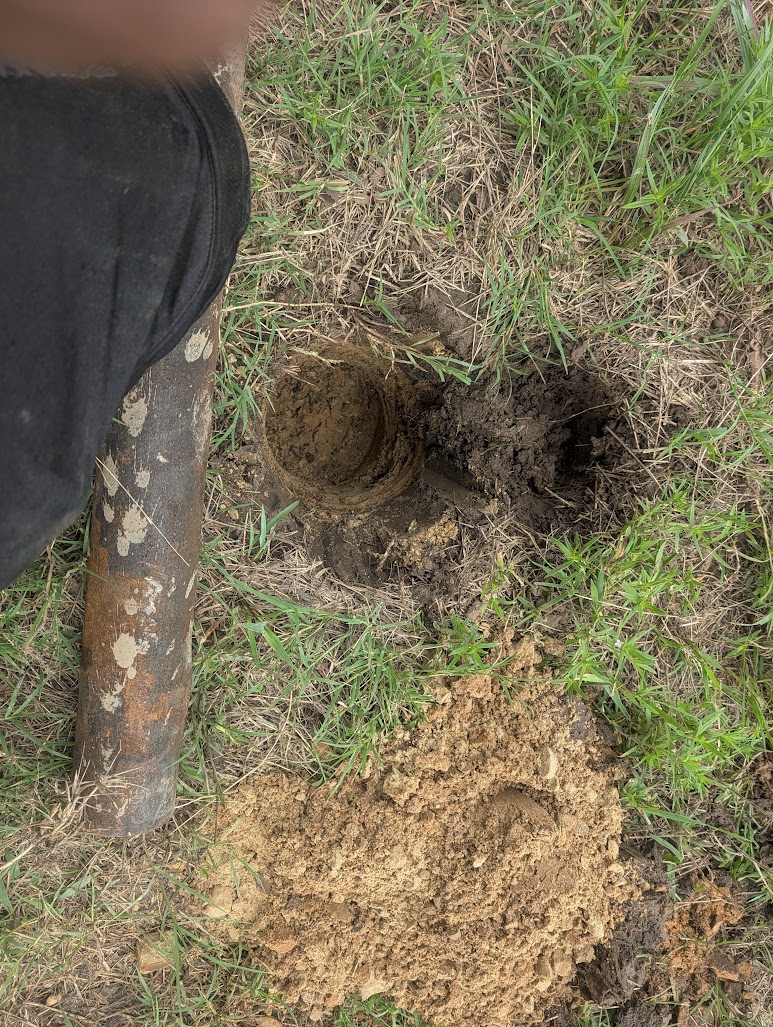
After a nice long day though, I did have all of the posts set.
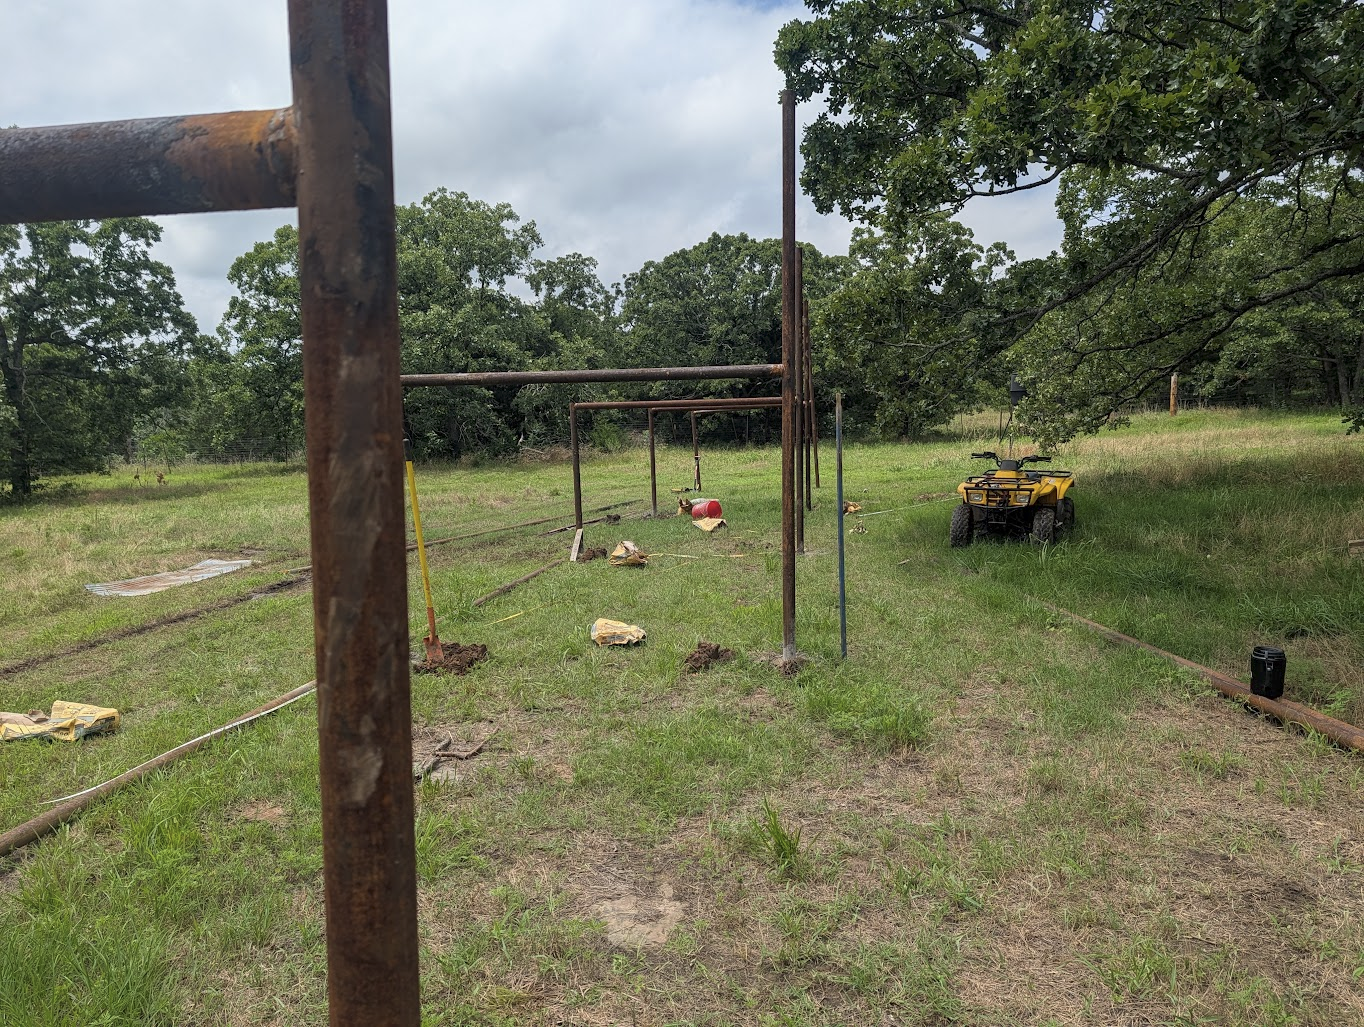
Not pictured- I did also fill the holes with concrete, so that it could start getting set…
I did also get a rudimentary coat of primer on most of the legs.
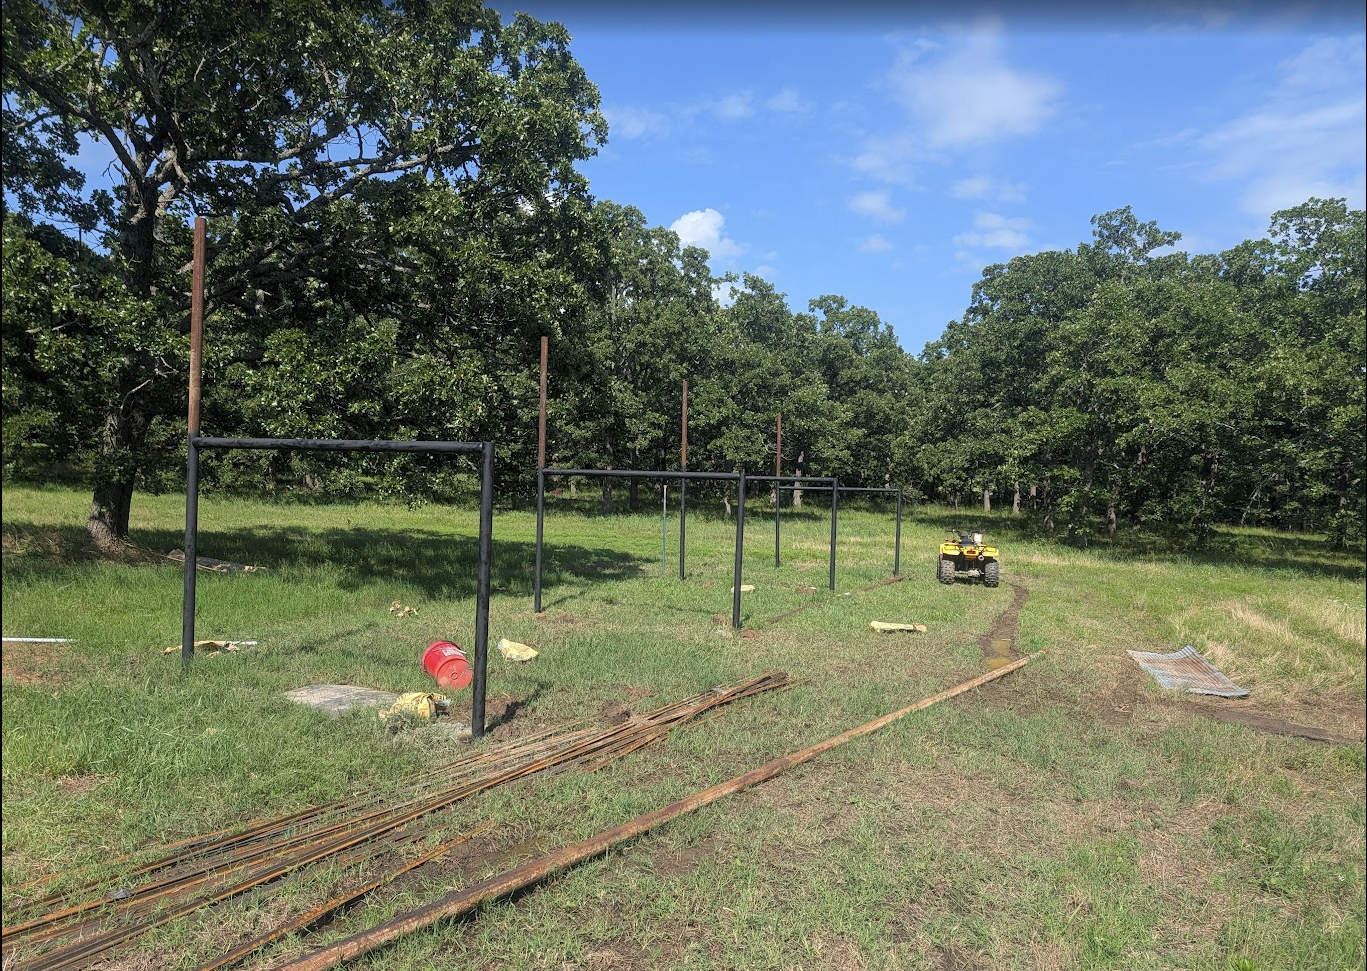
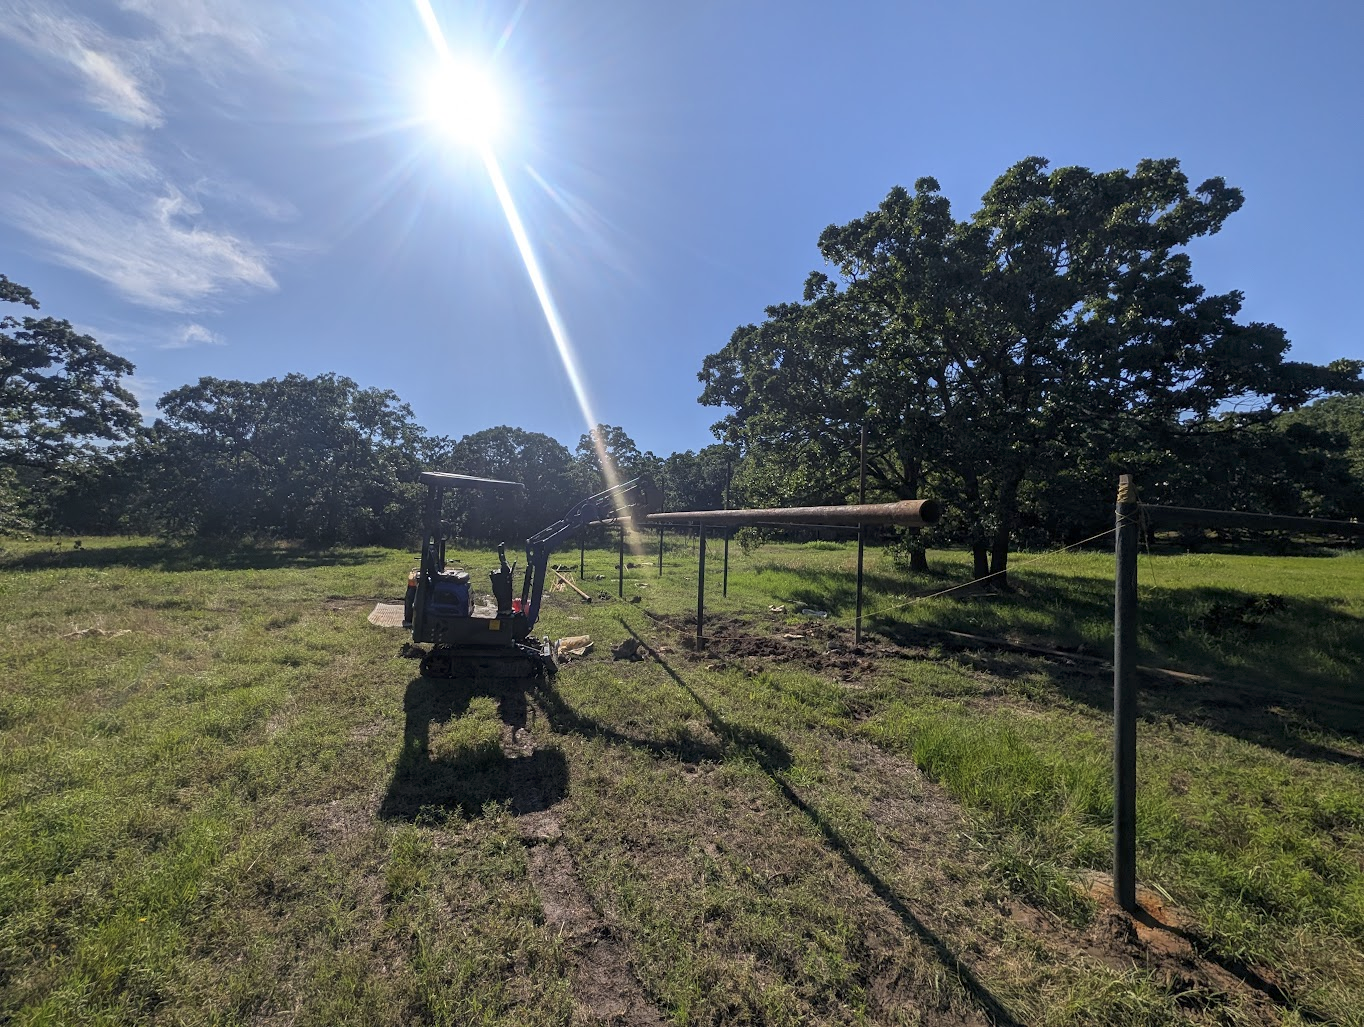
During the process of setting the posts- My Temu excavator did come in quite handy… for both digging the holes, and just holding the posts in place while the concrete had a chance to harden.
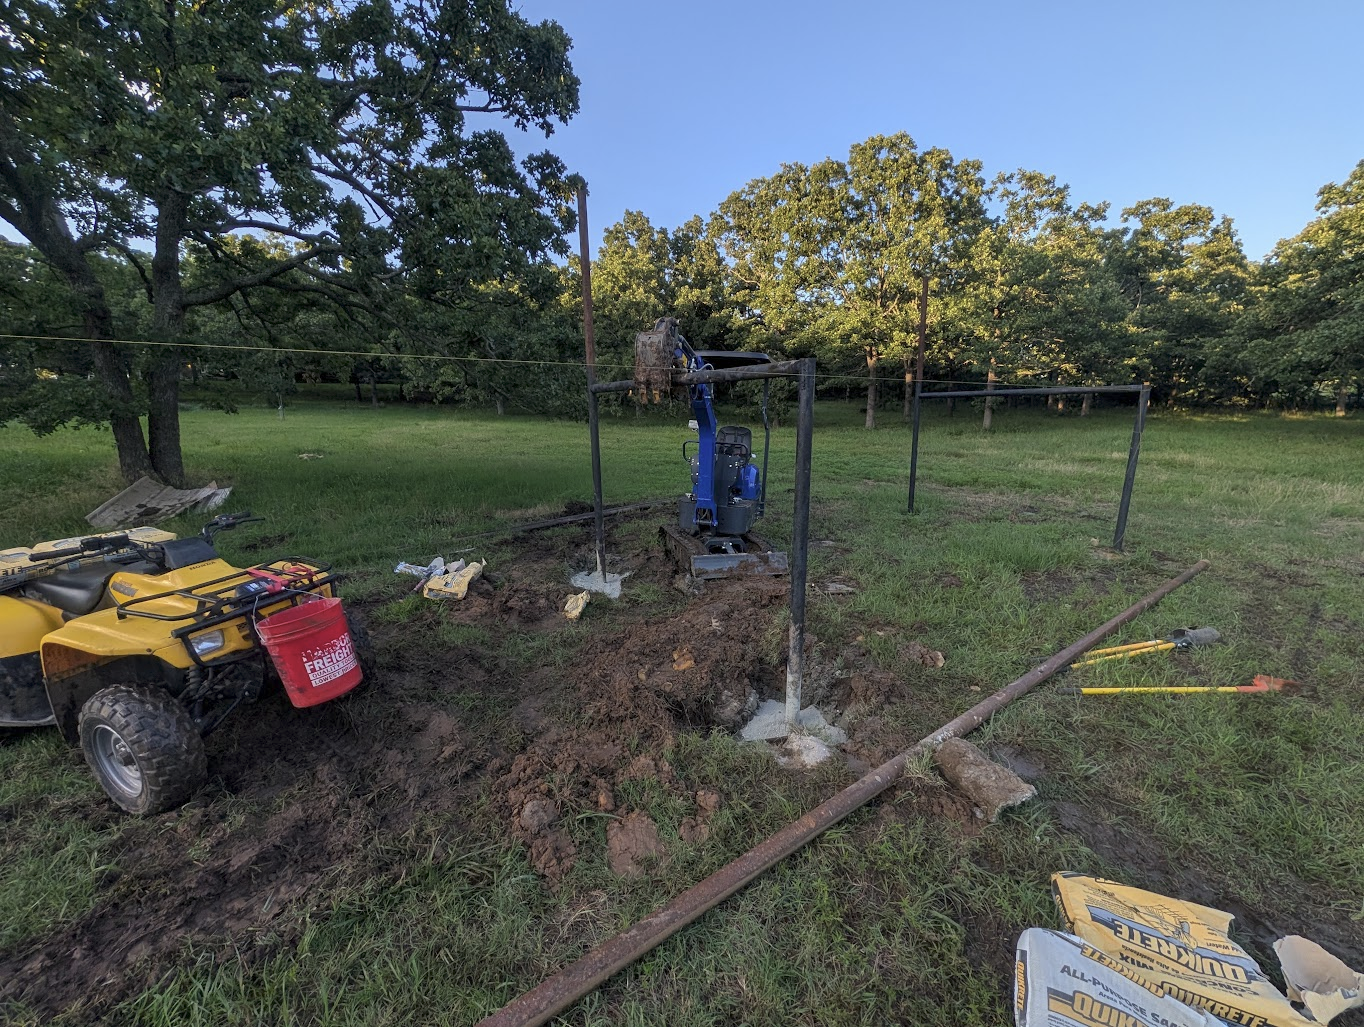
In addition- when it came time to put the front cross-bar in place- it had no problems holding it steady while it was waiting to be welded up.
Firing up the welding rig!
If- you were expecting to see a Miller bobcat, or Lincoln pipeliner- you may be disappointed. I- cannot justify one of those for how little it would get used around here.
Instead, I used a chain hoist to lift the generator up…
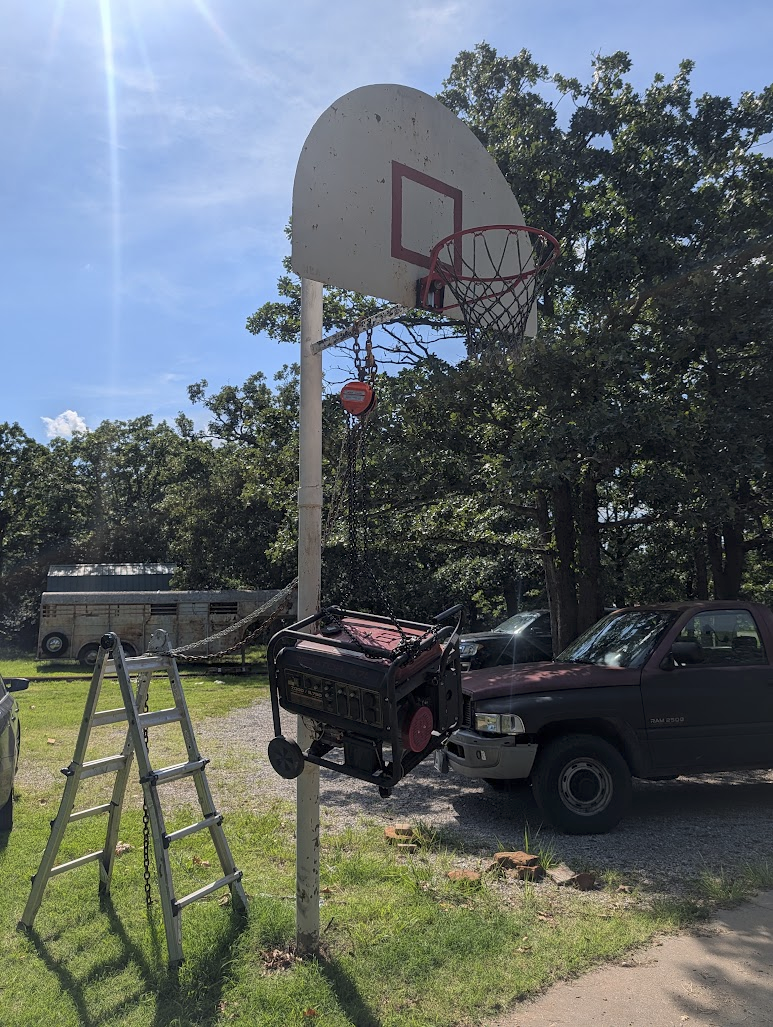
and lower into the bed of my truck.
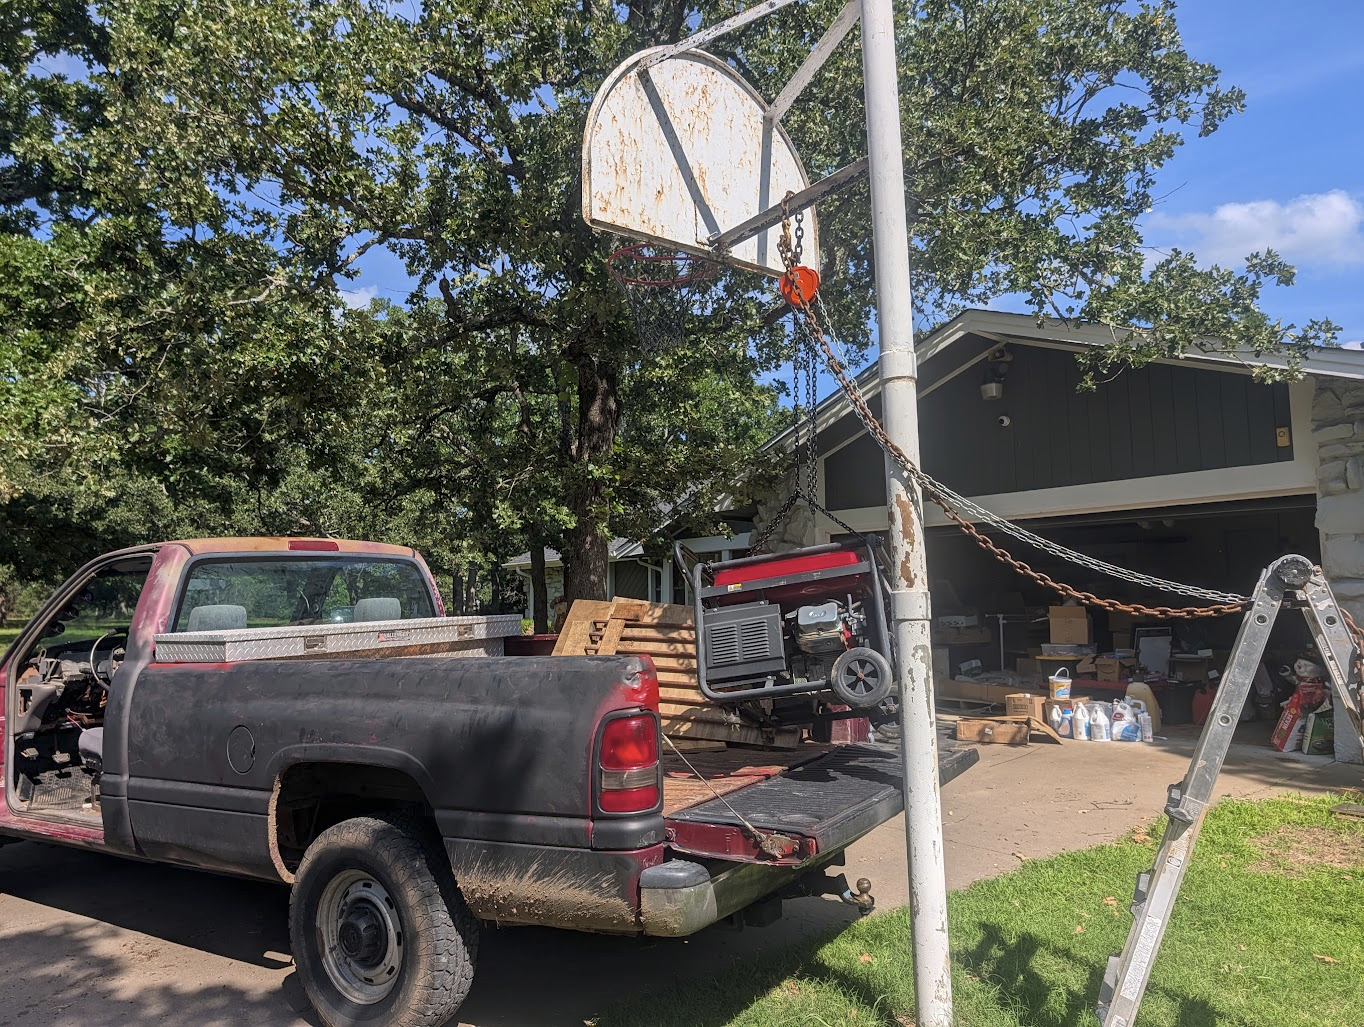
Then stopped by the garage and picked up the welding machine, protective gear, some gasoline… and my extended leads.
And…. Ready to go.
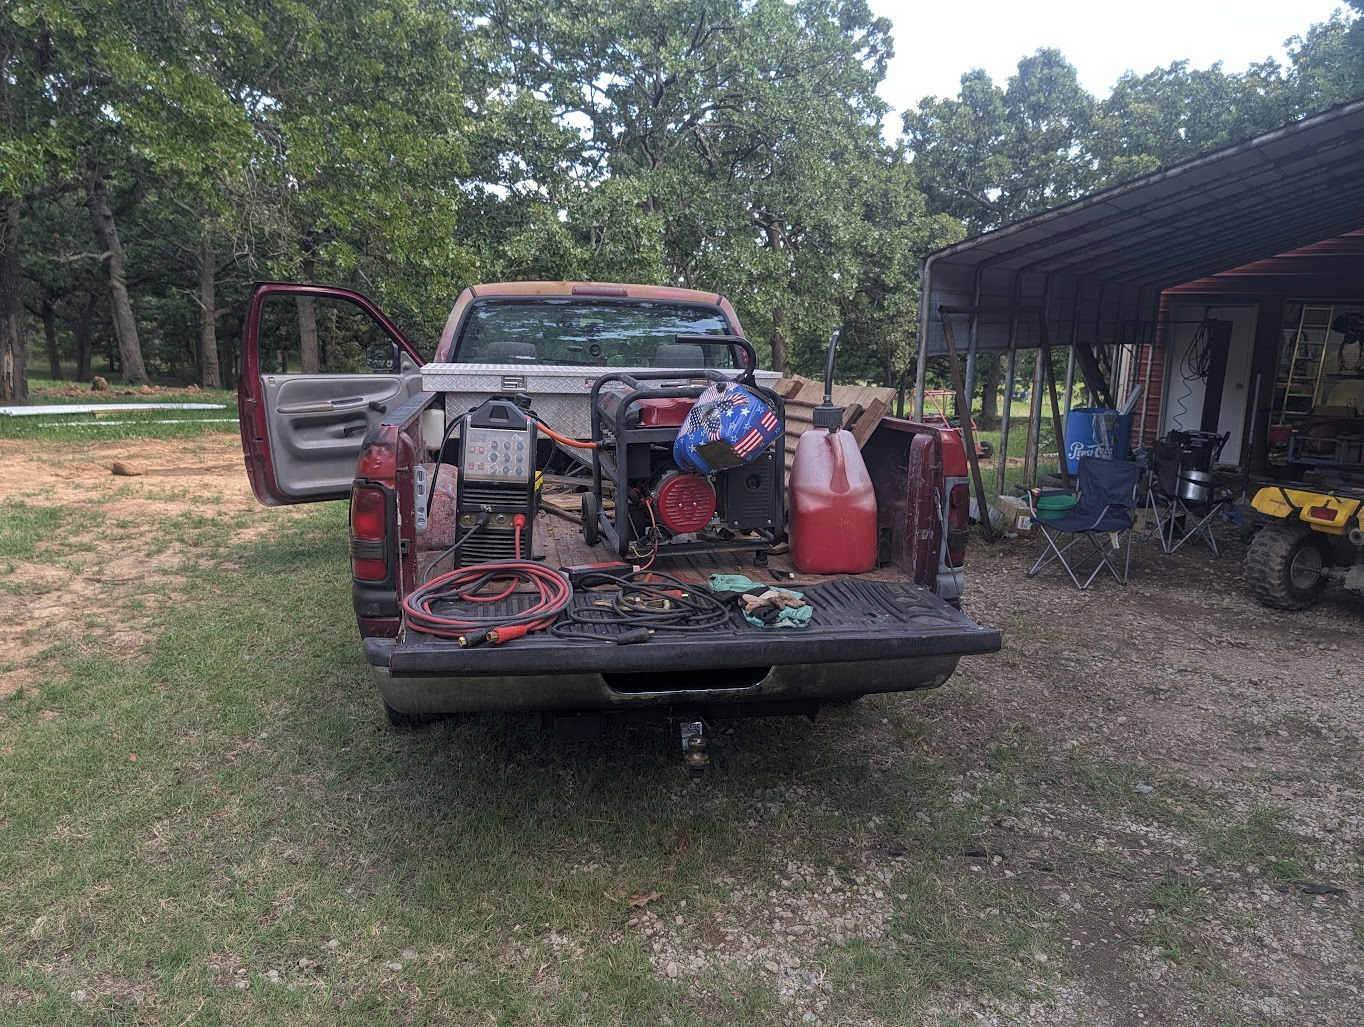
IF- you are in the market for welding leads….
Here are the parts I used:
- Black Connectors: AmazonAmazon affiliate linkAs an Amazon Associate I earn from qualifying purchases at no additional cost to you; using this link helps support the site.
- Red Connectors: AmazonAmazon affiliate linkAs an Amazon Associate I earn from qualifying purchases at no additional cost to you; using this link helps support the site.
- 50ft 2AWG Welding Cable: AmazonAmazon affiliate linkAs an Amazon Associate I earn from qualifying purchases at no additional cost to you; using this link helps support the site.
While 2AWG is a bit on the light side- for the duty cycle I need, it will be fine for this purpose.
Going with say 4/0 cable, 25ft…. would have cost nearly 600$. 2AWG will be just fine!!!
Pipe Lifting Jig
Since- the rear leg is 11ft tall, and these 32' sections of drill-string weigh around 200lbs each… I did need a way to easily hoist these into the air.
For this- I used a leaf-spring shackle from an old truck I parted out a few years back, with a piece of angle iron.
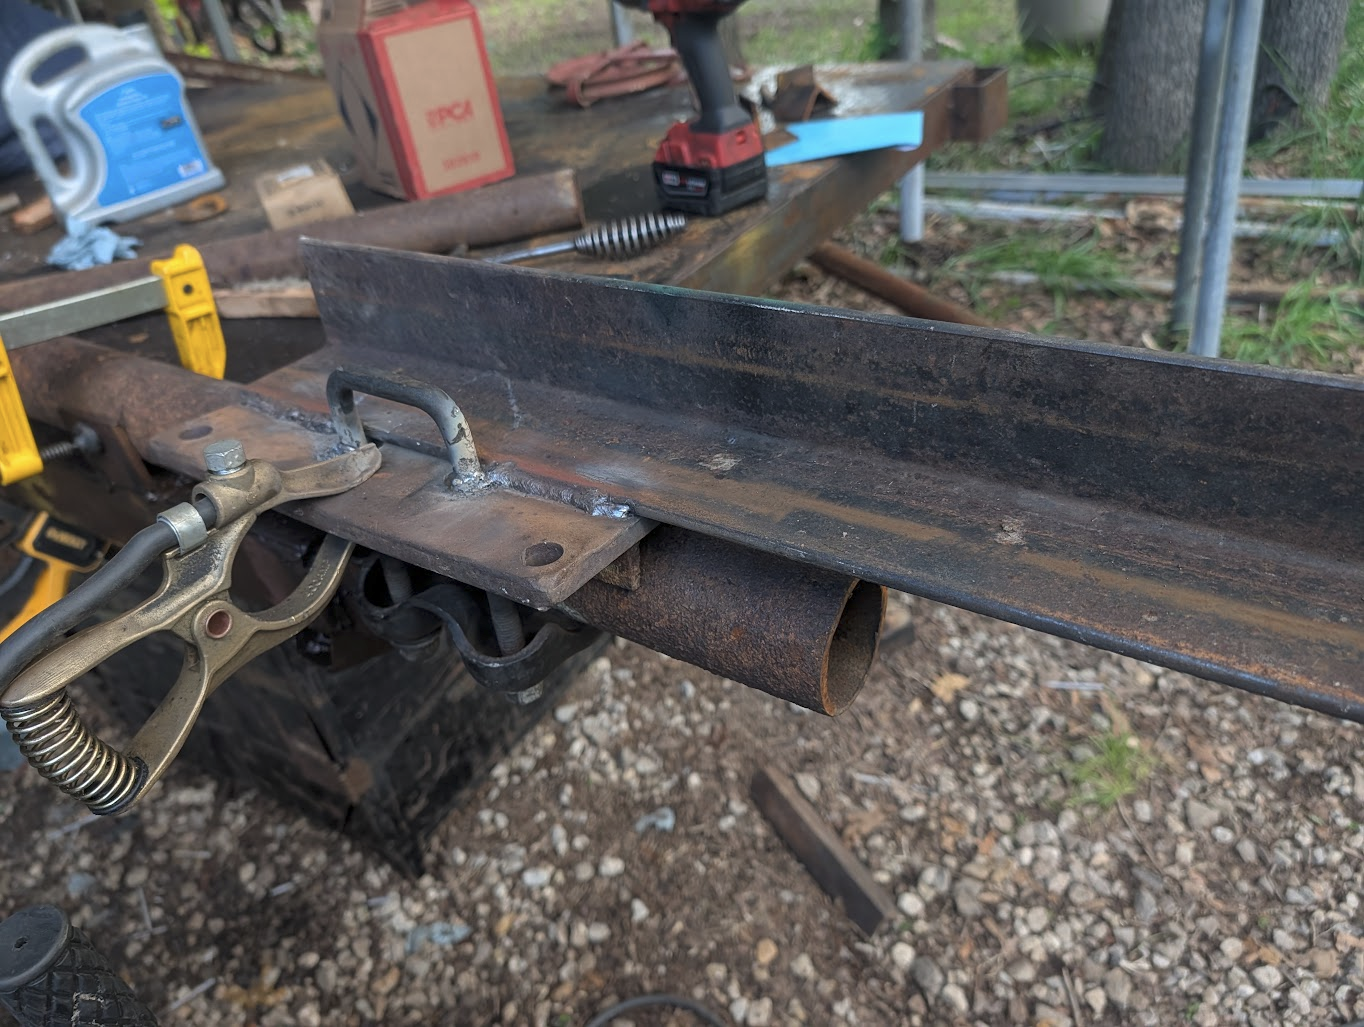
Then, welded everything together. There- is nothing at all fancy here.
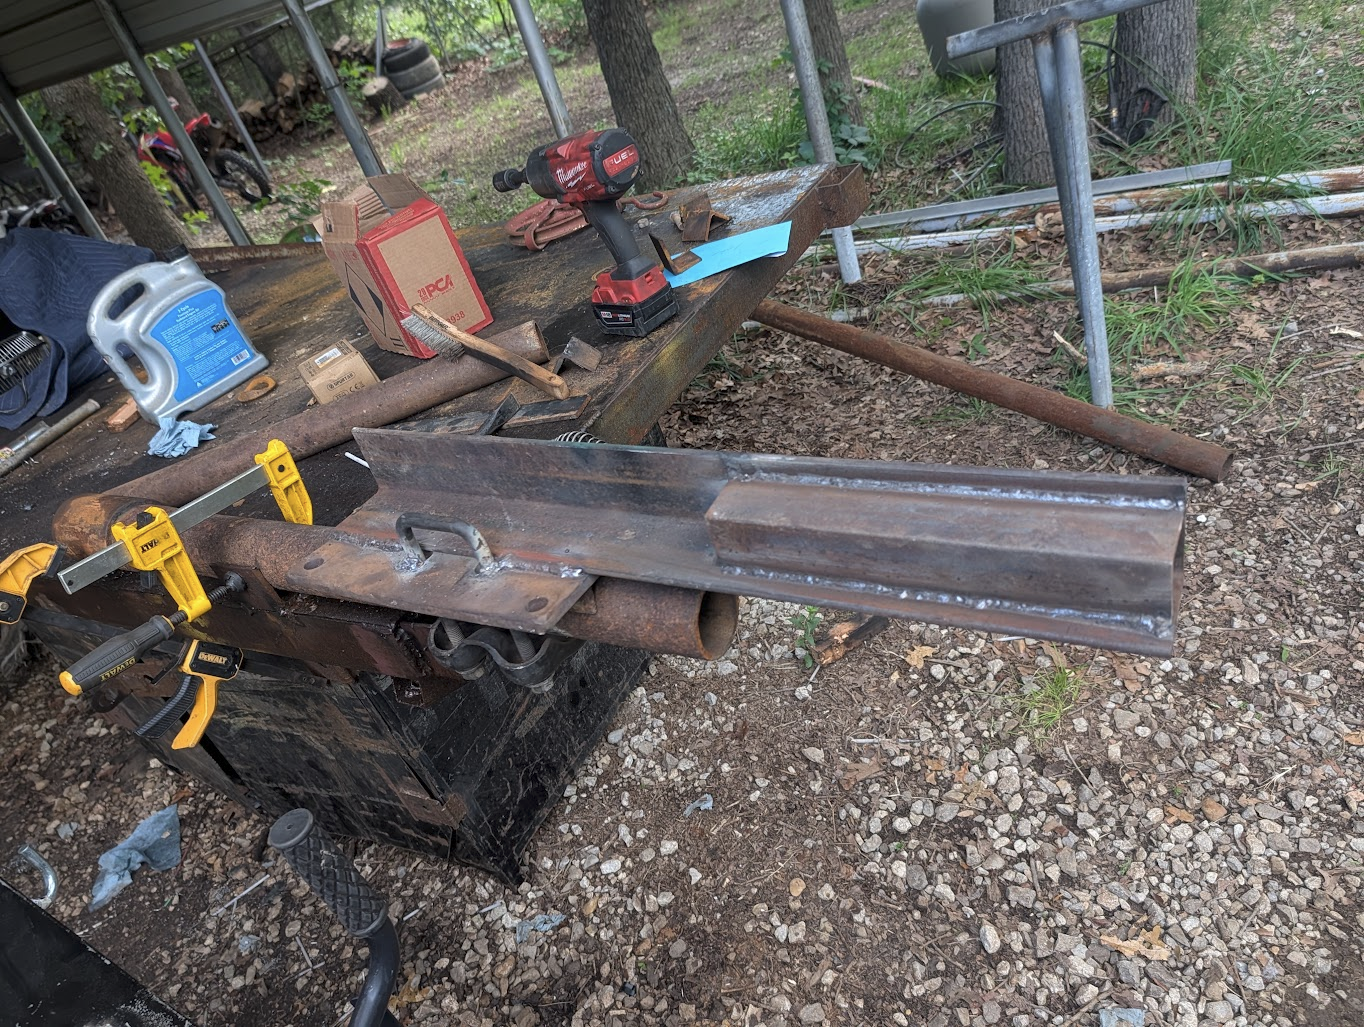
And, then gave it a nice coat of paint.
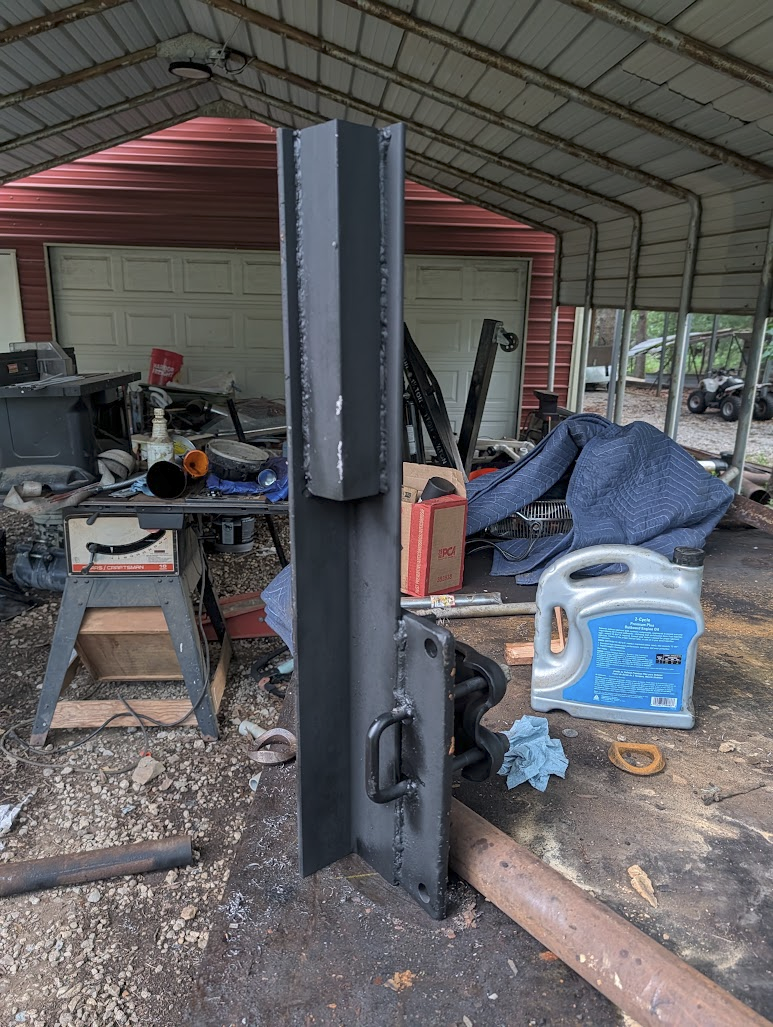
The black paint I am using, is Rust-Oleum Rust Reformer.
Having used it on quite a few projects where I have a lot of metal with reasonable amounts of surface rust- I have been happy with it. Amazon - Rust-Oleum Rust Reformer - 6 PackAmazon affiliate linkAs an Amazon Associate I earn from qualifying purchases at no additional cost to you; using this link helps support the site..
I went through about two cases of it on this project.
On the jig- the idea is simple. Put it against the piece of pipe, then bolt on the shackles. It wraps around an axle tube of roughly the same diameter, shouldn't have issues here!
Welding the frame
I- did a pretty horrible job taking photos during this process. But- the first step was to get the 64' tube welded in place, across the front.
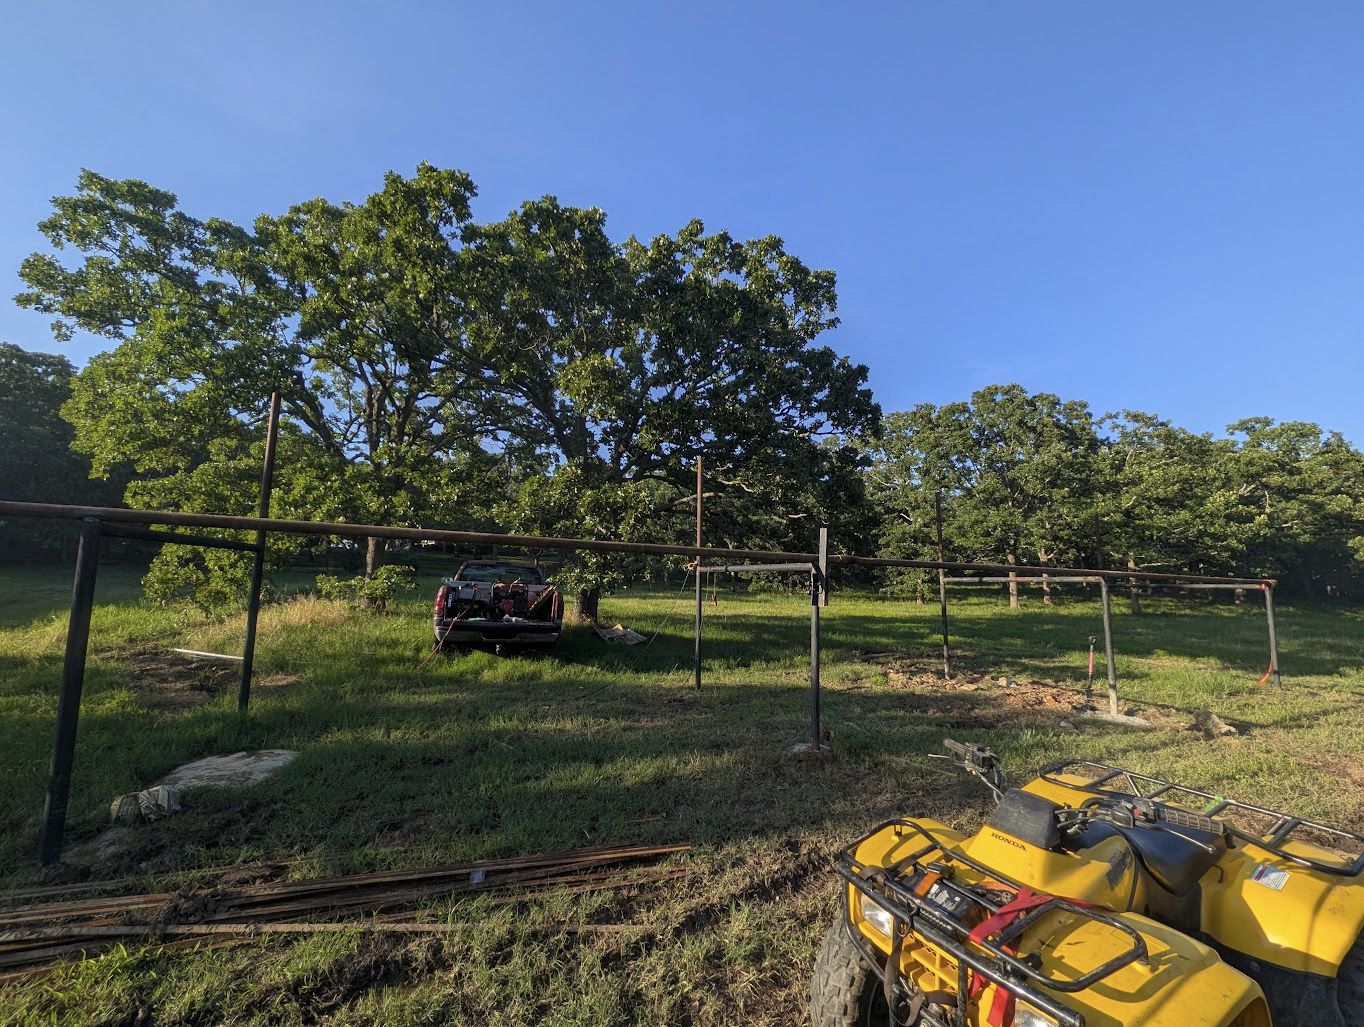
After the front was nearly fully welded, I located my jig on the top of one of the posts preparing to hoist up one of the sections of drill tube. I did NOT screw them together- at this time.
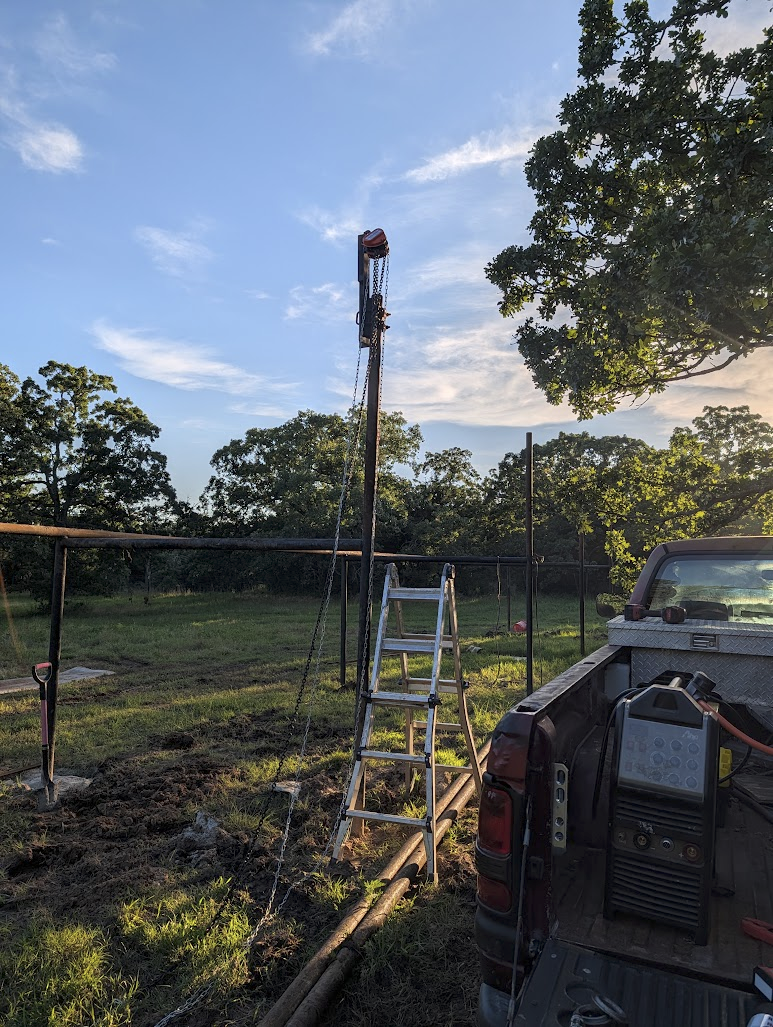
Then, easily lifted it using the chain hoist.
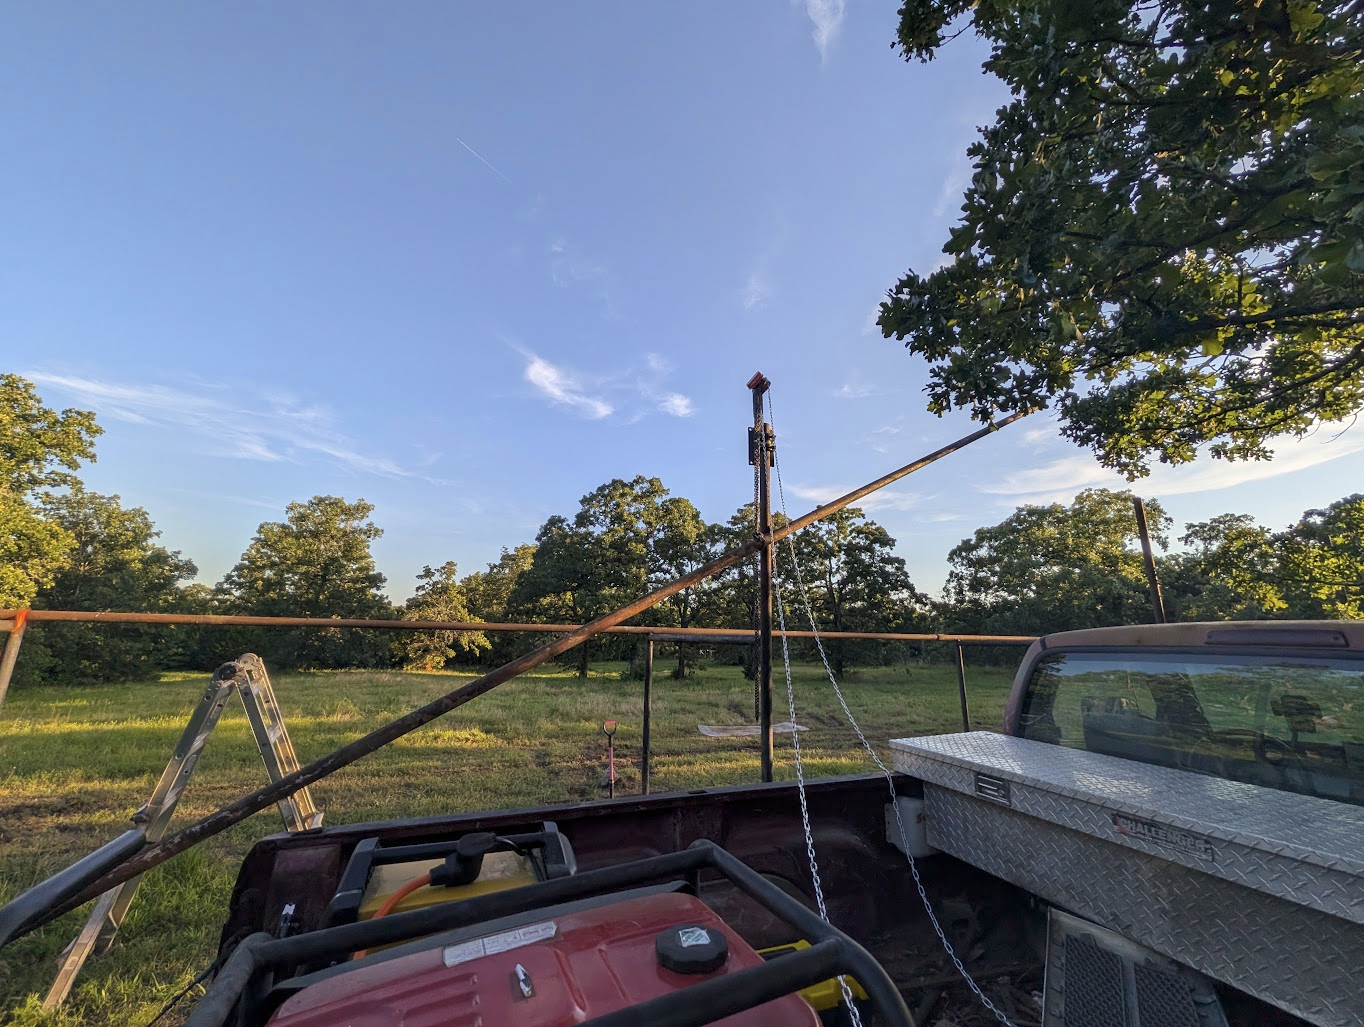
I had no problems controlling the pipe in the air.
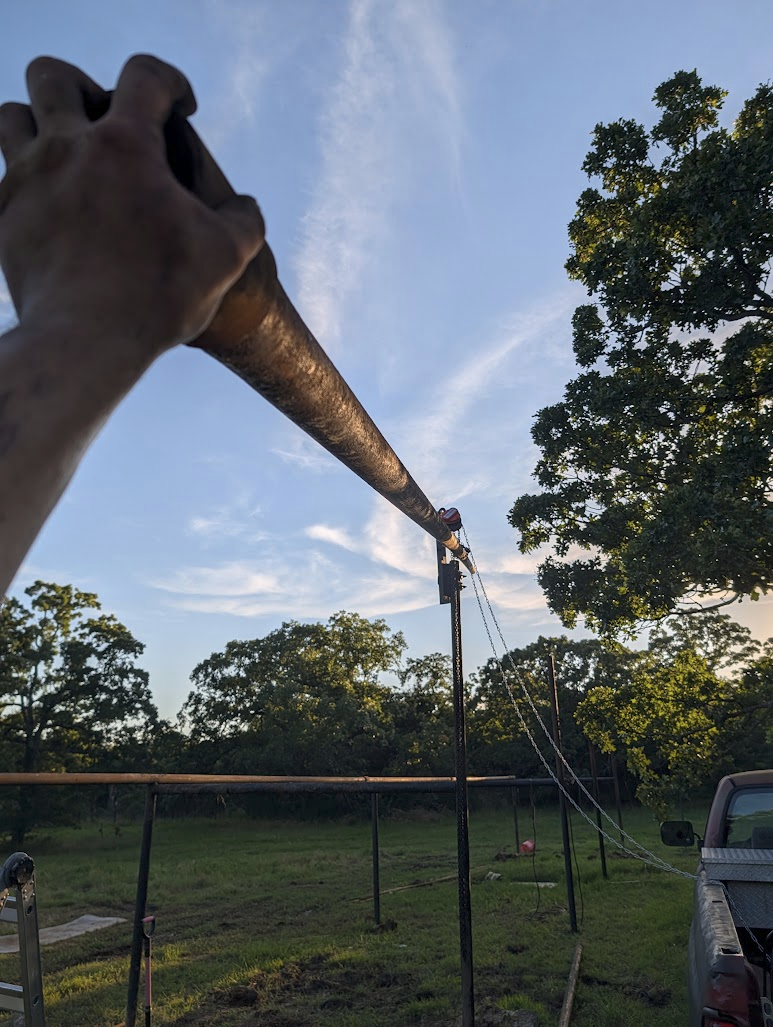
For the fun part, I had to climb on top of the frame to weld the top section in place.
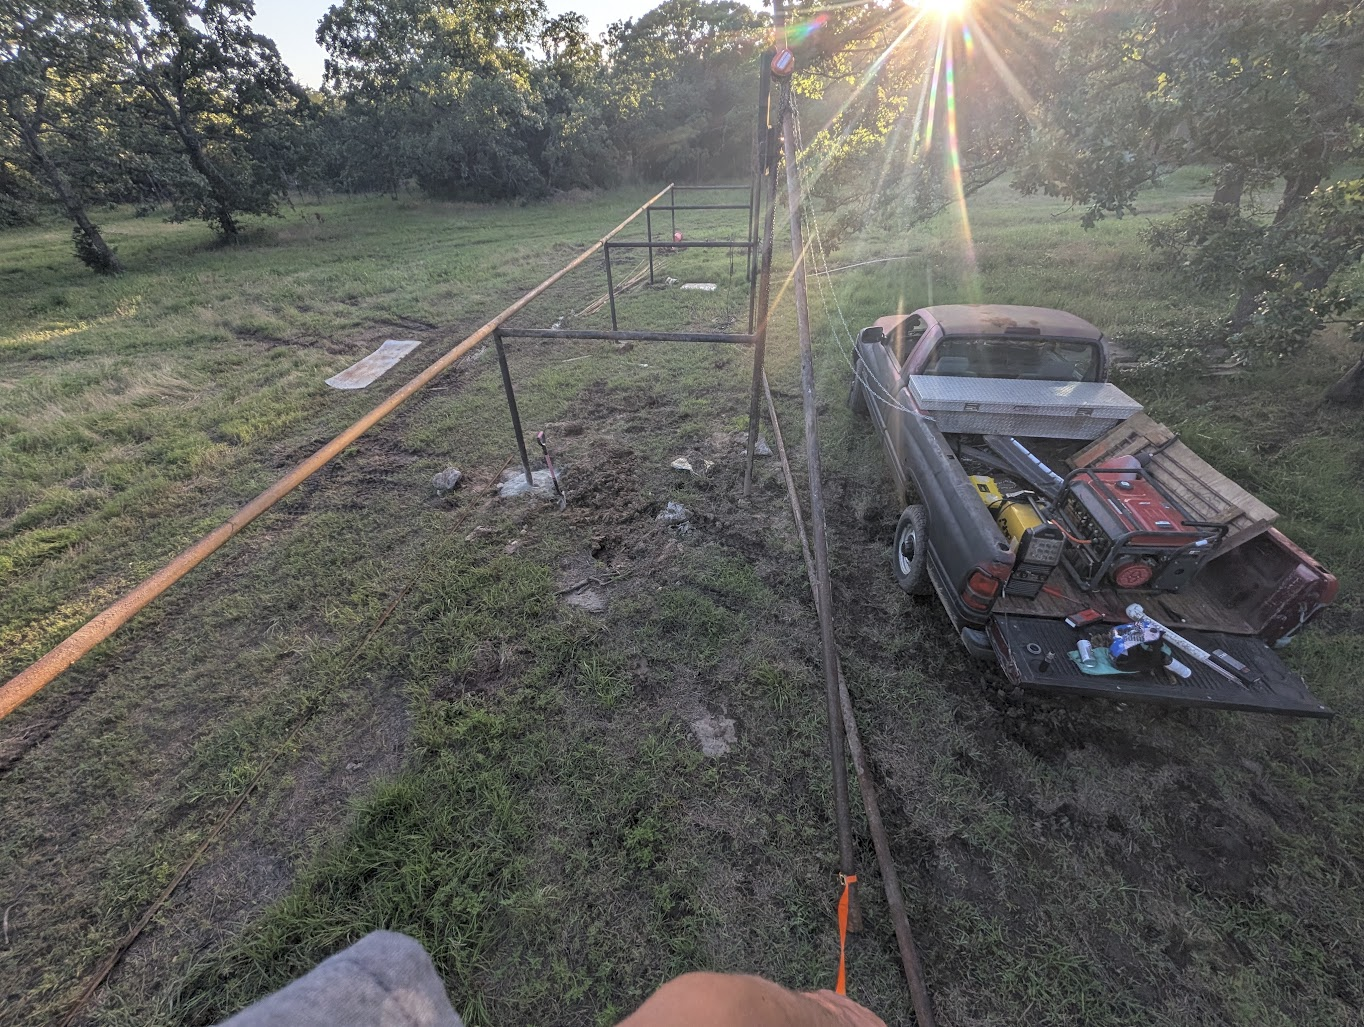
I did use ratchet straps to hold it in place, while I was able to get a few good tack welds on.
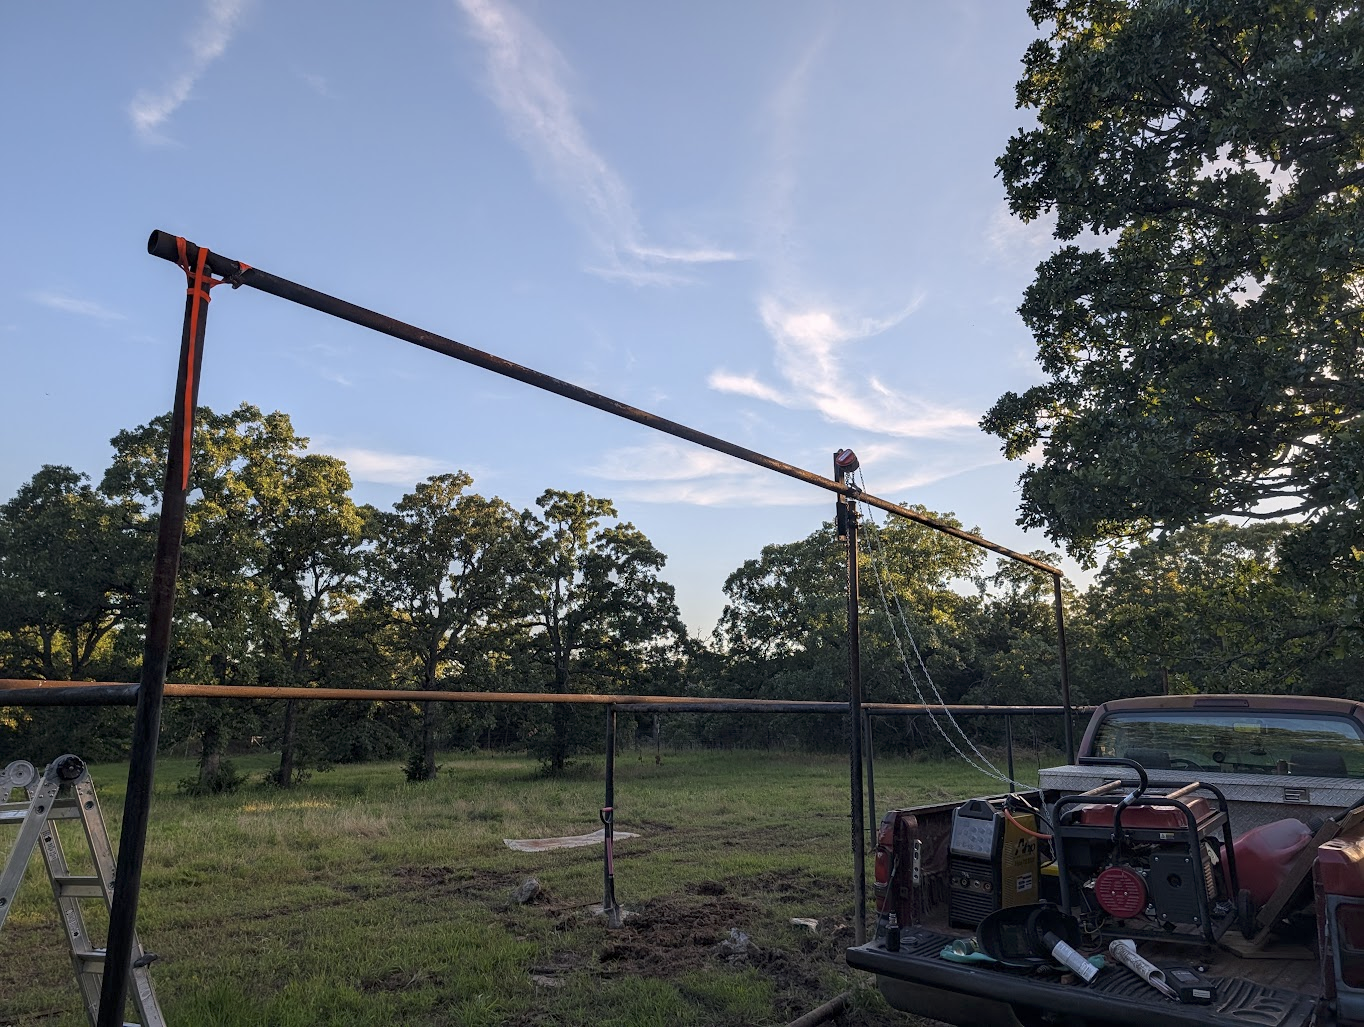
Afterwards, I got to enjoy the view while welding the tube.
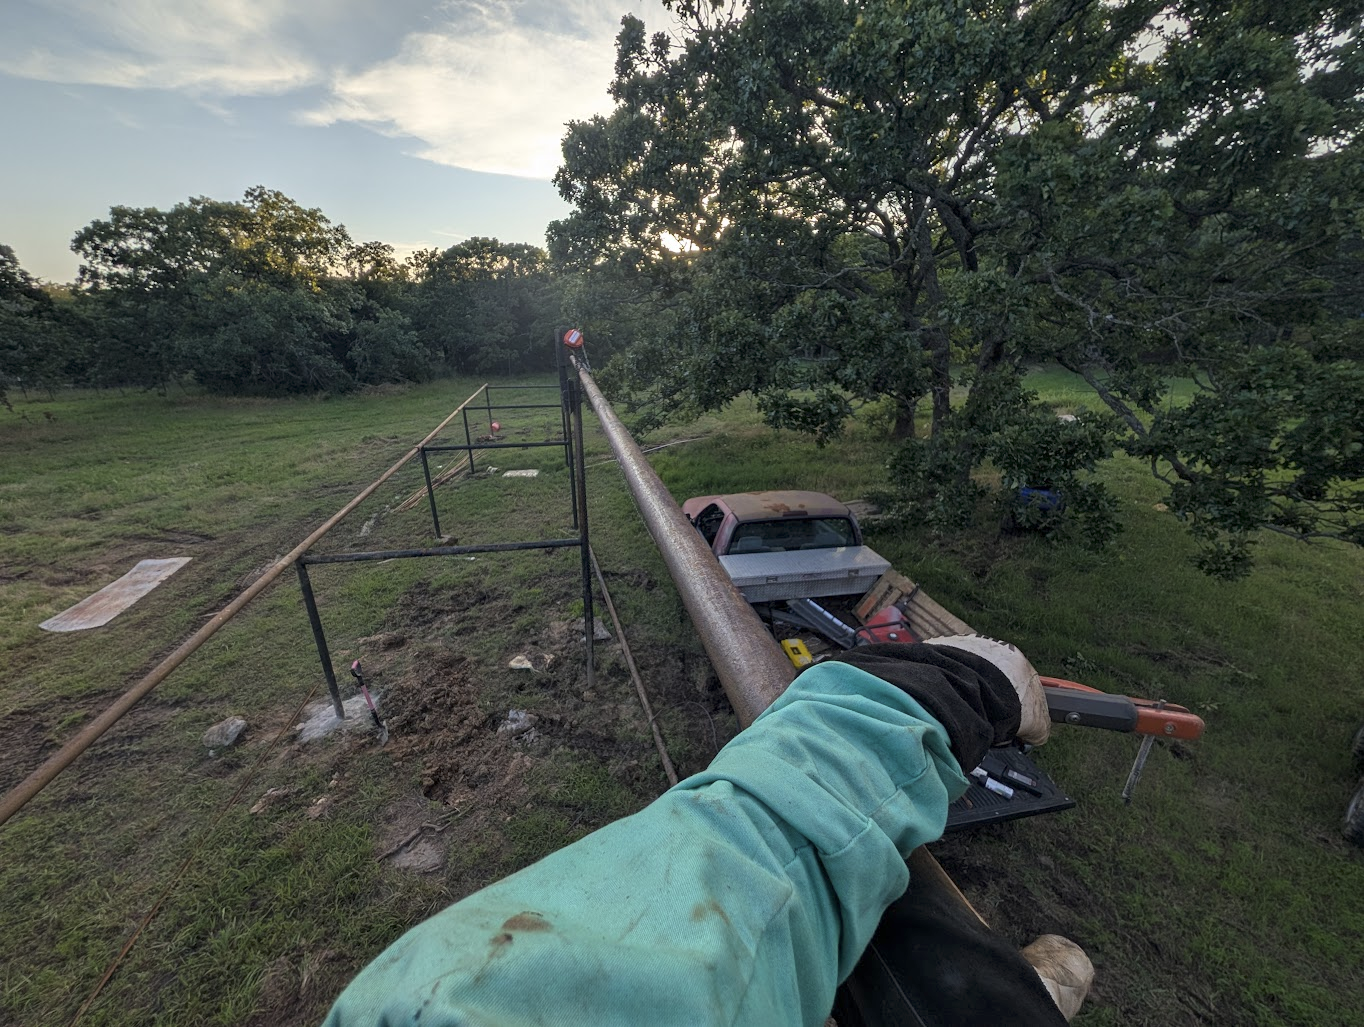
Here- is a shot while I was welding the 2nd post in.
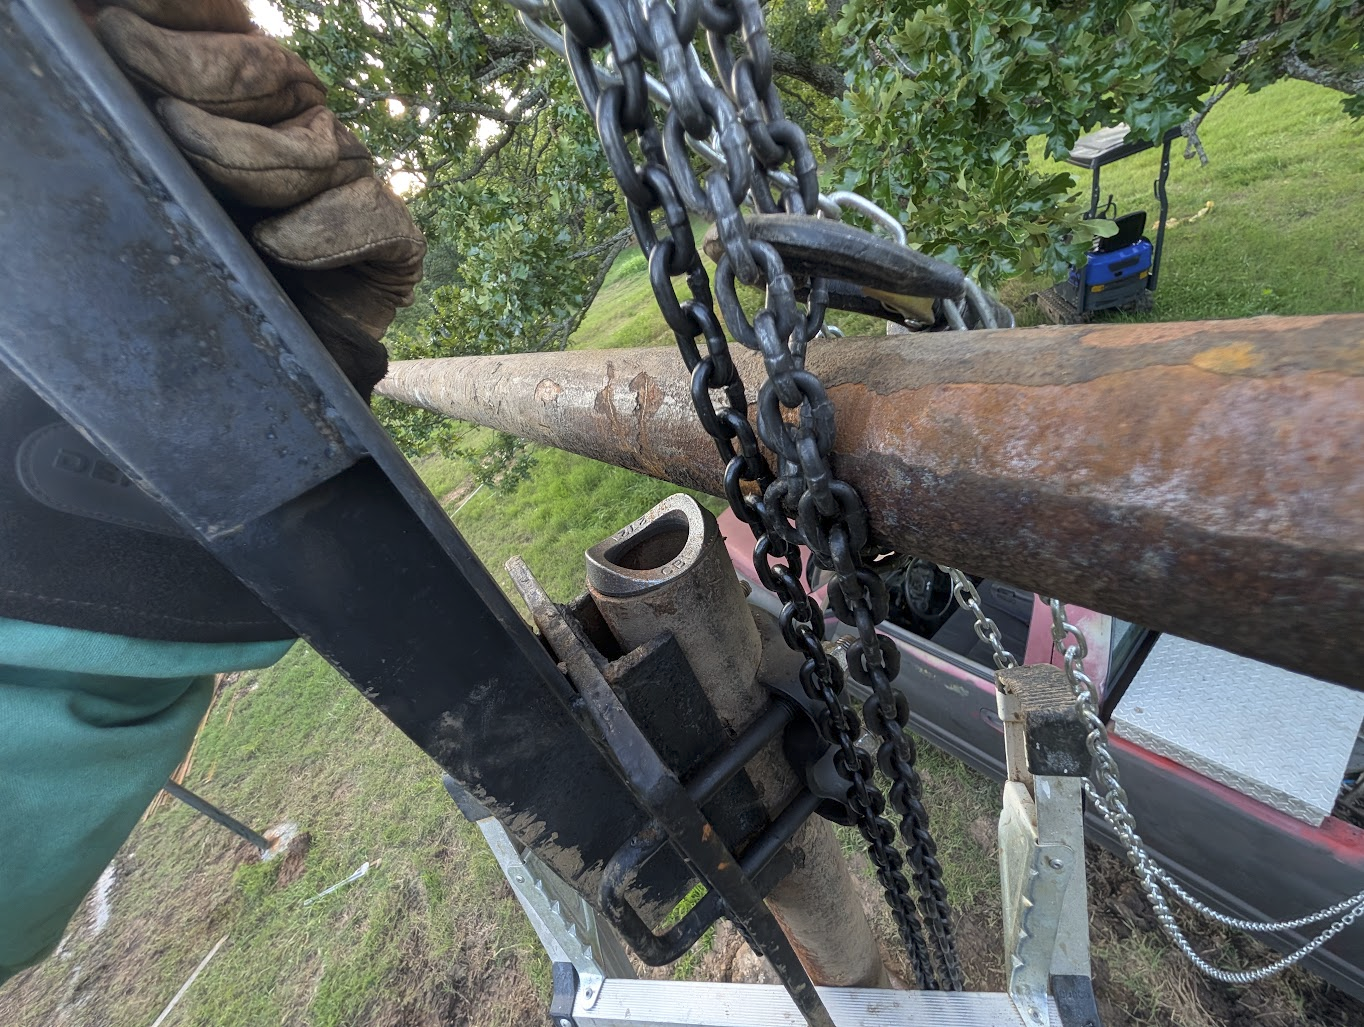
While- the jig isn't out of the way, It wasn't completely blocking me either.
Finally, the last section was lifted into place.
Intermission - Stump Removal
I did have a stump right in the middle of my yard, which I did not enjoy having to drive the lawn mower around…
So, I set it on fire.
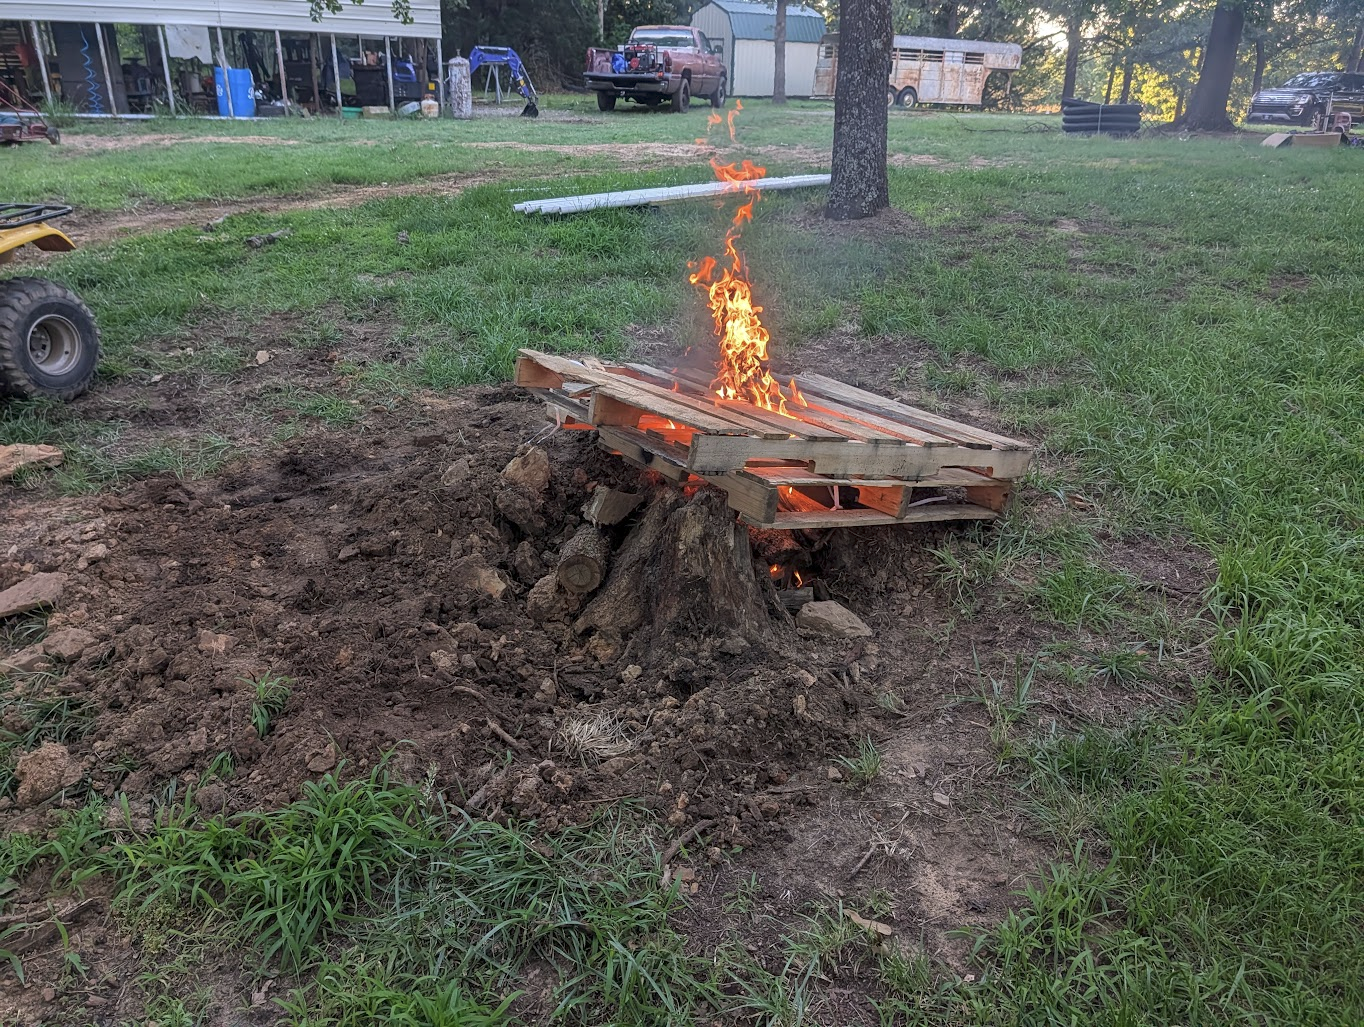
With the help of a leaf blower- I made a very hot fire.
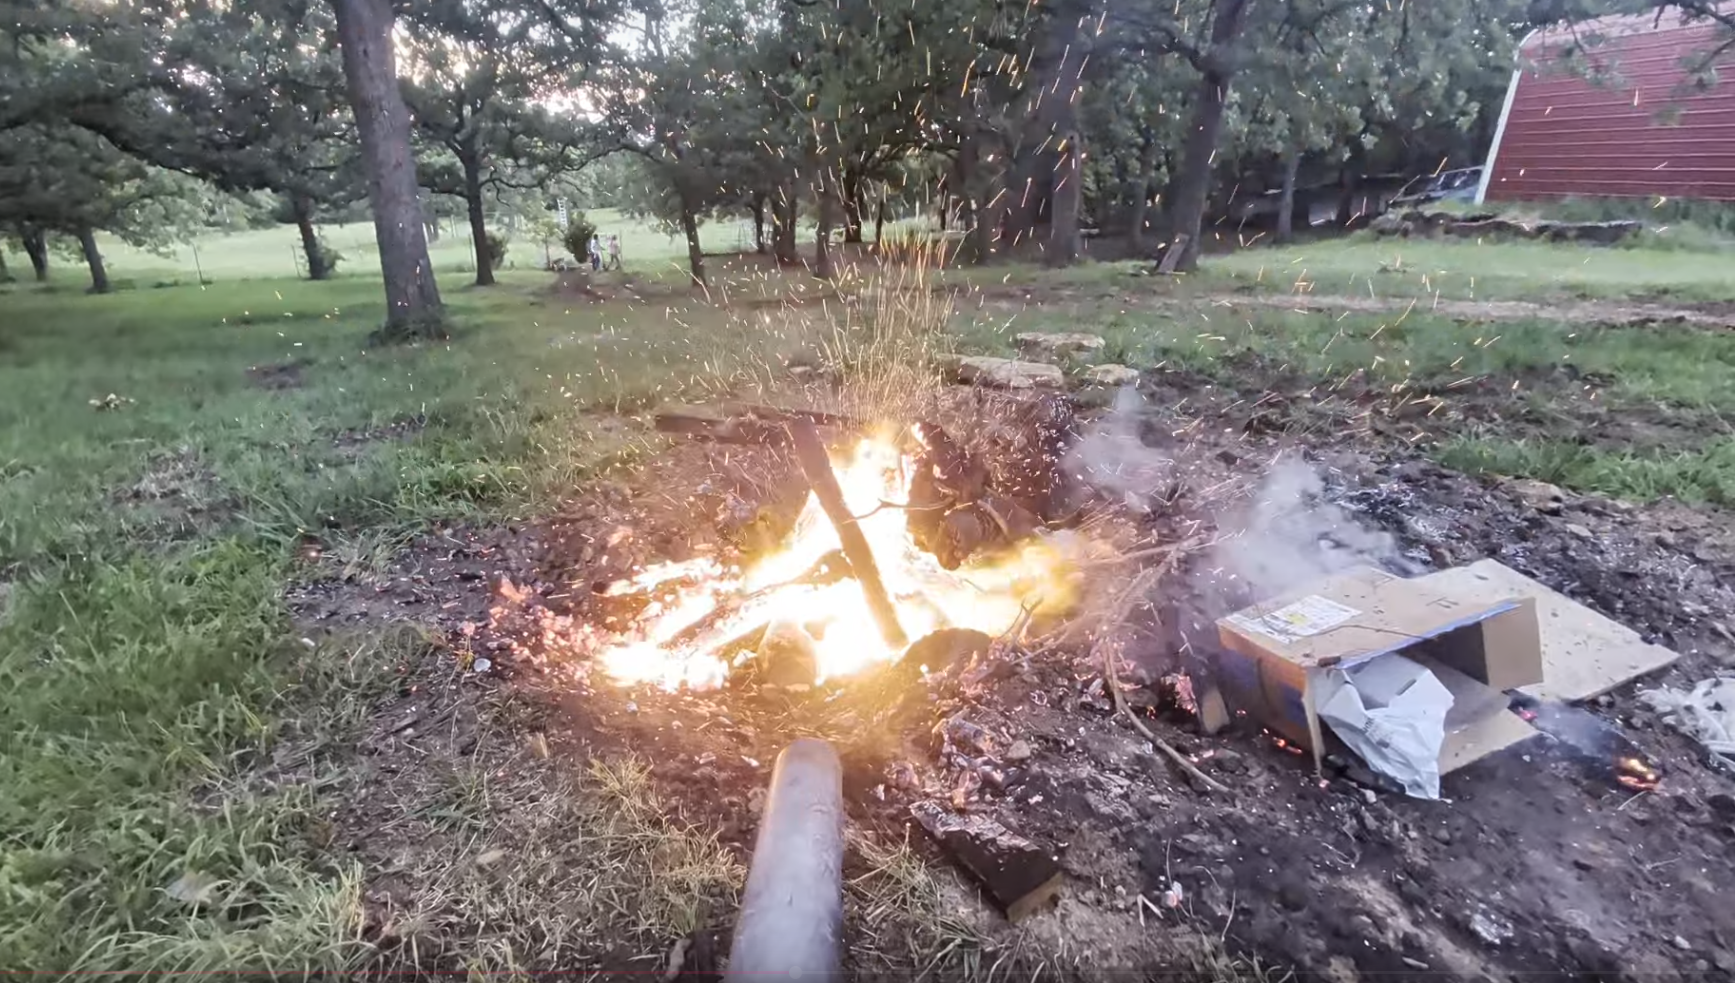
It lived?
After letting it burn all night, I was shocked to come out the next morning and still find….. quite a bit of stump.
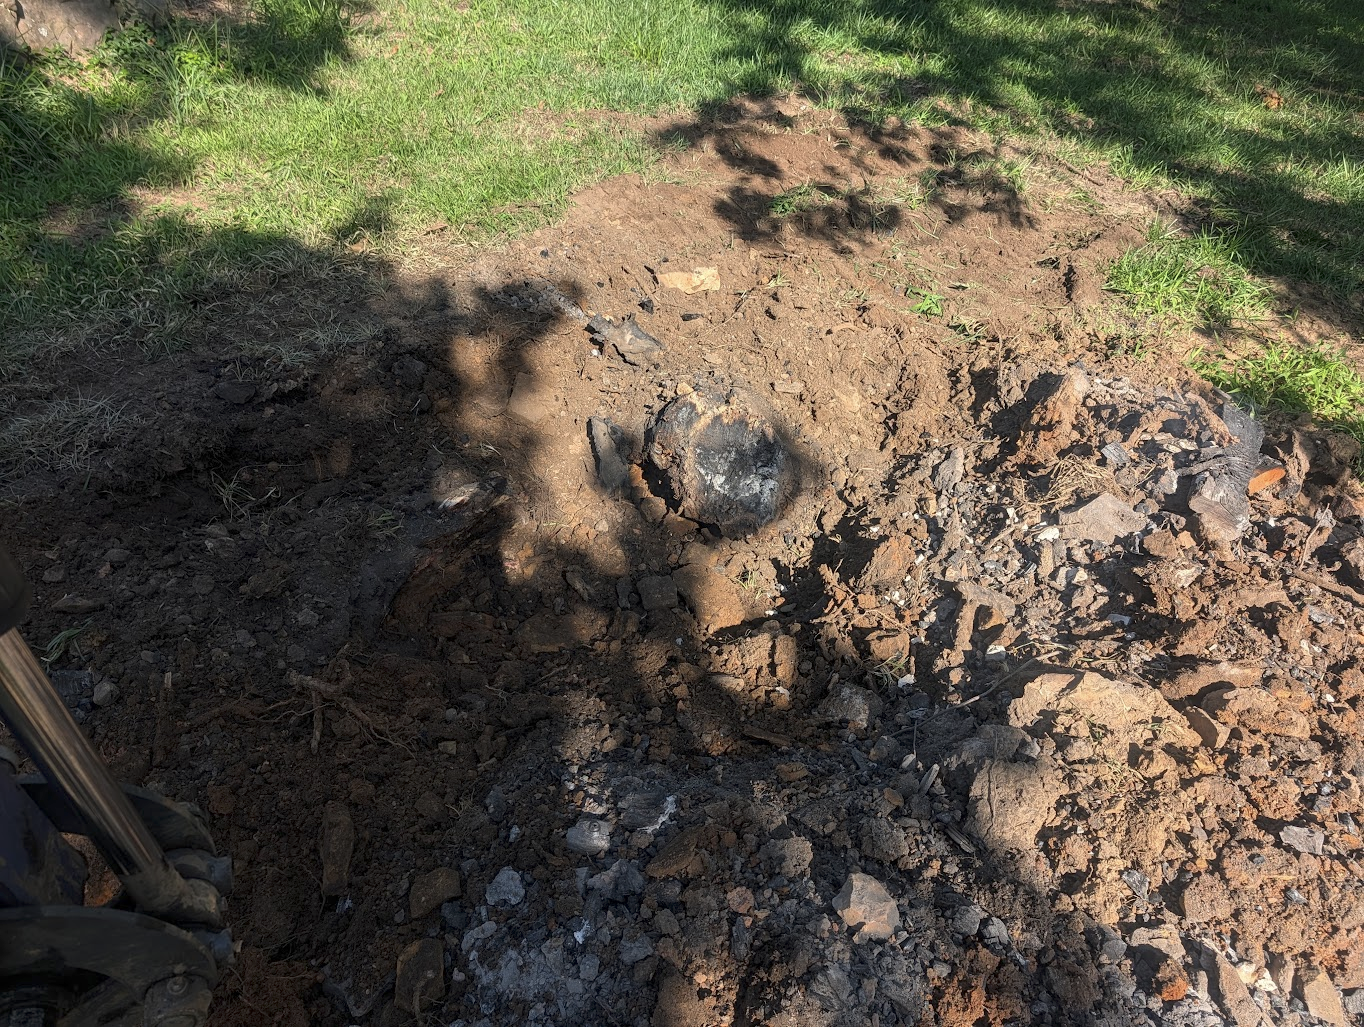
So- I built another fire on top of it….
And, drilled a few holes through the stump…… And…. used the chainsaw to cut up a few portions of the still-attached roots….
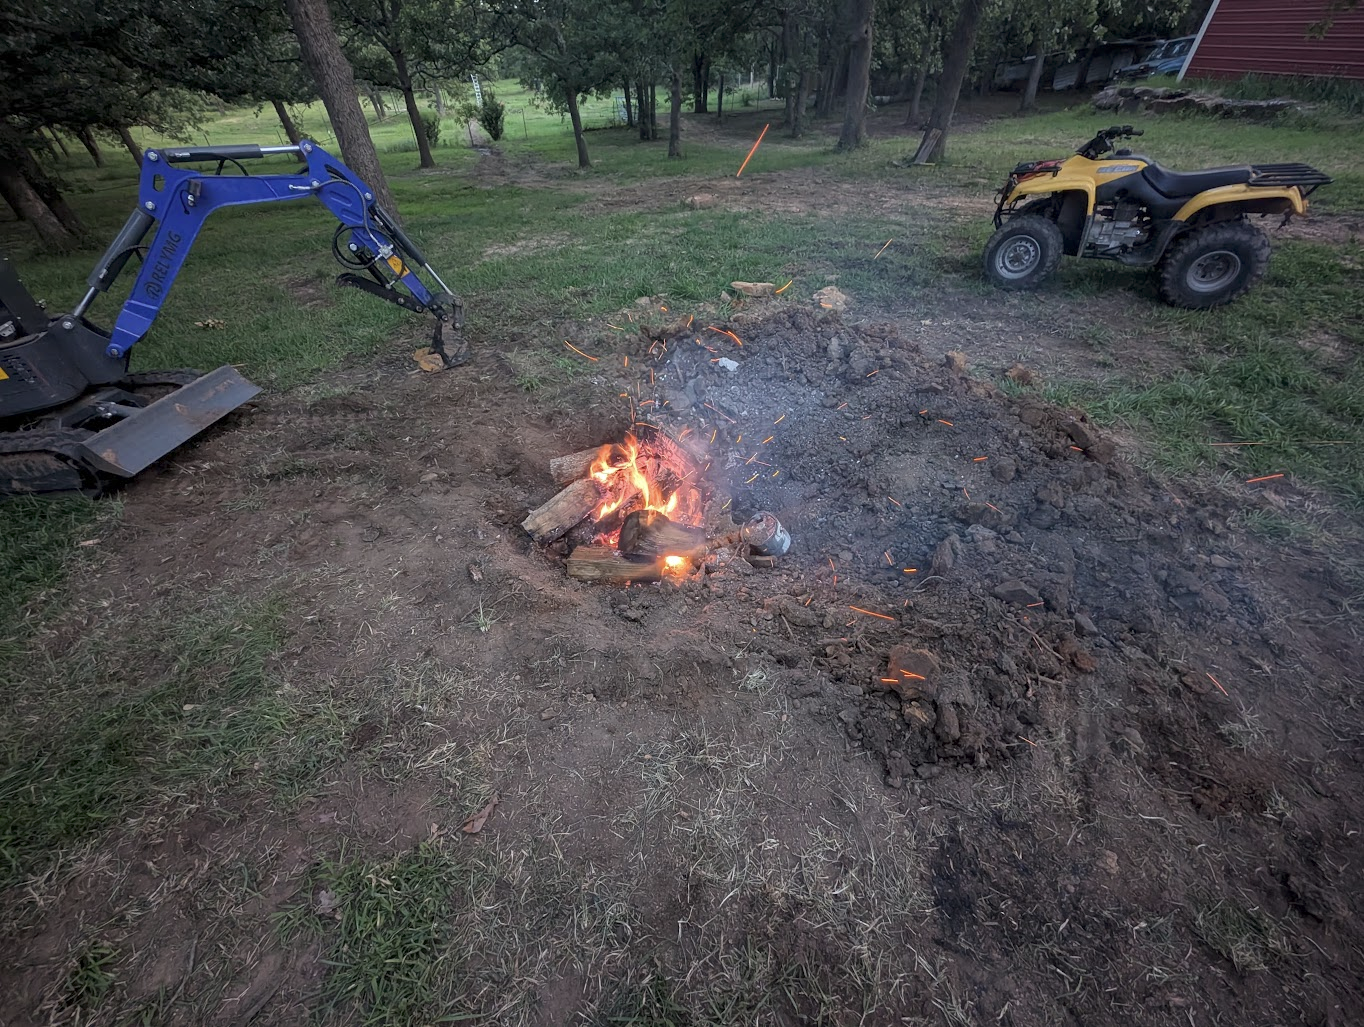
And…. it burned….. and burned… until it was all gone.
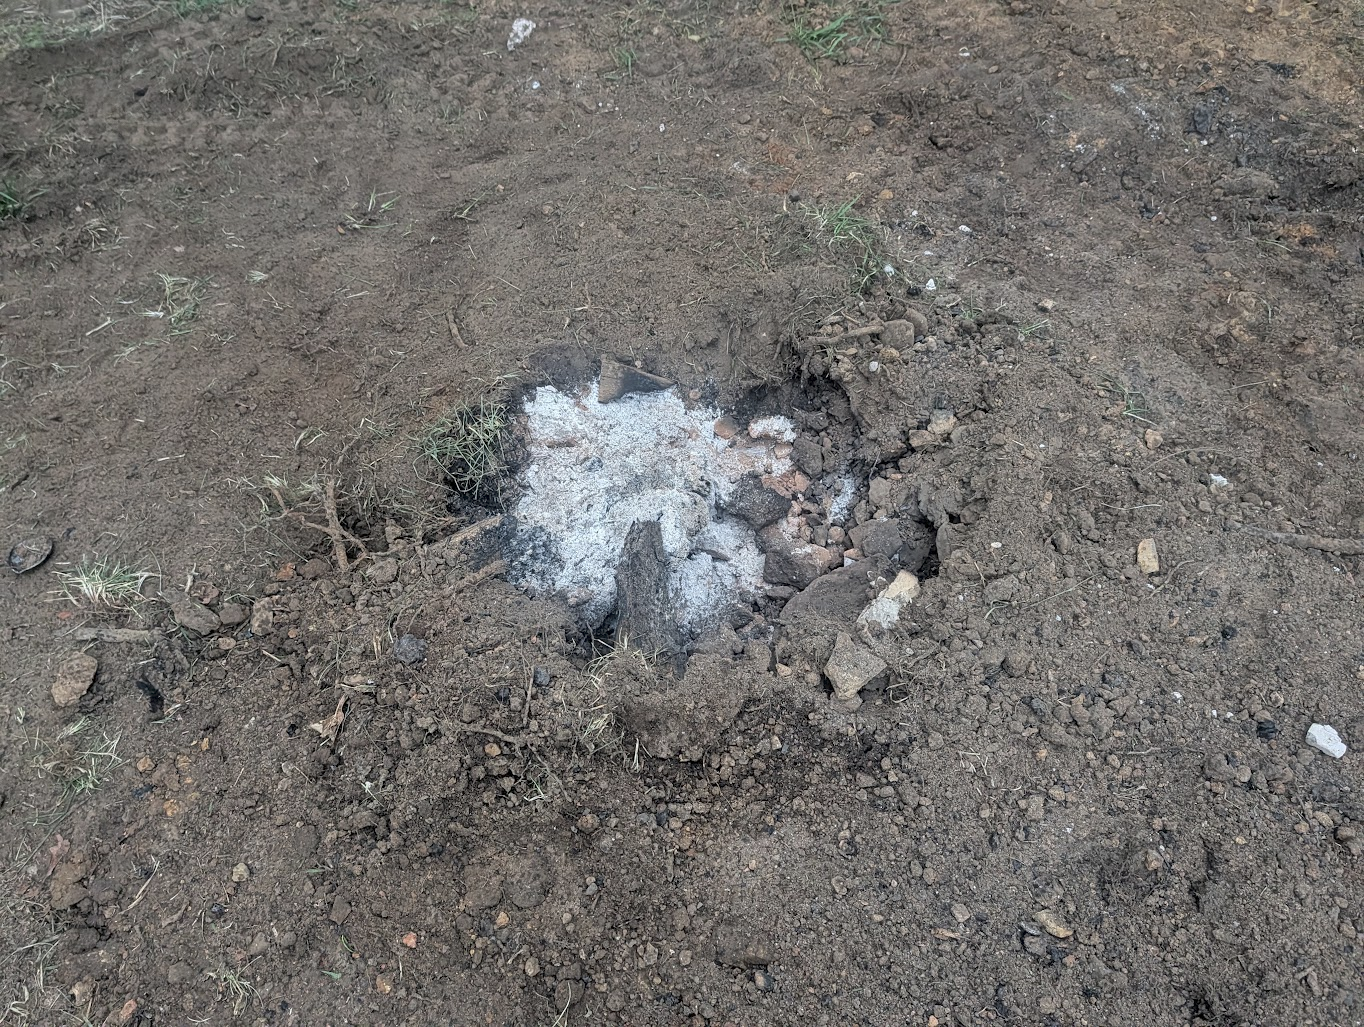
Now- I can mow grass here!
To note- I did originally try digging this stump out with the excavator. Even using the ripper tooth to cut away the roots- the Temu excavator was no match for this stump.
I did also try yanking it out of the ground with my big-heavy Cummins turbo-diesel. This- didn't work either.
Lets just say- there is no longer a grill attached to the truck.
But- enough of a break. We are here to build solar panels!!
Finishing Conduit
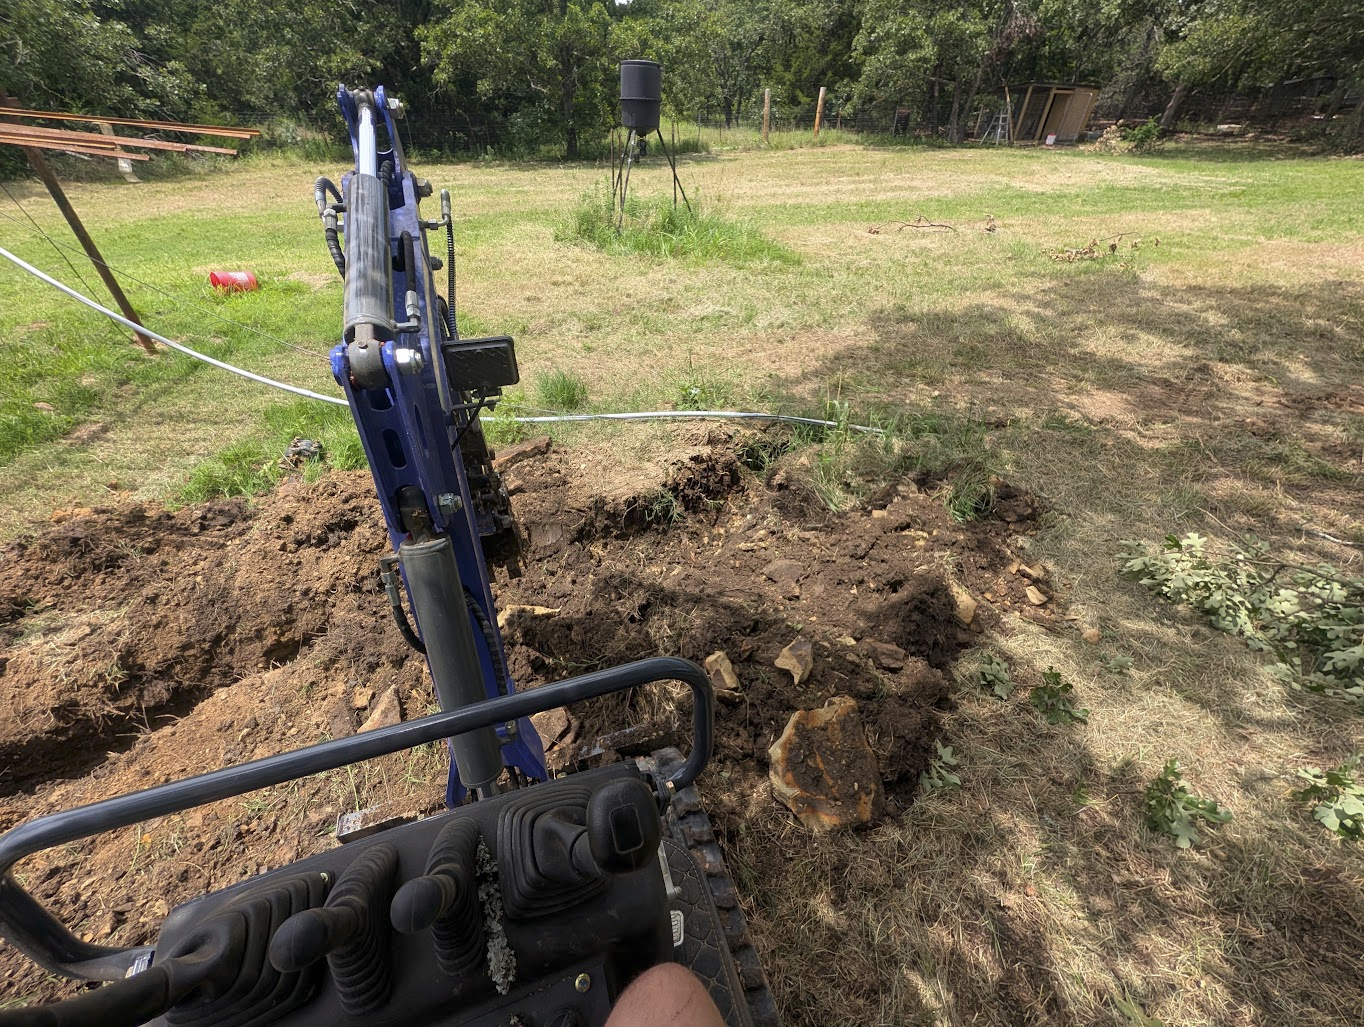
While I did have conduit ran pretty much all the way down here- I did need to dig out the last 10ft of trench.
After, digging through quite a bit of stone- This was completed.
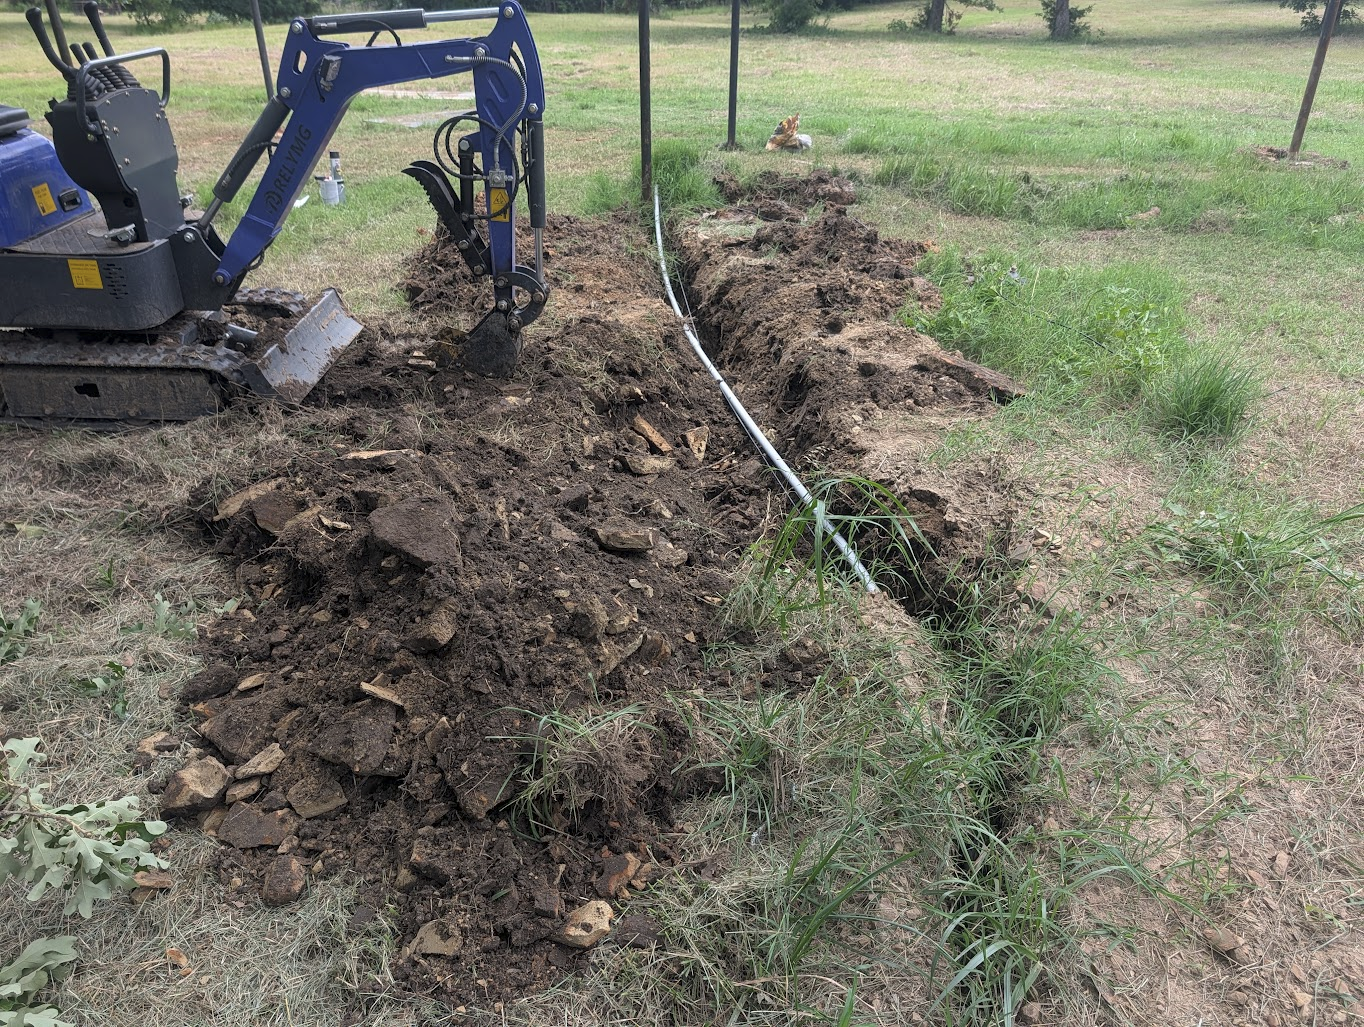
With a few bags of concrete, and a bag of sand later…. This post AND conduit, was fully secured into the ground.
Do note- this post was not yet concreted in, as this area was underwater.
Flat Tire - Part 2
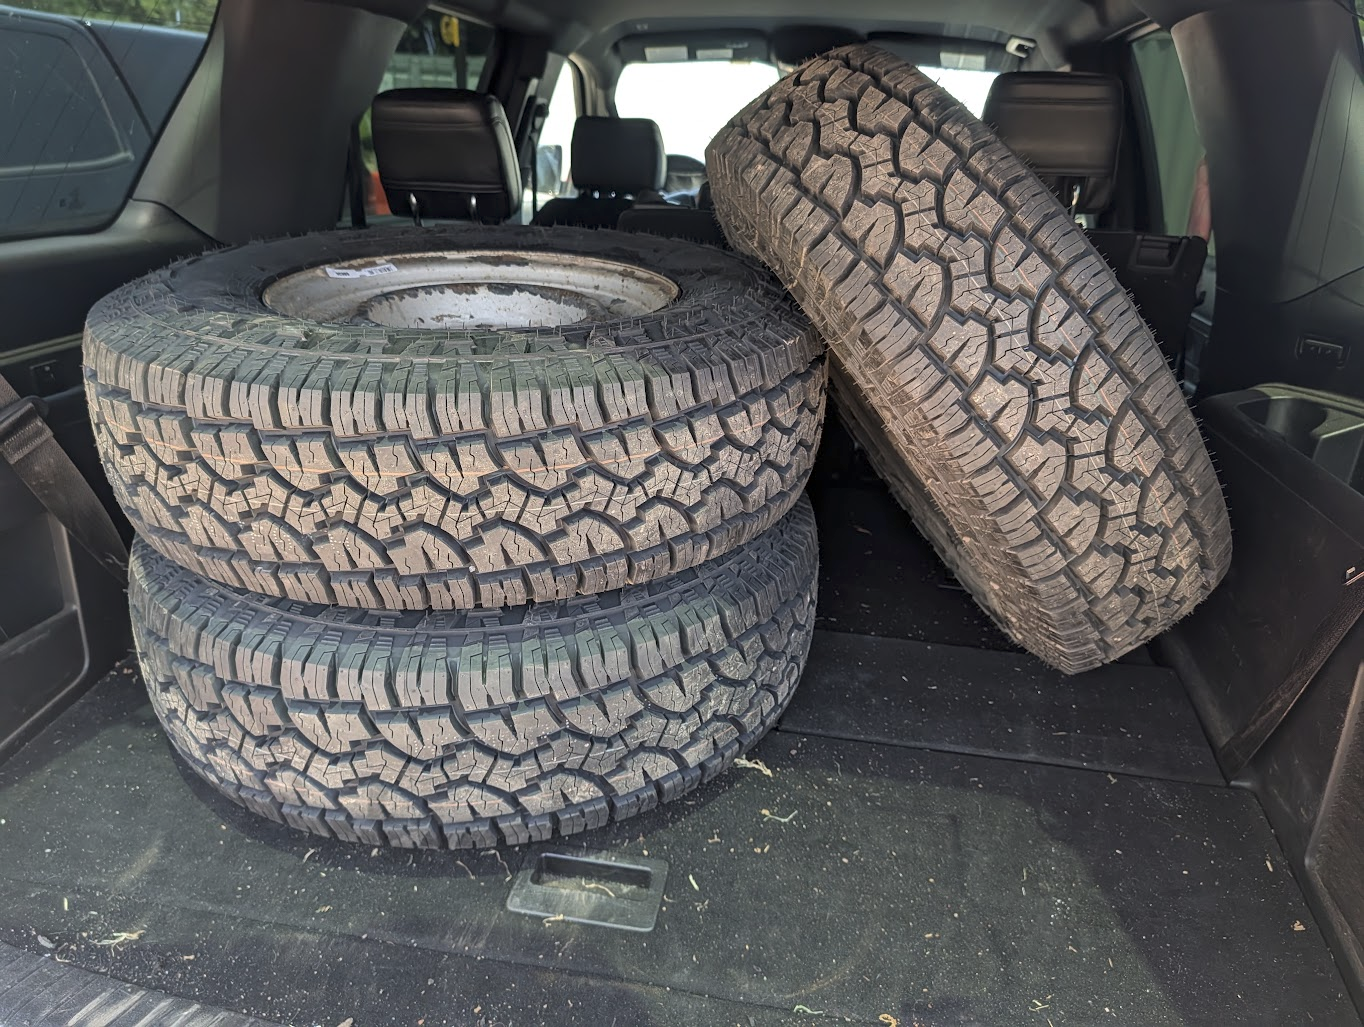
Remember, the flat tire from up above? Well…. Turns out, my spare was not in too much better of condition.
I had to run out to town and pick up some new rear tires, and a new spare…
Next Steps?
Since- this post was already getting a bit long- I will split the actual solar panel installation into its own post.
Amazon Affiliate Links Used
This post DOES include Amazon affiliate links. If you found this content useful, please consider buying the products displayed using the provided links.
You will pay the same amount as normal, however, it does provide a small benefit to me. This benefit is usually used to purchase other products and hardware for which I can review / blog about.
I do not display advertisements on this site. As such, the only compensation from this service, comes from affiliate links. I do not ask for, or even accept donations.