
Shop Table - Part 1
Part one of my shop-table project. This occurred in Oct 2024.
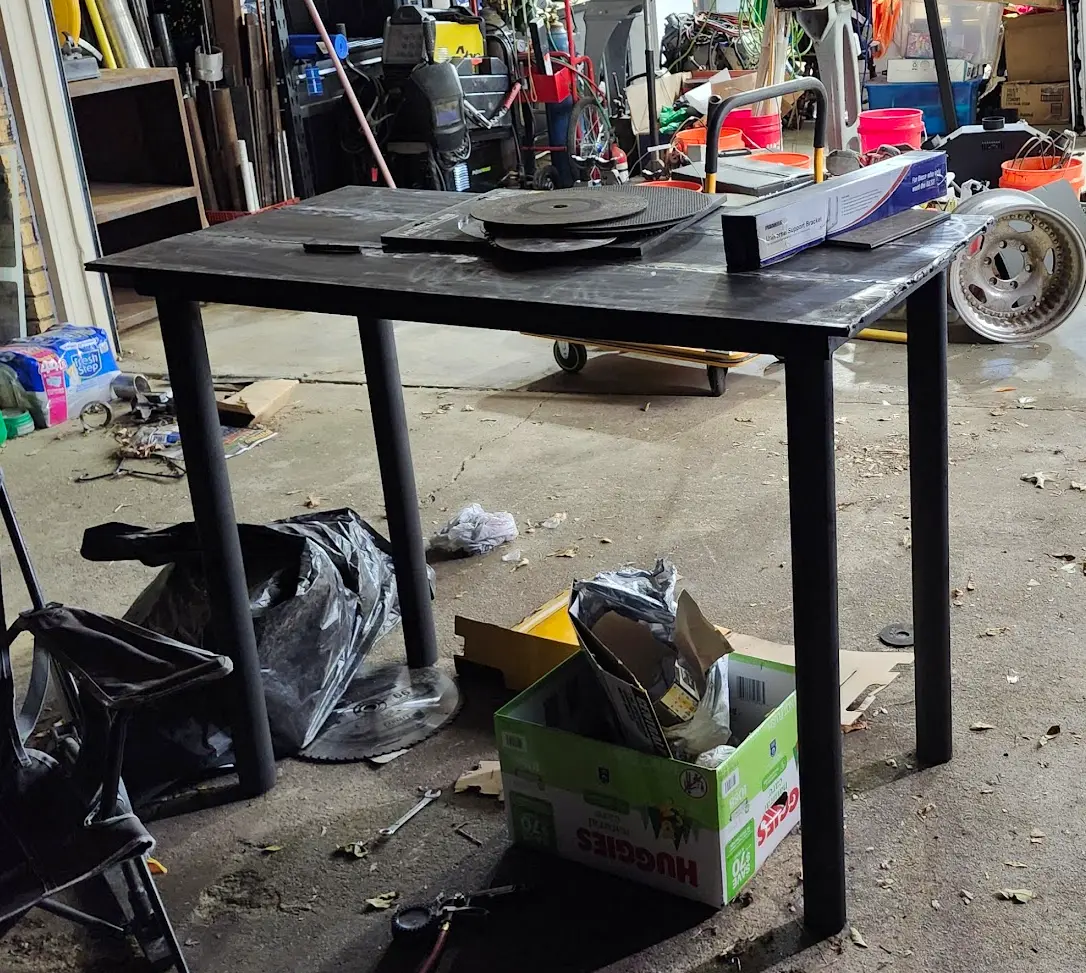
Here is the end result. A simple, sturdy table.
Introduction
Auctions
Occasionally I enjoy going to property auctions. I can generally pick up a good amount of scrap metal, tools, and parts for a reasonable price.
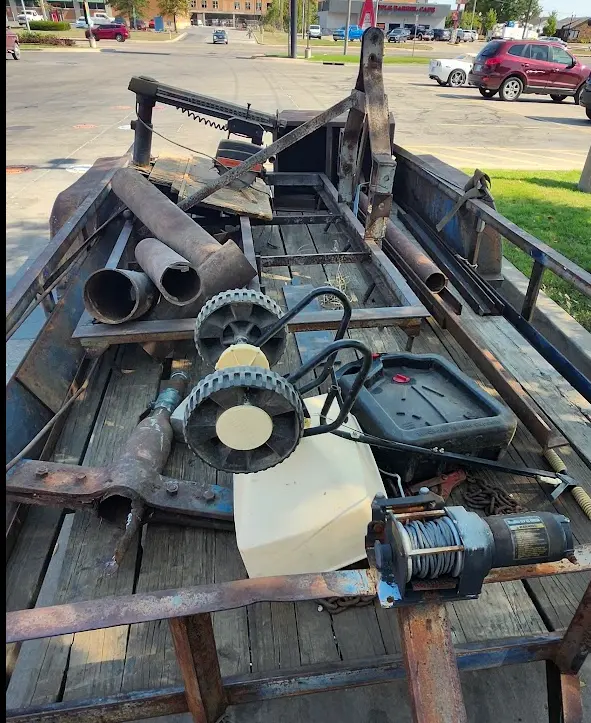
One of these auctions, was a farm, where I obtained a decent trailer full of metal scrap, and a few tools.
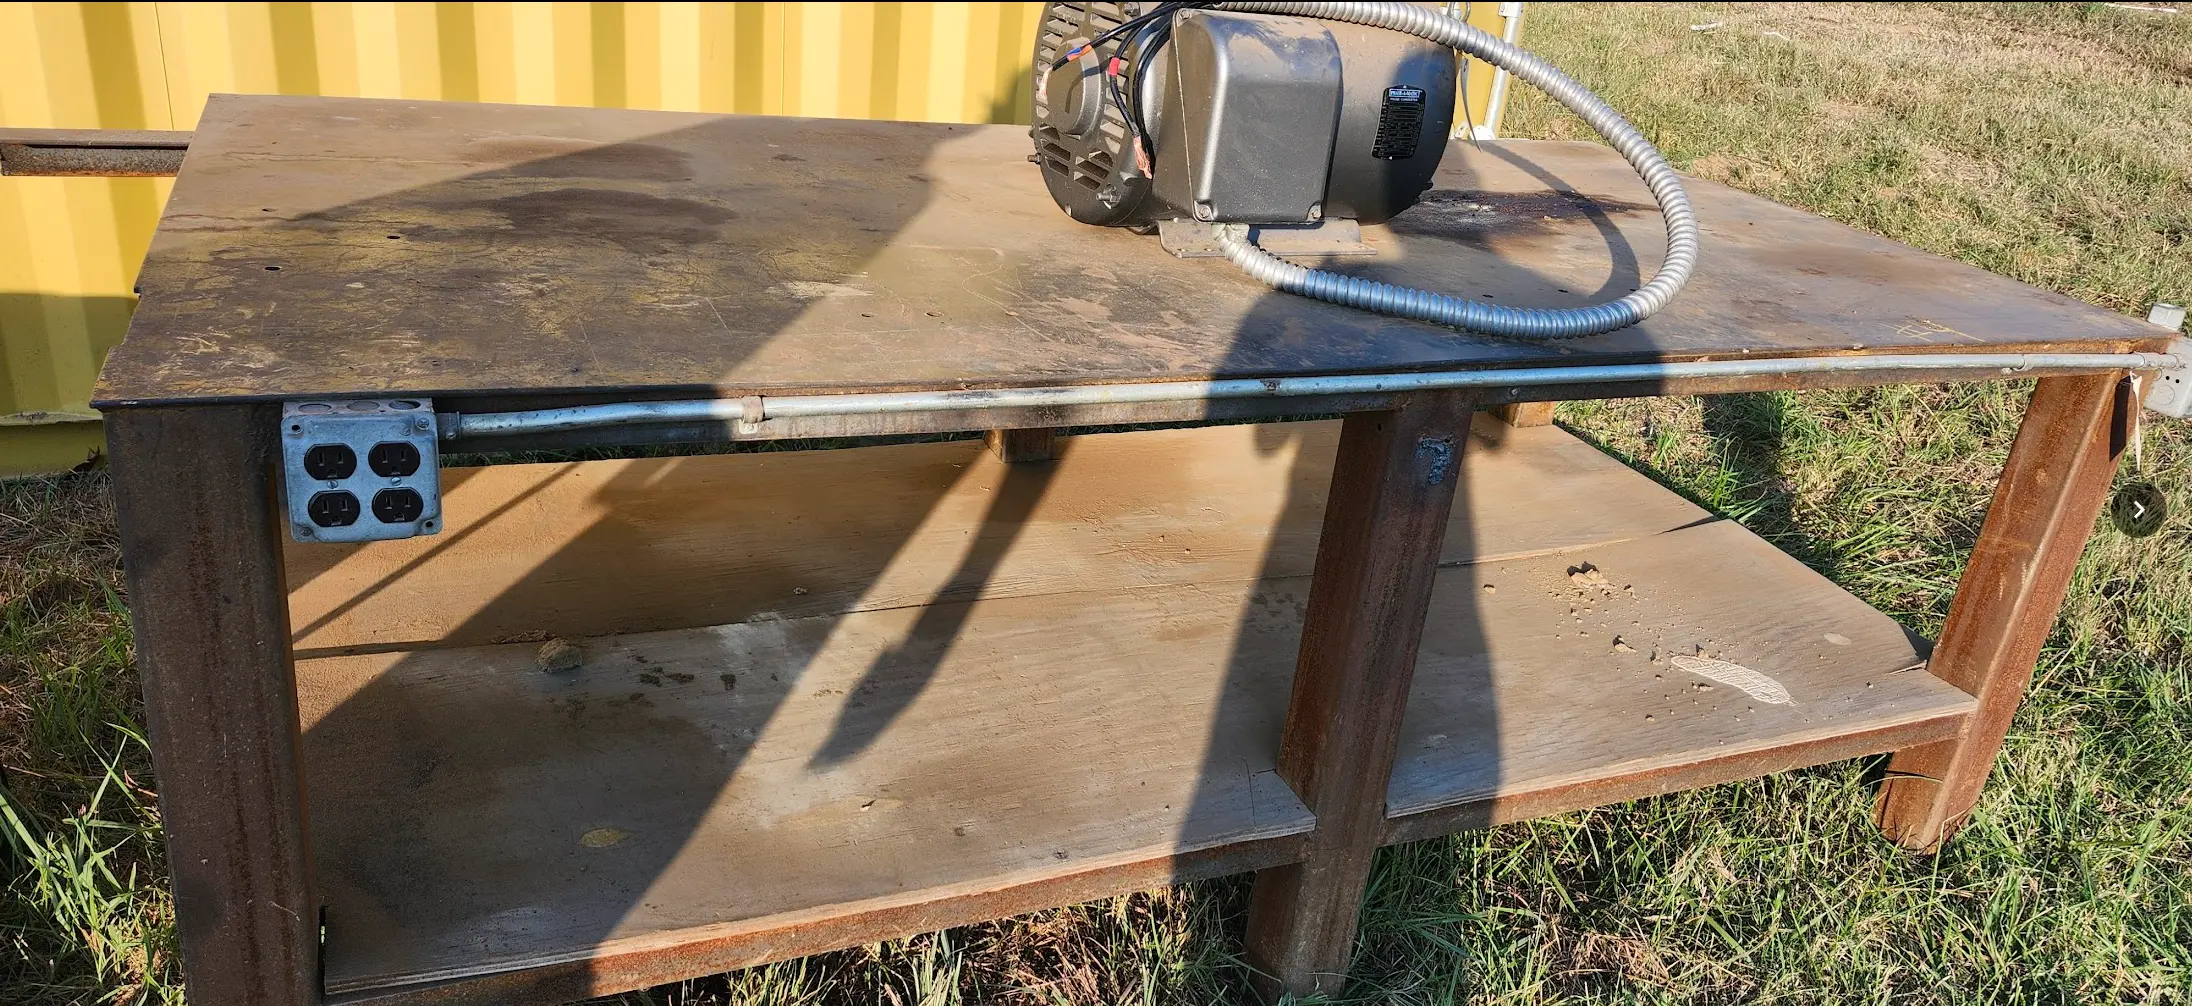
There WAS a table auctioned off at the site, however, when its bidding price went above 600$, I stopped bidding. The table was bigger then I was looking for, and required… a forklift to be moved.
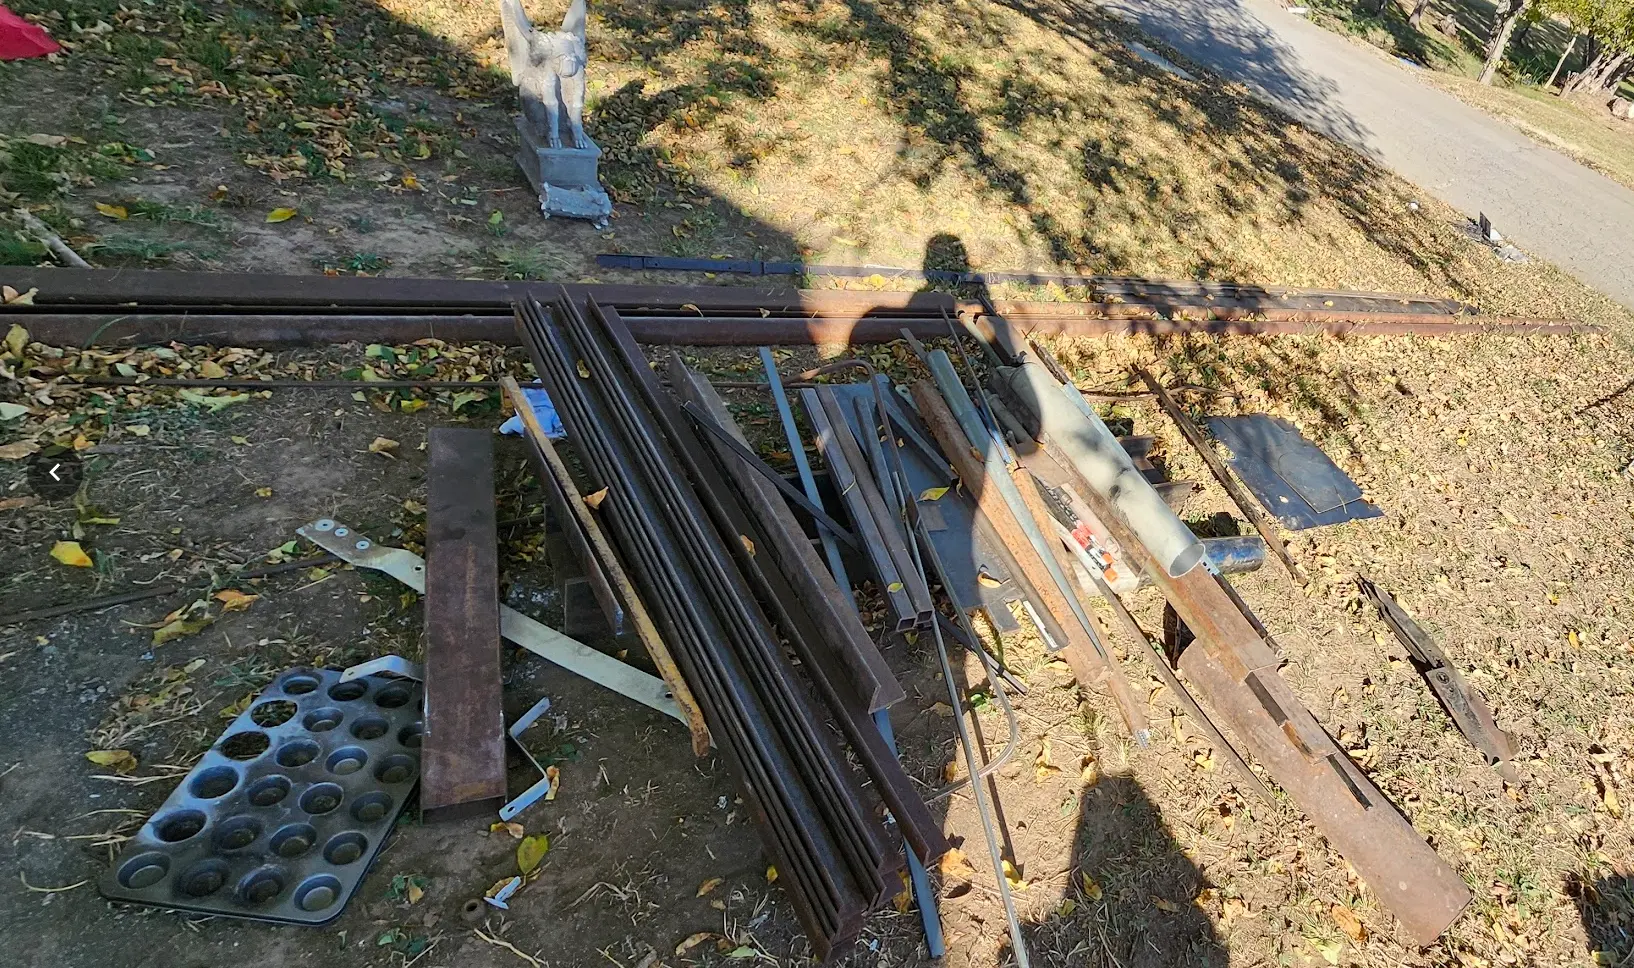
However, I did leave with a healthy assortment of angle-iron, and flat plate.
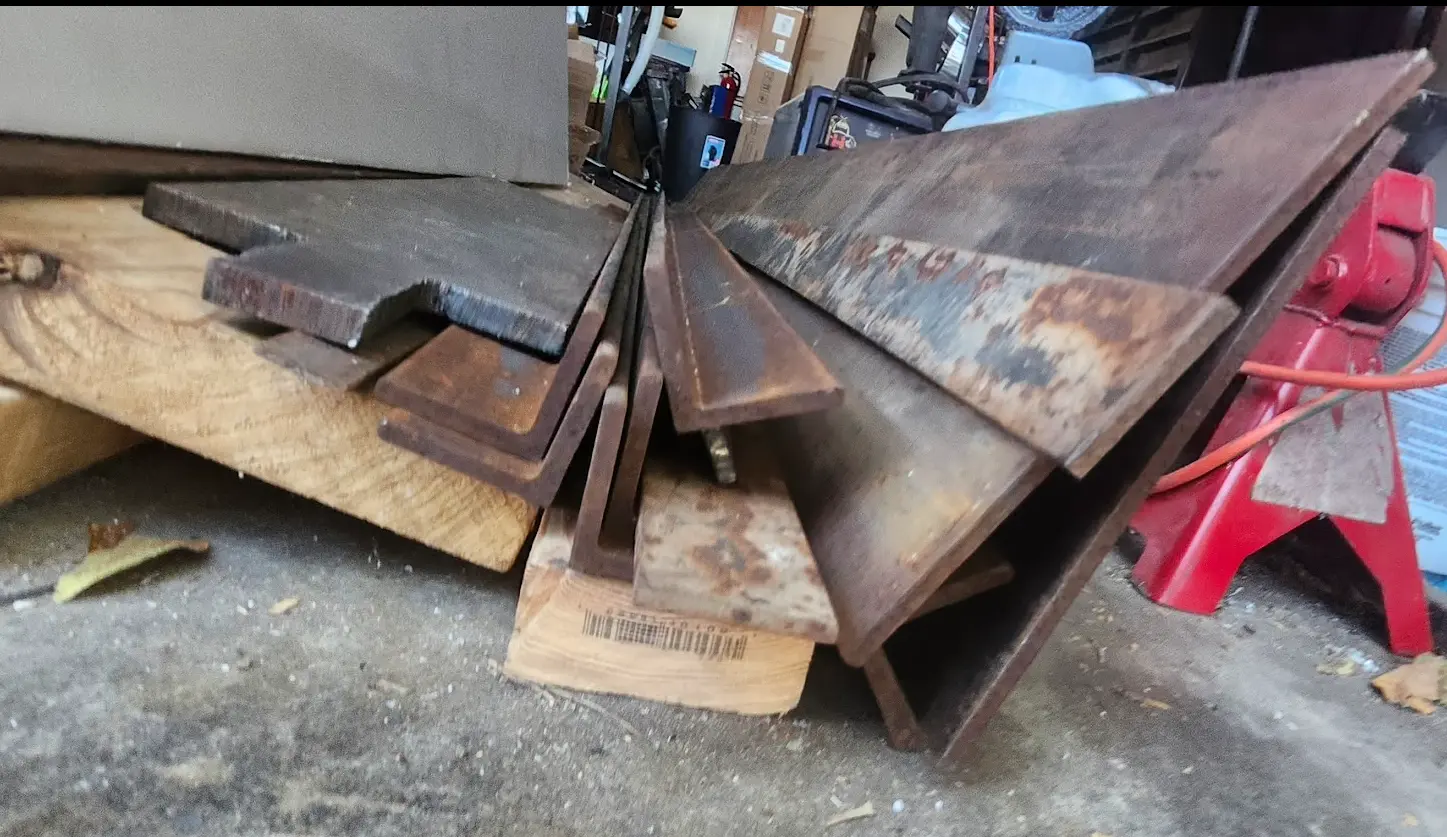
Here is another view of some of the materials I collected from this auction.
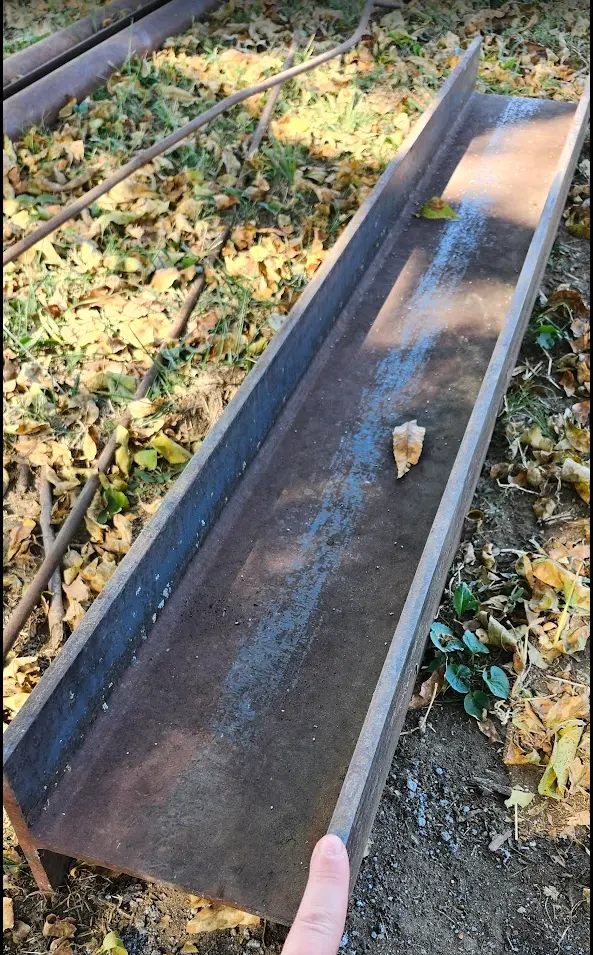
I did also pick up a solid steel I-beam for 15$.
The Goal
With the auction details out of the way- My goal was simple. I wanted to build a table for my shop.
The requirements-
- Must be sized as to not take up my entire shop floor. My shop, is the 2-car garage on my house.
- Must be sturdy. Needs to be able to withstand at least a half-ton of weight.
- Must tolerate hammering and beating. This table will be used.
While- I planned on getting a piece of steel sheet for the top of my table, the bidding went above what I was willing to pay.
Through, after taking inventory, I did feel, I had plenty of materials laying around to build a table.
So- thats what I did.
Tools Used
I'm not going to go into super-depth regarding all of the tools used, however, I will list out the big items.
- AHP AlphaTig: AmazonAmazon affiliate linkAs an Amazon Associate I earn from qualifying purchases at no additional cost to you; using this link helps support the site.
- I have the 2017 AlphaTig model. After 7 years of owning it, I still really enjoy this machine.
- I use it for Tig and Stick from 20 amps, up to 200 amps. Zero complaints.
- There have been a lot of improvements since my 2017 model, I'd highly recommend one of these units.
- The price/features is hard to beat.
- Dewalt 14in Chop Saw: AmazonAmazon affiliate linkAs an Amazon Associate I earn from qualifying purchases at no additional cost to you; using this link helps support the site.
- I couldn't tell you what year I picked up my chop-saw, but, it was pre-2017.
- It works just as well now, as it did nearly a decade ago.
- I have cut angle-iron, 3" structural tubing, bars of aluminum. You name it. It does it.
- For blades, I typically use 14" Abrasive Disks - AmazonAmazon affiliate linkAs an Amazon Associate I earn from qualifying purchases at no additional cost to you; using this link helps support the site.
- These are cheap, and effective.
- I do have a carbide blade for cutting metal, however… It did not last too long.
- Primeweld CUT50D: AmazonAmazon affiliate linkAs an Amazon Associate I earn from qualifying purchases at no additional cost to you; using this link helps support the site.
- I picked this up in April of 2020. At the time, this was one of the cheapest available plasma cutters available.
- I'll admit- My expectations were not very high for this unit. However, I have owned it for 5 years, and it has logged hundreds of hours, without any issues or faults.
- The current units, have a lot more options. Mine only has a single physical knob for amperage.
- I did recently (2025) swap out the torch head, for a PT31 - AmazonAmazon affiliate linkAs an Amazon Associate I earn from qualifying purchases at no additional cost to you; using this link helps support the site.. I did this, because the consumables are cheaper, and easier to acquire.
- Dewalt Angle Grinder: AmazonAmazon affiliate linkAs an Amazon Associate I earn from qualifying purchases at no additional cost to you; using this link helps support the site.
- I have been using this angle grinder for the best part of the last decade. The handle finally broke off, to which I just created a single handle made from square tube. Its still kicking.
- Flap Disks: AmazonAmazon affiliate linkAs an Amazon Associate I earn from qualifying purchases at no additional cost to you; using this link helps support the site.
- I have found these cheap flap disks, to be amazing when working with metal.
- I use a combination of 40 grit, and 120 grit disks. 40 grit when doing heavy shaping, or grinding. 120 grit for making it look pretty.
- Rust-Oleum 215215: AmazonAmazon affiliate linkAs an Amazon Associate I earn from qualifying purchases at no additional cost to you; using this link helps support the site.
- I have been using this spray paint for many of my steel based projects.
- Works great for minor surface rust. You will want to grind and remove any heavy rust though.
Building the table
I started this, by cutting the steel plate into three sections to get my desired length and width.
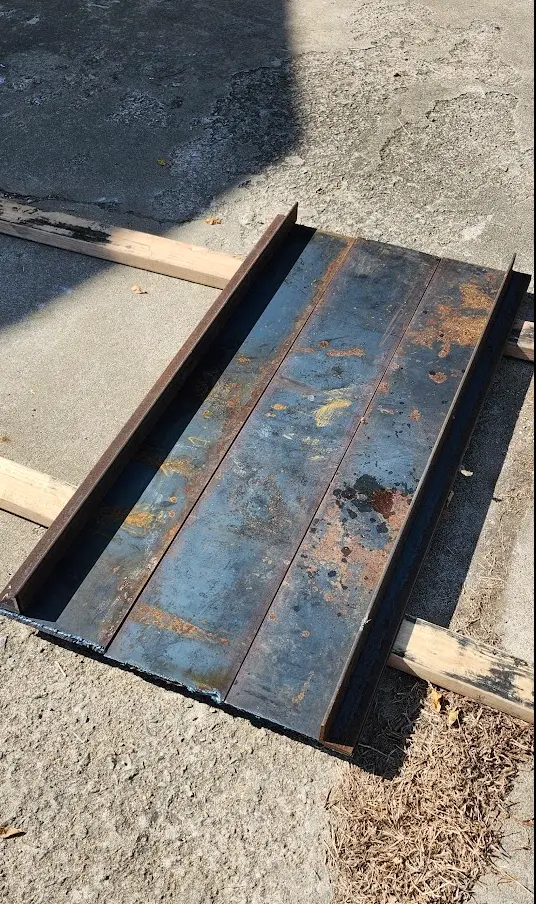
Since, I knew I had quite a few of these cuts to do, and drawing straight lines is hard, I did fabricate a small…. “guide” for my tig torch.
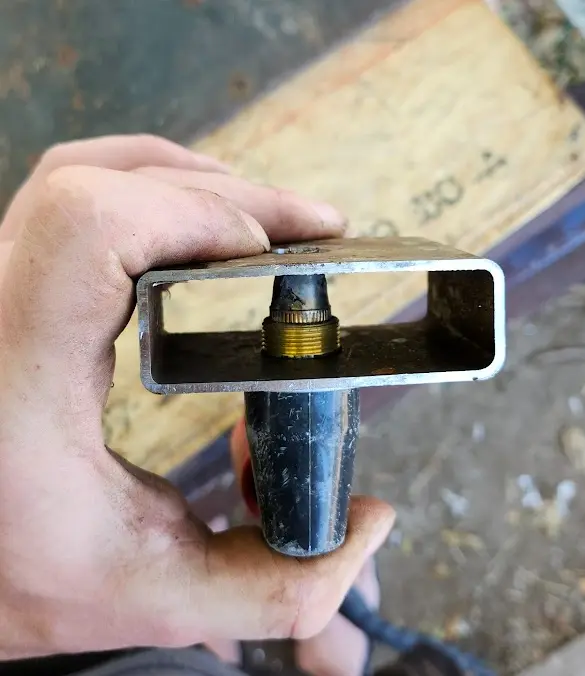
More or less, you put the torch in, and slide it against a board or piece of metal. And, you get a straight cut.
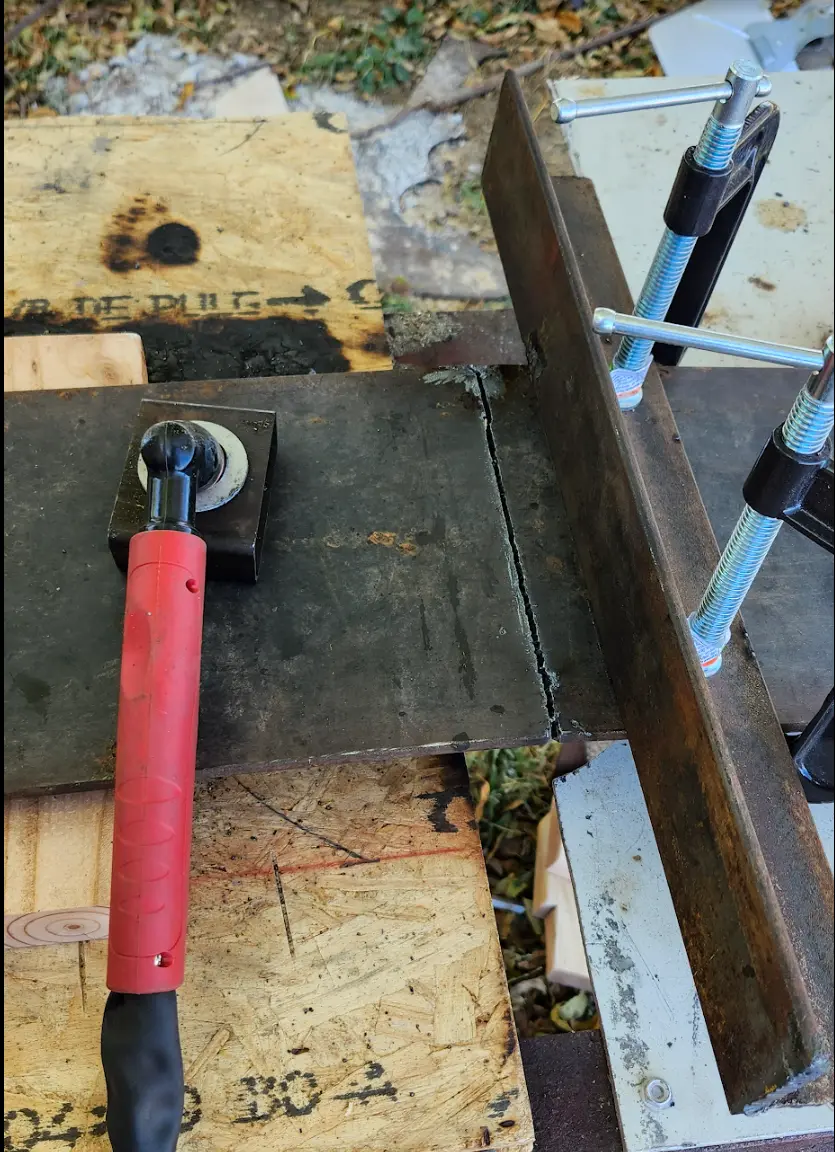
With, the plate cut, I started building a frame using 1/4" angle-iron.
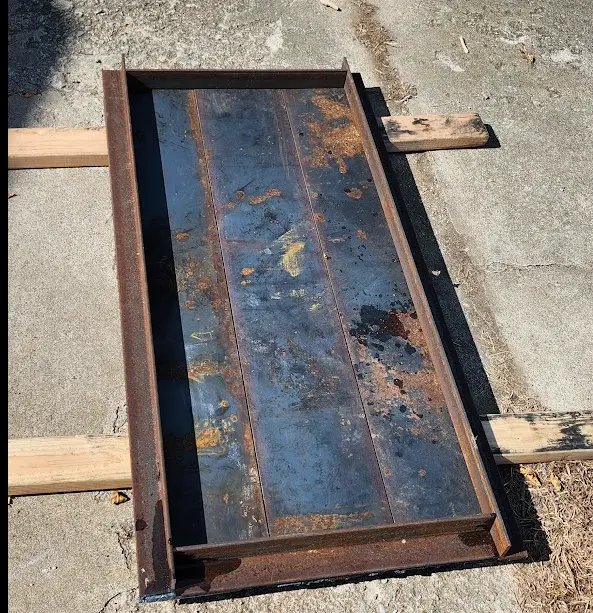
One important detail here- I intended on the flat side of the angle iron to be on the OUTSIDE of the table.
The reason- It makes it much easier to use clamps on the outside perimeter of the table.
For cutting the angle-iron, I used my chop-saw.
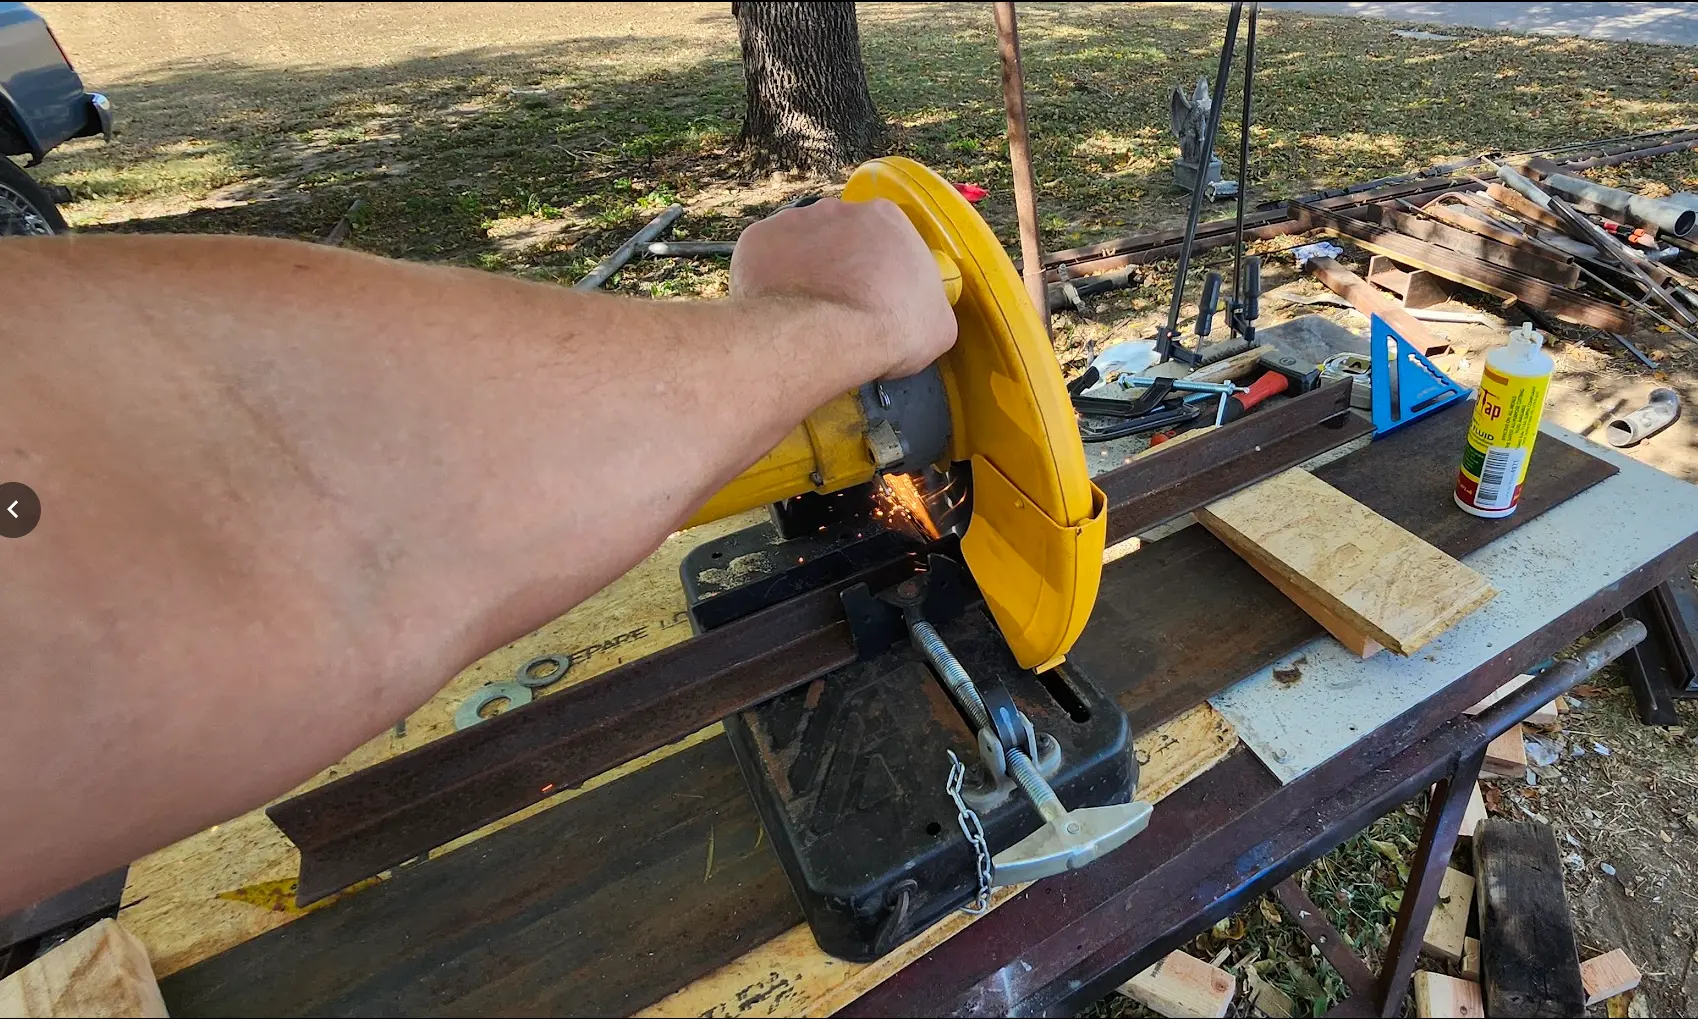
I did, trim the edges with my torch.
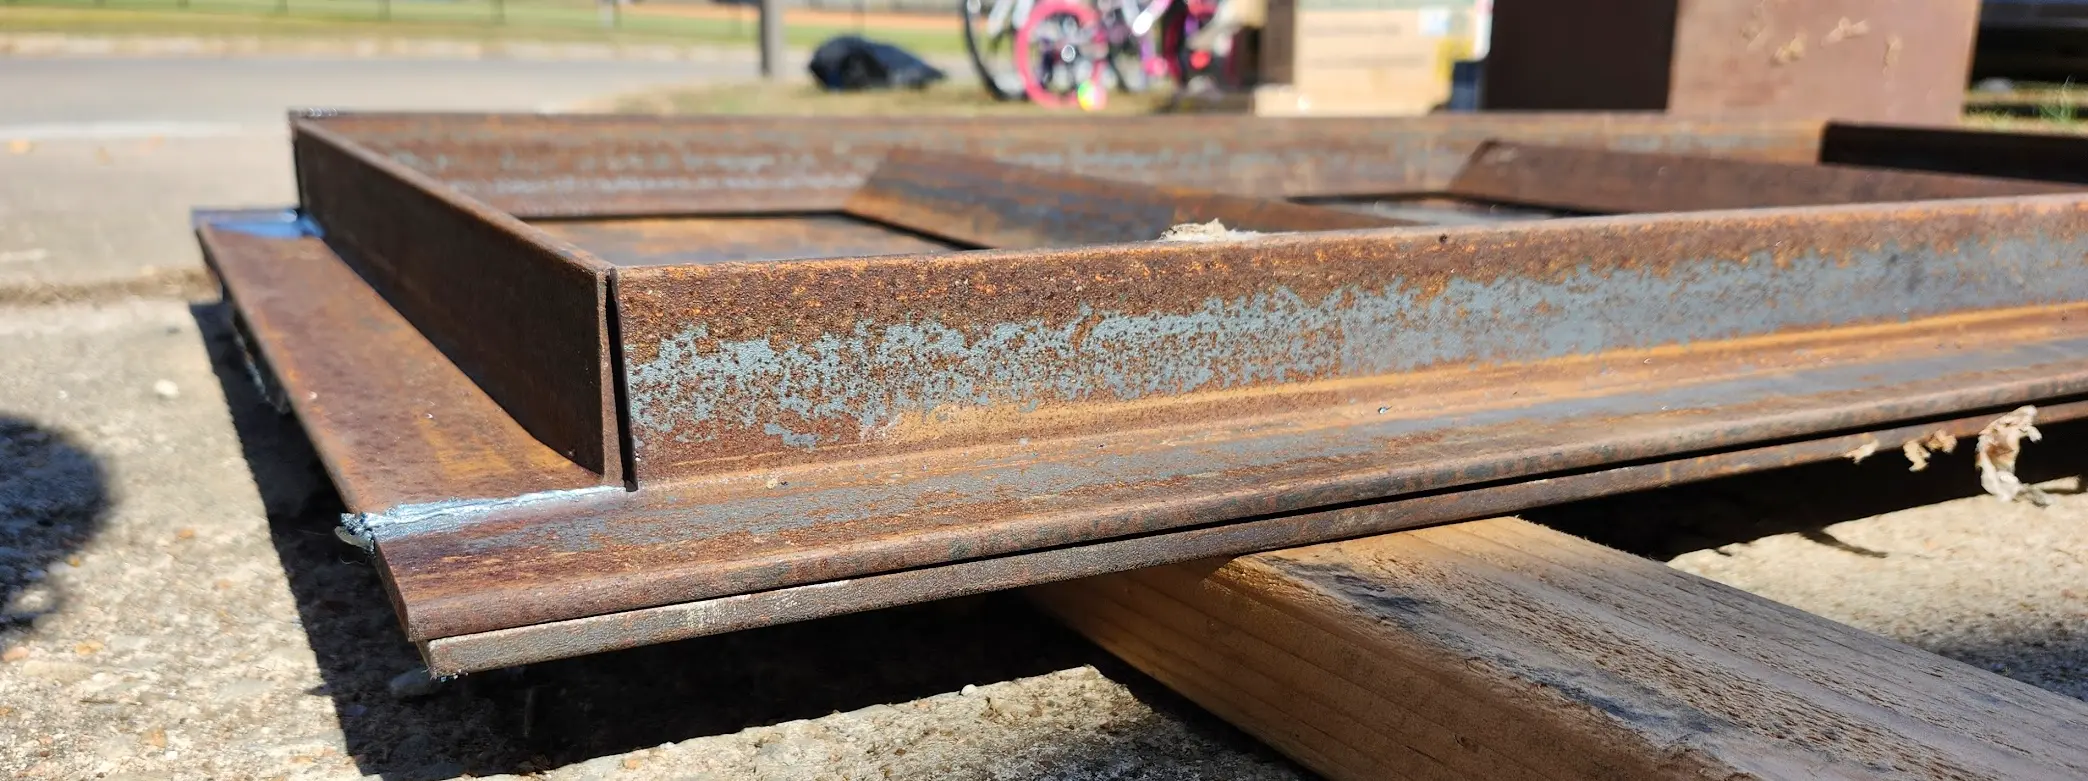
After this was done, I cut a few pieces of angle-iron to make ribs across the middle.
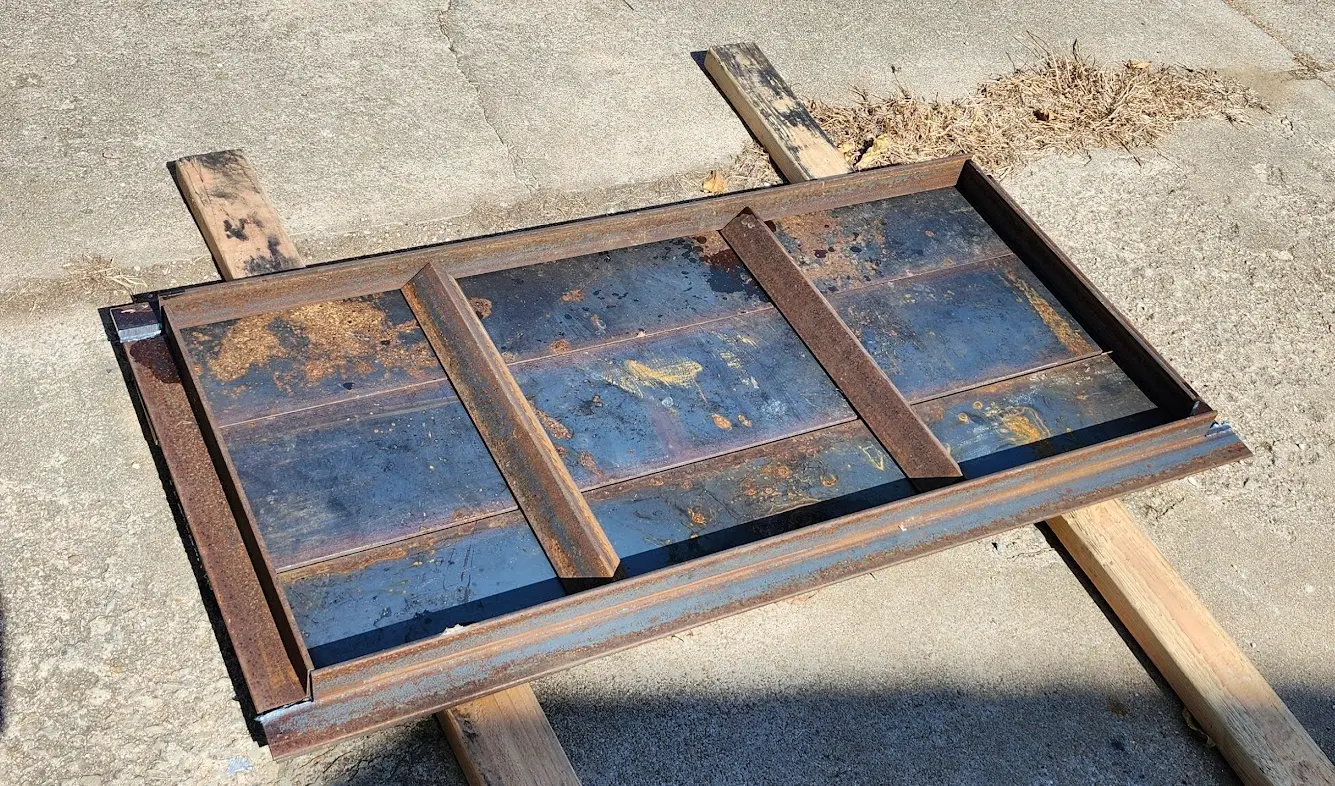
Here is a close-up picture of how the edges will be aligned. Nothing has been welded at this point.
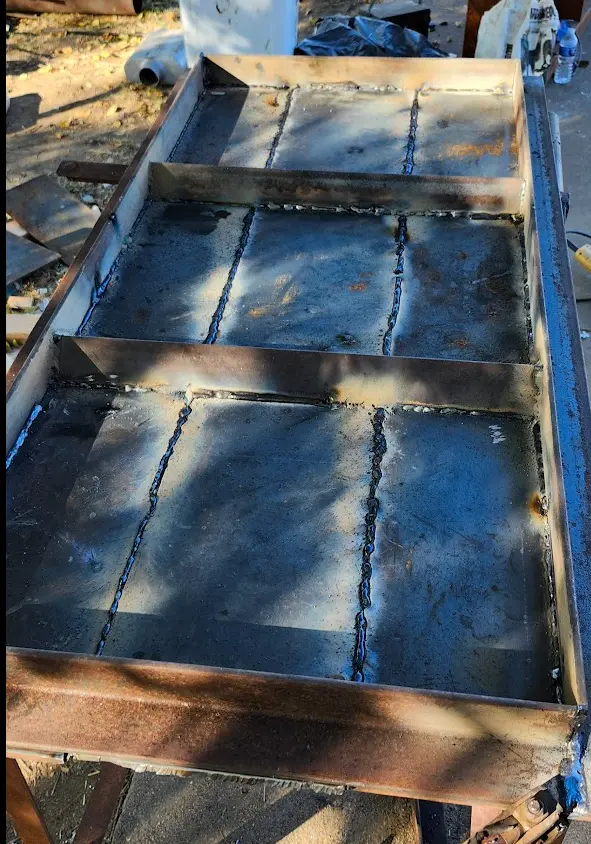
With everything cut, at this point, I started welding all of the seams… My welds here, are less then ideal.
Warn
I did- make a critical mistake during this process.
I did not control my heat, which allowed one of the pieces of plate to warp slightly.
Most of the welding was done using 6011/7018 welding electrodes.
For the legs, I used 2 3/8 drill-string.
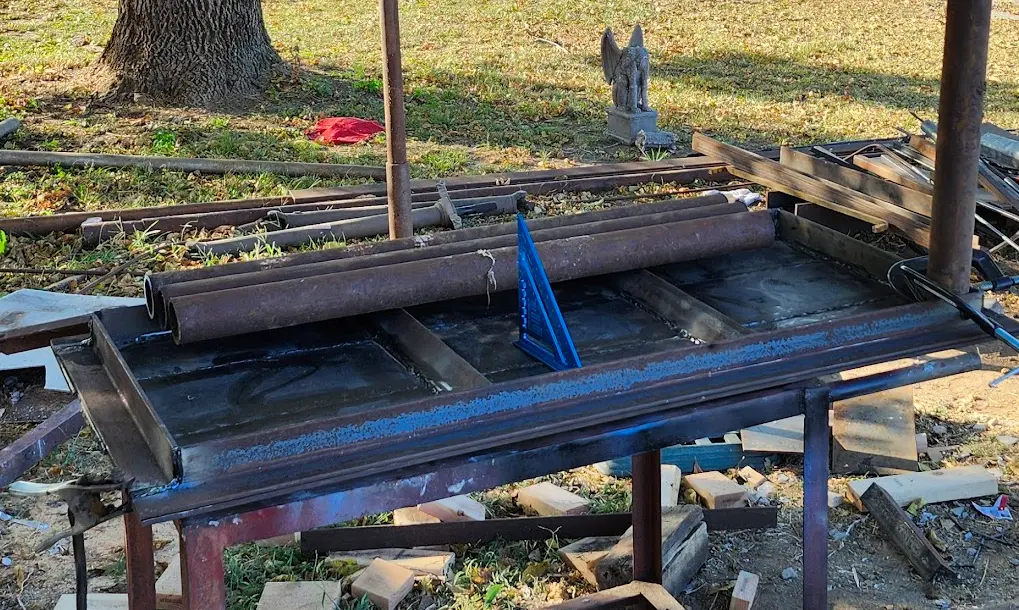
And, after a bit of leveling, measuring, clamping and welding… I had all four legs attached.
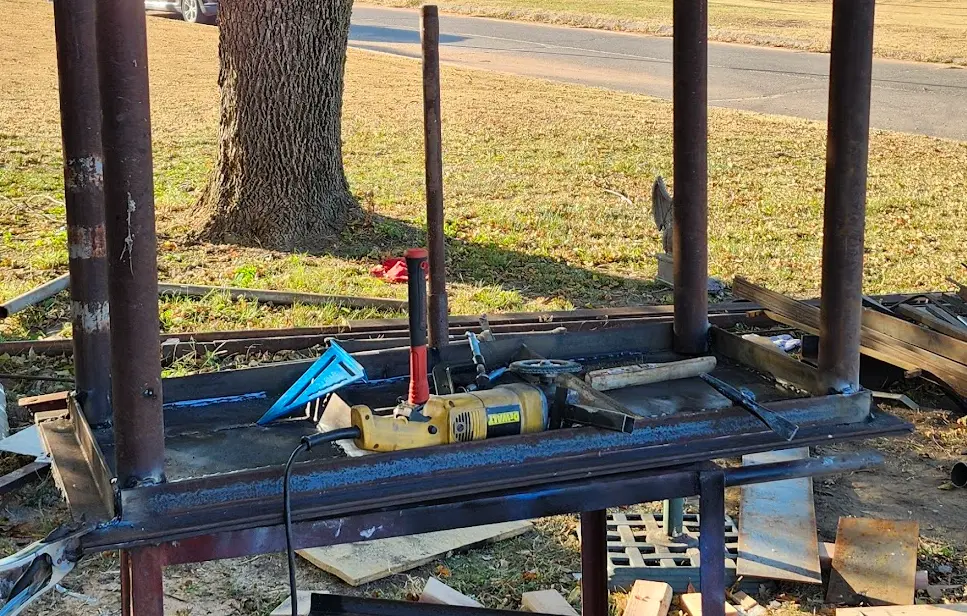
After the welding was done, I used flap-disks and my angle-grinder to smooth out the welds, and remove any remaining rust. I then added a coat of rustoleam rust-reformer primer.
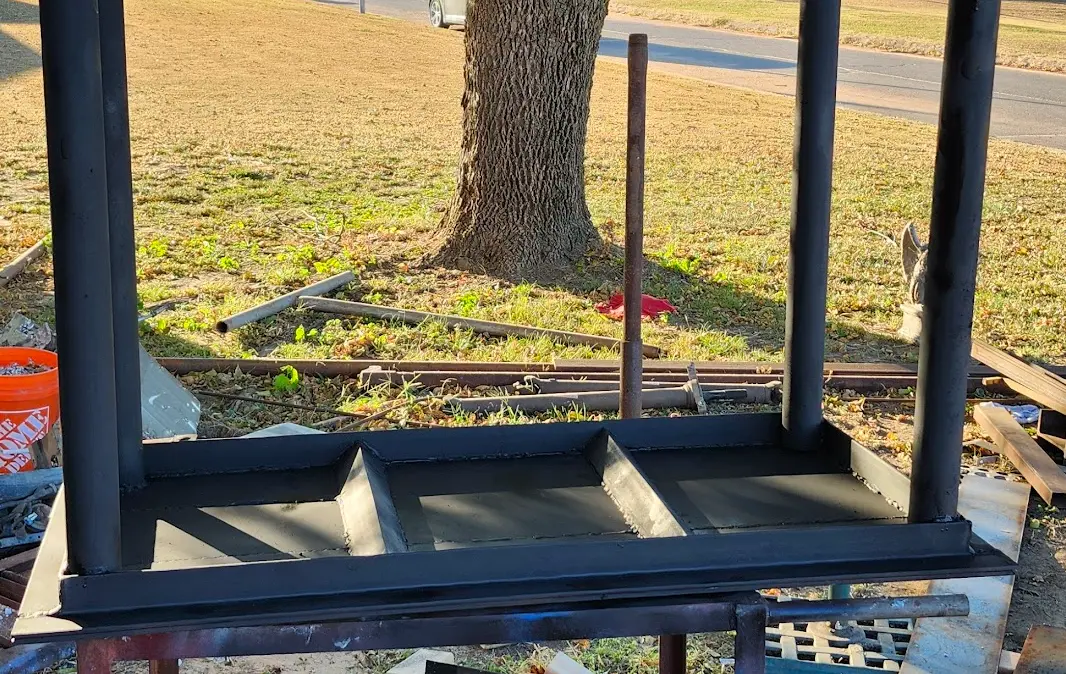
And…. after a day of work, I had a functional table.
Next Steps?
Since- its 2025 now, and I finally just wrote this post… You can skip to Part 2 where I added wheels and some tooling mounts.
Amazon Affiliate Links Used
This post DOES include Amazon affiliate links. If you found this content useful, please consider buying the products displayed using the provided links.
You will pay the same amount as normal, however, it does provide a small benefit to me. This benefit is usually used to purchase other products and hardware for which I can review / blog about.
I do not display advertisements on this site. As such, the only compensation from this service, comes from affiliate links. I do not ask for, or even accept donations.